
Last updated November 17, 2026
 Home additions & ADU
 Kitchen remodeling
 Bathroom remodeling
 Roofing
 Windows & doors
 Driveway & pavers
 Fence
Free written scope consultation - allowances, timeline, and change-order rules on paper before a single trade is scheduled
Home Additions & ADU Troubleshooting: Common Problems and How to Fix Them
Here’s what surprises most homeowners: the biggest callback problem on new additions in South Florida isn’t a leak through a window. It’s condensation and mold forming inside the walls because the new space was never properly vapor-managed for Miami’s humidity. We’ve walked into finished additions less than two years old where the drywall felt clammy and the baseboards were already soft. The homeowner saw nothing wrong at the final walkthrough. That’s the pattern with additions and ADUs in Miami. Problems don’t show up at completion. They surface 6 to 24 months later, and by then the original contractor has stopped answering. This guide shows you how to catch those problems early, tell them apart, and fix them for good.
Quick Answer
Most home addition and ADU problems fall into four buckets: moisture intrusion (roof-to-wall tie-in, slab edge, or HVAC condensation), HVAC sizing and airflow failures, structural cracking from settlement versus tie-beam issues, and unpermitted work discovered later. The fix depends entirely on diagnosing which one you have before anyone touches a wall. Catching it in the first 6 to 24 months usually means a targeted repair; waiting until a sale or insurance claim means a much bigger bill.
Styles & brands we work with
- Kitchen remodeling
- Bathroom remodeling
- Home additions & ADU
- Roofing
- Windows & doors
- Driveway & pavers
- Fence
Table of Contents
- Why Does Moisture Show Up in a Finished Addition, and Where Is It Coming From?
- Why Does the New Addition Feel Hot and Stuffy?
- Which Cracks Are Cosmetic and Which Point to a Structural Problem?
- What Happens When You Find Unpermitted Work in a Finished Addition?
- How Florida’s Chapter 558 Gives Homeowners a Path Before Court
- The Roof-to-Wall Tie-In: The Most Missed Failure Point
- A 10-Point Walkthrough to Diagnose Any Problem
- How to Build It Right the First Time in Miami
Why Does Moisture Show Up in a Finished Addition, and Where Is It Coming From?
Moisture in a new addition almost never comes from one source. In Miami, the air itself carries water, so a small vapor barrier mistake in an interior wall can produce more damage than a visible roof leak. The trick is tracing where the moisture actually enters. Three failure points account for the majority of what we see on additions across Miami, and each has a completely different fix.
The first is the roof-to-wall tie-in, where the new roof plane meets the existing wall. This joint collects rainwater and is the single most common place Miami additions leak, especially after a heavy summer storm or a named storm that pushes rain sideways. The second is the slab edge, where the new foundation meets the old. If that joint lacks proper flashing and grading, groundwater wicks upward into the wall cavity. The third is HVAC condensation, which produces moisture from inside the house rather than outside. A system that runs too cold on a poorly-sized coil will sweat inside the wall cavity and drip into insulation, and that moisture looks exactly like a leak when you open the wall.
How to Tell the Three Apart
- Check timing. If the moisture appears during and after rain, suspect the roof-to-wall tie-in or slab edge. If it appears on humid days with no rain, suspect HVAC condensation.
- Check location. Staining near the top of the wall points up to the roofline. Dampness at the bottom, especially near the slab, points to groundwater wicking.
- Check the air handler. If condensation drips from the unit itself and the adjacent wall stays damp, the HVAC is the culprit, not the envelope.
- Check the gradient. Set a hygrometer against the wall for 24 hours. A reading above 65% relative humidity on an air-conditioned interior wall is a strong sign the wall cavity is wet.
Once you know which of the three you have, the repair is straightforward: re-flash and seal the tie-in, regrade and flash the slab edge, or fix the HVAC sizing and insulation. Reaching for caulk and paint before you know the source is how a small problem becomes a mold colony. If you’ve got damp walls and you’re not sure where it’s coming from, that’s a job for a trained set of eyes, not a weekend of guesswork.
Why Does the New Addition Feel Hot and Stuffy?
Nine times out of ten, a new addition in Miami that feels hot and stuffy has an HVAC sizing problem, not an insulation problem. Homeowners assume the contractor skimped on insulation. In our experience, the more common story is that the original air handler was sized for the main house, someone tapped a branch duct into the new space, and the added square footage was never accounted for in the CFM (cubic feet per minute) calculation. The room gets air, but not enough of it.
The tell is airflow, not temperature. If the addition feels hot but a thermometer at the supply register reads within a few degrees of the main house, the system is probably oversized for its ductwork or starved by a long run. If the register blows weak air and the room never catches up, you have a duct problem. If the register blows cold but the room still feels clammy, you have a humidity and ventilation problem.
How to Diagnose It
- Airflow test: Hold a tissue against the supply register. If it barely flutters compared to registers in the main house, the duct run is starved or pinched.
- Return air check: A room with no return path can’t circulate. A closed door with one supply and no transfer grille will pressurize the room and stall the air exchange.
- Humidity check: A ducted mini-split or a properly-sized zone keeps a room near 50% relative humidity. A reading above 60% in a cooled room means the system isn’t dehumidifying.
- Manual J review: Ask a mechanical contractor for a load calculation on the addition alone. If the number doesn’t match the equipment serving it, you have found the answer.
Florida’s hot, humid climate makes this worse than it would be in a dry state. An undersized or misbalanced system running long hours can’t pull enough humidity out of the air, and the room stays muggy regardless of thermostat setting. The fix is either a correctly-sized dedicated mini-split, a rebalanced duct design with a proper return, or new equipment. Insulation alone rarely fixes it.
Which Cracks Are Cosmetic and Which Point to a Structural Problem?
Every new addition cracks somewhere. The question is which cracks you can live with and which ones mean calling a structural engineer. In Miami, where the soil is sandy and the water table moves with the rainy season, a certain amount of hairline cracking is expected as the new foundation and the existing house settle at different rates. The pattern of the crack tells you what kind of problem you have.
- Cosmetic: Hairline cracks under 1/16 inch in drywall, usually at the corners of windows and doors, appearing in the first year. These are normal shrinkage and settlement.
- Cosmetic: Cracks in paint or caulk at the joint between the new addition and the existing house, as long as the gap stays under about 1/8 inch.
- Monitor: Diagonal cracks running from the corner of a door or window toward the ceiling, 1/8 to 1/4 inch wide. Photograph and date them, then check every three months.
- Call an engineer: A horizontal crack in a foundation wall, a stair-step crack in block, or a crack you can slip a coin into. These signal foundation movement or a tie-beam problem.
- Call an engineer: Doors and windows in the addition that suddenly bind or won’t latch, especially if it happens over a single rainy season.
- Call an engineer: Any crack that grows visibly between monthly checks, regardless of width.
The tie-beam is the specific point where the new addition connects to the existing structure, and it’s where Miami additions most often show trouble. If the connection wasn’t properly engineered, the two structures move independently, and the tie-beam cracks instead of flexing. A structural engineer’s report will tell you whether it’s a $500 crack repair or a foundation retrofit. Get the report before you let anyone patch anything, because patching a structural crack just hides it.
What Happens When You Find Unpermitted Work in a Finished Addition?
Unpermitted work discovered during a sale or insurance claim is one of the most common and most expensive situations we see on Miami additions. A prior owner built the addition without pulling permits, the work has been in place for years, and now an appraiser, a buyer’s inspector, or an adjuster flags it. The addition may be perfectly sound, but the paperwork says otherwise.
The path forward depends on what was built and how Miami-Dade County treats it. A permit search on the property will show what was pulled and what was never closed out. If the work is sound and meets current code, the county may allow you to permit the existing structure through an as-built or a retroactive permit process, with inspections performed on the standing structure. If the work doesn’t meet code, you may have to open walls, upgrade electrical, plumbing, or structural elements, or in the worst case remove and rebuild portions.
Step-by-Step: What to Do First
- Pull the permit history from the county before you do anything else. Know exactly what was and wasn’t permitted.
- Get a licensed inspector or engineer to evaluate the standing structure so you know what you’re dealing with before you call the county.
- Talk to a contractor who has walked multiple unpermitted additions through the county process. This is not a standard remodel.
- Get an as-built drawing prepared so the county has a current record of what actually exists.
- Budget for the possibility that bringing it into compliance means opening walls and upgrading systems to current code.
The cost of legalizing unpermitted work ranges widely and depends entirely on what’s behind the walls. Electrical and plumbing are where most unpermitted additions fail inspection in Miami, because the work was done to a lower standard or by an unlicensed handyman. If you’re buying a home with an addition, ask for the permit history before you sign. If you already own it, get ahead of the problem before a sale forces your hand.
How Florida’s Chapter 558 Gives Homeowners a Path Before Court
Florida’s construction defect statute, Chapter 558, gives homeowners a formal path to resolve defect claims against a contractor before anyone files a lawsuit. It requires a written notice of claim, followed by an inspection and a response period, and it forces the parties to talk before litigation. The practical effect is that homeowners can often get defects repaired through the notice process itself, without a lawyer filing suit.
The catch is timing and documentation. Chapter 558 notice relies on a detailed written claim describing the defect, and it’s most effective when filed within the statute of limitations for construction defects, which in Florida generally runs for several years from the date of completion or the date the defect was discovered depending on the claim. If you’re 18 months into a problem that’s getting worse, that’s the window to act, not year five.
What the Chapter 558 Process Looks Like
- Document the defect thoroughly with dated photos, a written timeline, and any inspection or engineering reports.
- Serve written notice of claim on the contractor describing the defect and the damage it has caused.
- The contractor has a window to inspect and respond, and may offer to repair the defect.
- If the offer is reasonable, you can accept repair and avoid further cost. If not, the claim proceeds.
- Keep all records, including the original contract, change orders, and any warranty documents.
Chapter 558 is not a shortcut around a bad contractor, but it does give you a formal process that many homeowners don’t know exists. If you’re facing a defect and the original builder has gone quiet, consult a construction attorney who handles Chapter 558 notices. The notice itself often produces a response that a phone call never will.
The Roof-to-Wall Tie-In: The Most Missed Failure Point
Ask any contractor who works on additions in Miami and they’ll tell you the same thing. The roof-to-wall tie-in is the single most common source of leaks on an addition, and it’s the one most often patched badly. When the new roof meets the existing wall, water has to be directed away from that joint across a flash-and-counterflash system. Done right, it sheds water for decades. Done wrong, it holds water against the wall until it finds a path inside.
The bad version usually involves caulk where there should be metal, a step flashing that wasn’t lapped correctly, or a counterflash that stops short of the wall surface. In Miami, where a summer storm can dump two inches of rain sideways in an hour, those shortcuts fail fast. And because the failure is often hidden under the top course of shingles, it can run inside the wall for a season before the drywall on the interior shows a stain.
How to Check the Tie-In
- Inspect the joint from the roof side after a dry spell. Look for lifted shingles, gaps in flashing, and any signs of old caulk.
- Check the interior ceiling and upper wall near the joint for staining or a faint musty smell after heavy rain.
- Look for water tracking along the top plate, which is where a leaking tie-in usually shows first.
- Confirm the step flashing laps under the shingle above and over the shingle below, and that counterflashing is set into the wall, not surface-mounted.
Roof work at height is dangerous, and this is one of those jobs where a fall is the real risk. We don’t recommend homeowners get on a Miami roof to inspect a tie-in past the point of a ground-level look with binoculars. A roofing professional can get up there, identify whether the flashing is the problem, and redo the joint properly. If your tie-in is the culprit, the fix is metal flashing, correctly lapped, with a counterflash set into the wall; not more caulk.
A 10-Point Walkthrough to Diagnose Any Problem
Before you call anyone, run this walkthrough. It takes about an hour, it’s free, and it will tell you what kind of problem you’re dealing with. We use a version of it on every diagnostic visit, and it saves homeowners a lot of guessing.
- Smell test. Walk the addition and the wall shared with the main house. Musty odor in an air-conditioned space points to hidden moisture.
- Hygrometer test. Take relative humidity readings at the floor, mid-wall, and ceiling. Anything above 60% interior in a cooled room is a flag.
- Thermal check. On a hot day, feel the interior wall near the addition. A noticeably warmer section usually means missing insulation or a wet cavity.
- Stain map. Photograph every stain, bubble, or discoloration on the ceiling and walls, and date the photos.
- Register airflow. Compare supply register airflow in the addition to the main house using a tissue.
- Crack map. Photograph every crack, measure its width, and note where it starts and stops. Mark the measurement date on the wall with a pencil for reference.
- Door and window check. Open and close every door and window in the addition. Note any that bind, stick, or fail to latch.
- Slab edge. Check the exterior where the new foundation meets the old. Look for gaps, exposed rebar, or water pooling against the wall.
- Tie-in check. Inspect the roof-to-wall joint from the ground with binoculars. Look for lifted flashing or old caulk.
- Paperwork check. Pull the permit history for the property and confirm what was and wasn’t permitted.
Once you’ve run the walkthrough, you’ll have a clear picture: moisture source, HVAC clue, crack pattern, and paperwork status. That’s the whole diagnosis, and it’s what a professional will assess anyway. If you’d rather not run it yourself, a free estimate from a contractor who handles additions in Miami will get you the same information from someone who does this daily.
How to Build It Right the First Time in Miami
The best way to avoid every problem in this guide is to build the addition right the first time. We say that on every Home Additions & ADU in Miami project because the difference between an addition that ages well and one that doesn’t is almost entirely in the details you never see once the drywall goes up.
Vapor management is the first detail. Miami’s humidity means the wall assembly has to be designed to keep vapor from condensing inside the cavity. That means a continuous vapor barrier on the right side of the wall, correctly sealed at every penetration, plus a properly sized and dehumidifying HVAC system. Get this wrong and you get the mold-in-the-wall problem we opened with.
The second is the roof-to-wall tie-in and slab edge. Both need engineered flashing and proper grading before the roof goes on and the slab cures. The third is the structural tie between the new and existing structures. A properly engineered tie-beam, sized by an engineer, allows the two structures to move together instead of cracking apart. The fourth is the HVAC. A Manual J load calculation on the addition alone determines the equipment and duct design, and skipping it is how rooms end up hot and stuffy.
The fifth, and the one that saves the most headaches later, is permits. Pulling permits and passing inspections means the county records the addition as legal, so a future sale or insurance claim doesn’t turn into a six-month ordeal. It’s also the reason we build the same standards we’d want on our own homes, back every project with the 730-Day Done Right Promise, and work with partners like ES Windows and ECO Window Systems for impact-rated openings that hold up to Miami weather. Materials and installation matter equally, and the guarantee is in writing either way.
If you’re thinking about an addition or ADU rather than repairing one, the same diagnostic thinking applies. The Groundwork Construction Co. of Miami home outlines the full scope, and a free project estimate with a design consult is where every project here starts. If you’re already outside the addition phase, a roofing partner like Fence Installation in Miami or grading work on the exterior can help you finish the property correctly around the new space.
Common Mistakes to Avoid
- Caulking a roof-to-wall tie-in instead of flashing it. Caulk fails within a season in Miami heat and rain. Metal step flashing, correctly lapped, is the only lasting fix at that joint.
- Assuming a hot addition is an insulation problem. Most hot Miami additions have a duct or sizing problem, and the fix is airflow and equipment, not more insulation. Diagnose airflow before you spend on insulation.
- Patching a structural crack without an engineer’s report. A tie-beam or foundation crack that gets patched hides a problem that gets more expensive the longer it’s hidden.
- Ignoring the permit history on a home you’re buying. An unpermitted addition discovered during a sale can cost far more than the addition is worth. Check the county records before signing.
- Skipping the Manual J load calculation. A Miami addition designed for today’s code needs a real calculation on the addition alone. Guessing at tonnage is how families end up with stuffy rooms.
- Waiting past 24 months to act. The window when a contractor is still reachable and a claim is still clean closes fast. Document problems the month you notice them.
- Not pulling the permit because it’s “faster.” Unpermitted additions in Miami-Dade cost more to legalize later than they cost to permit correctly up front, and the county keeps a record either way.
See the difference
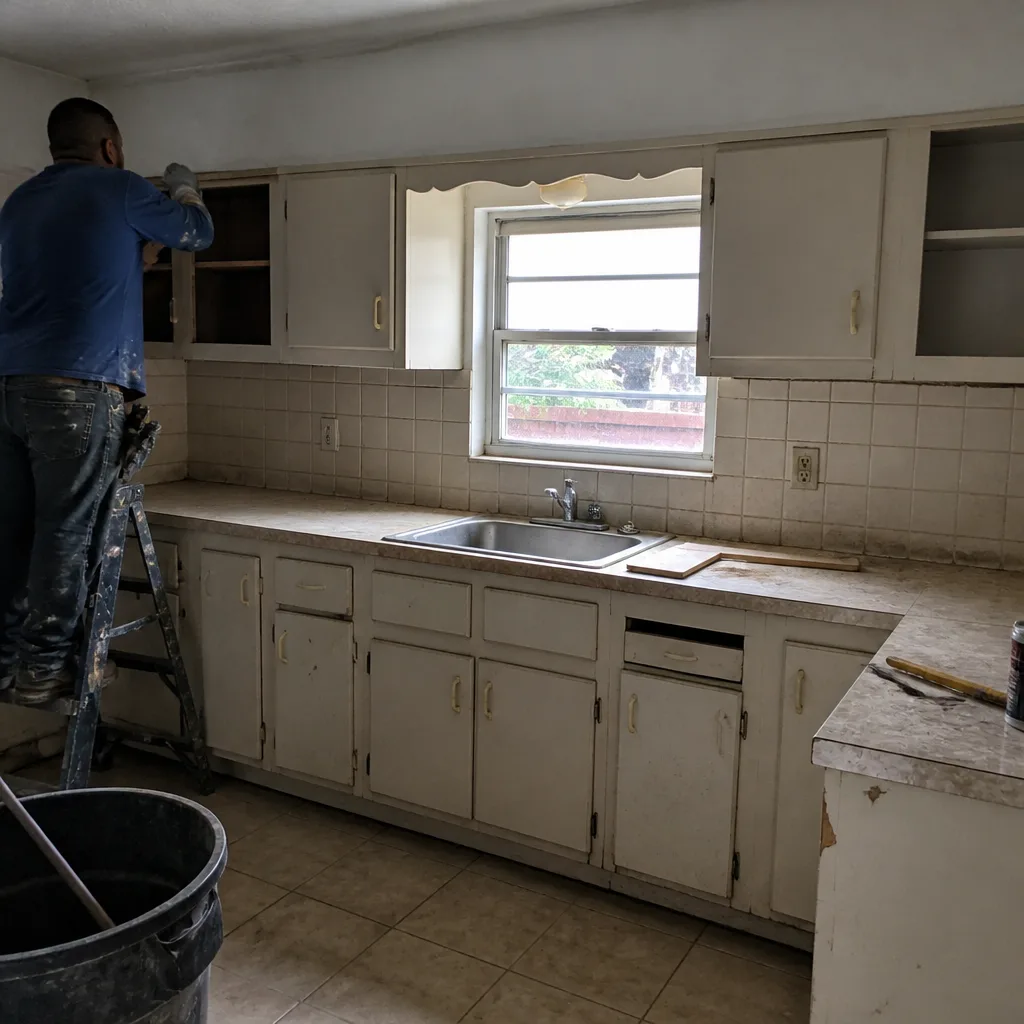 Before
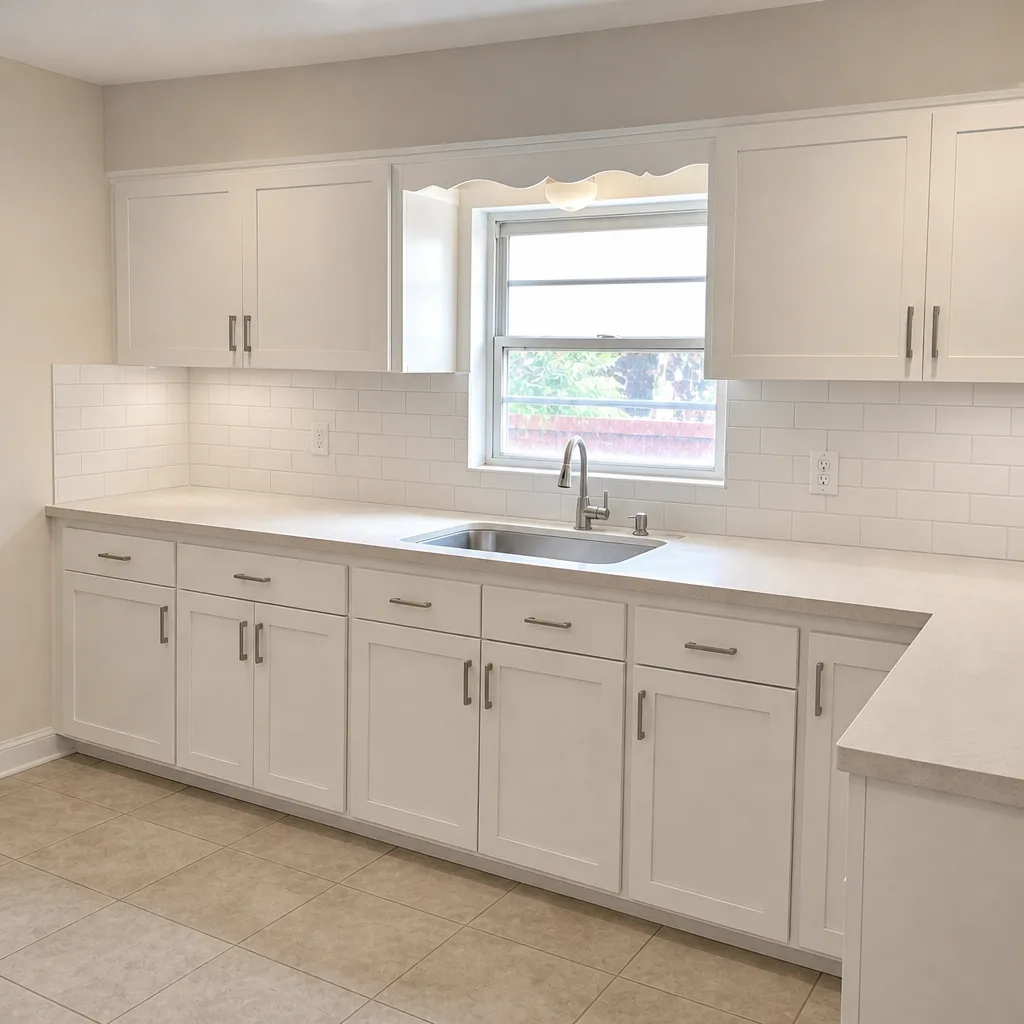 After
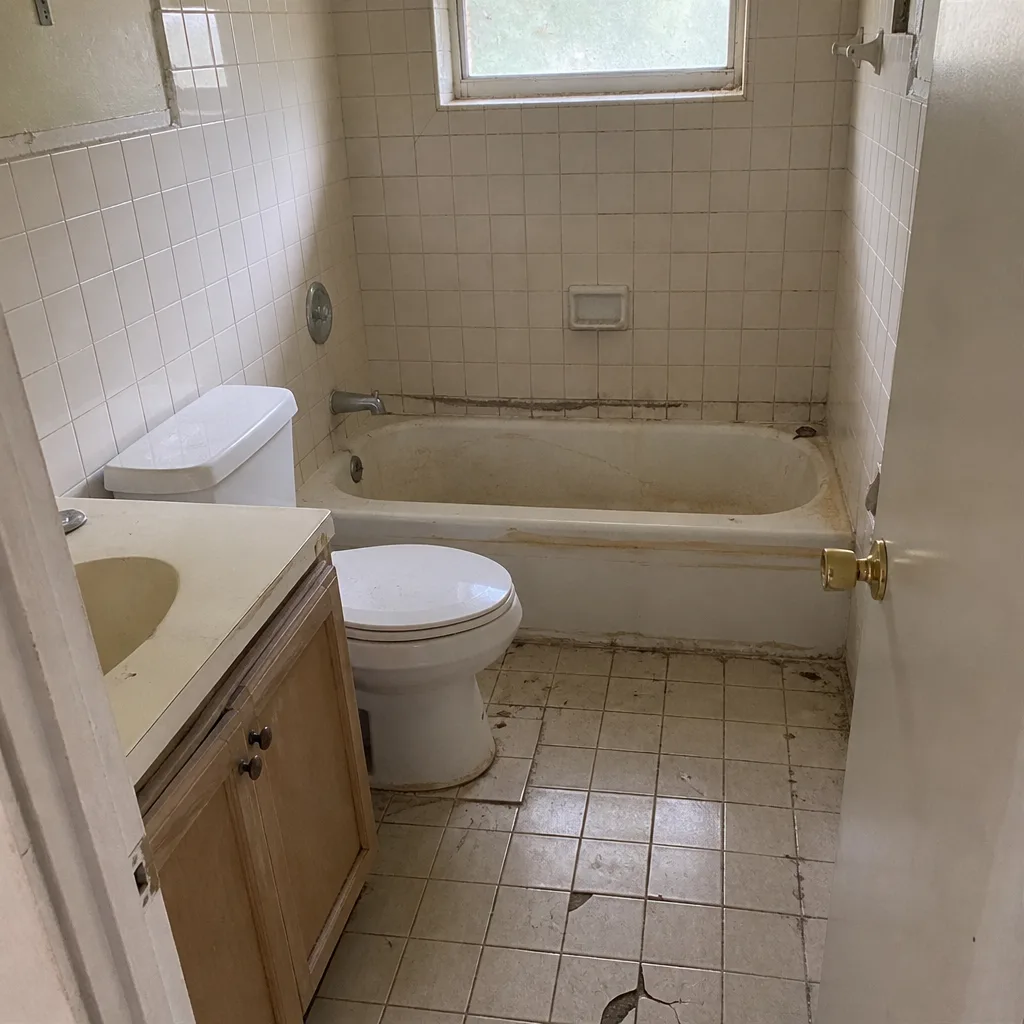 Before
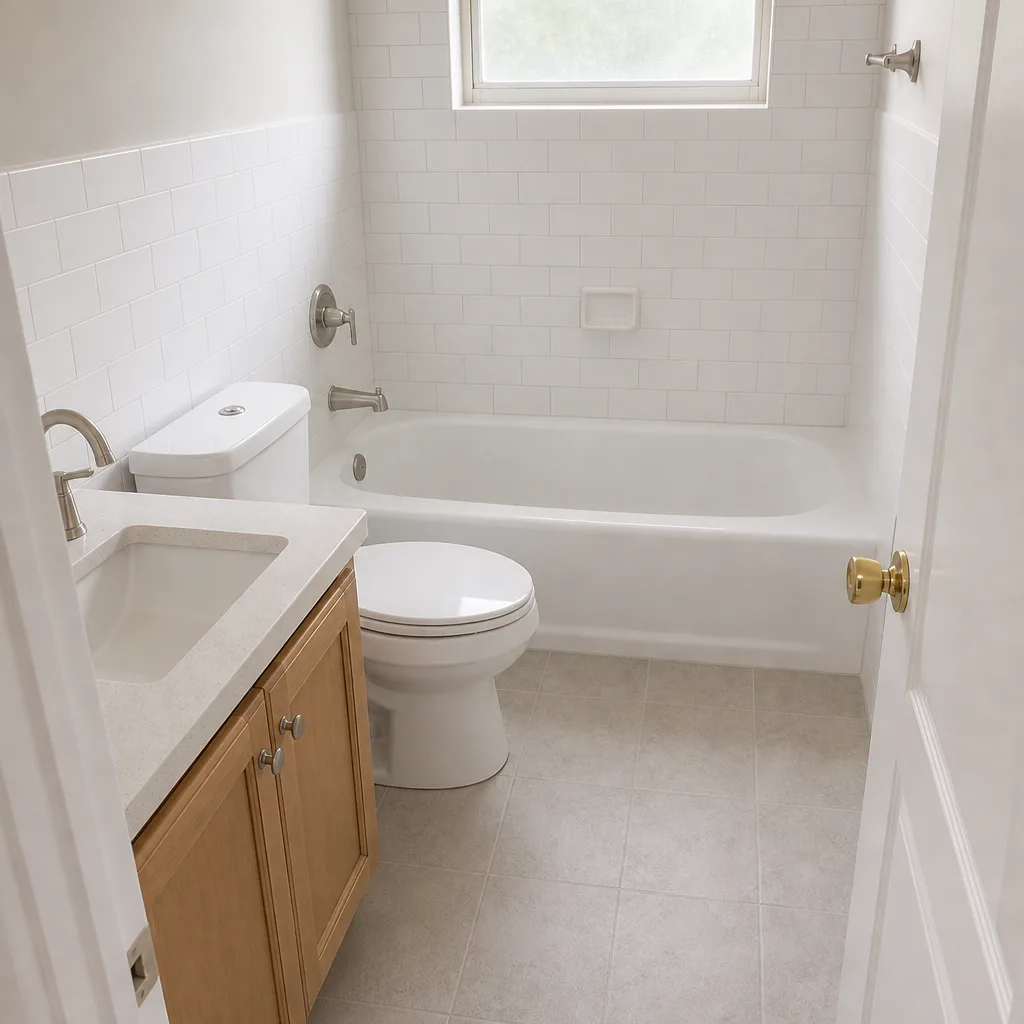 After
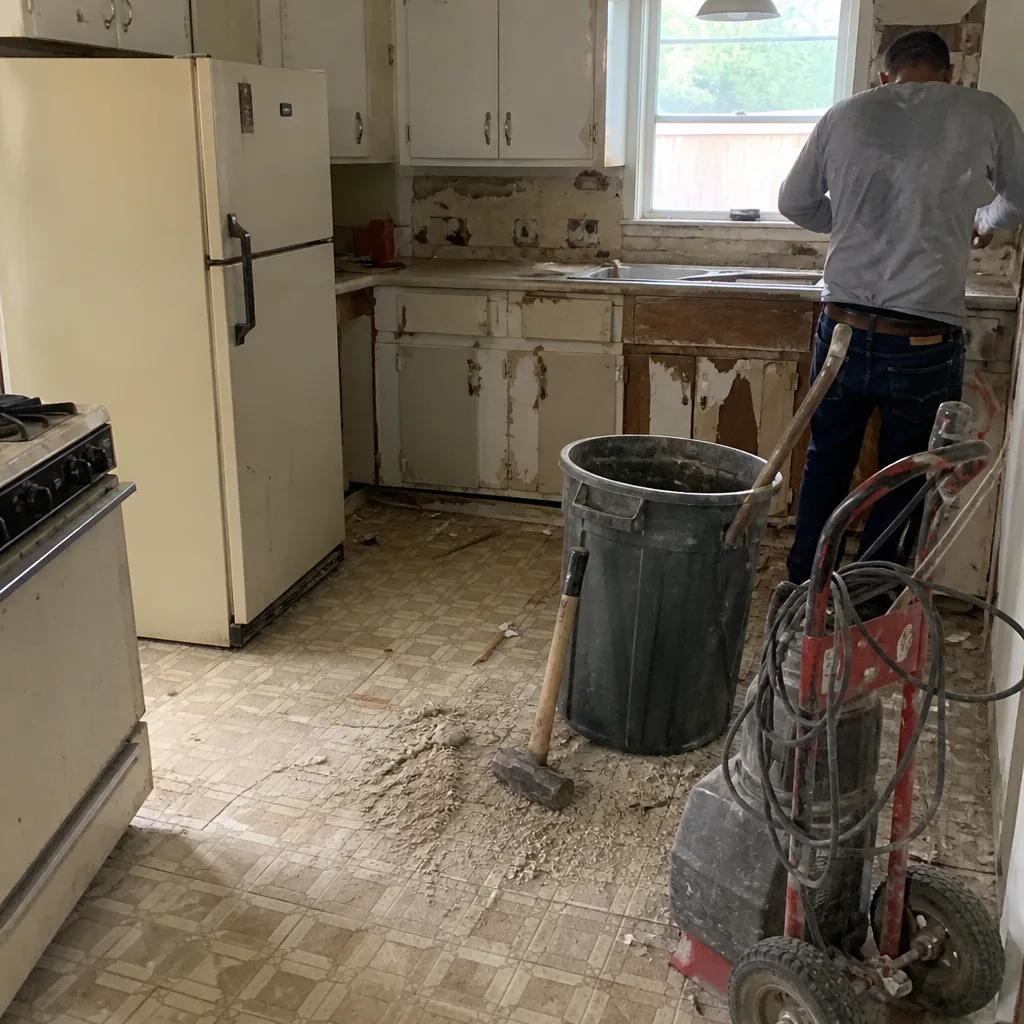 Before
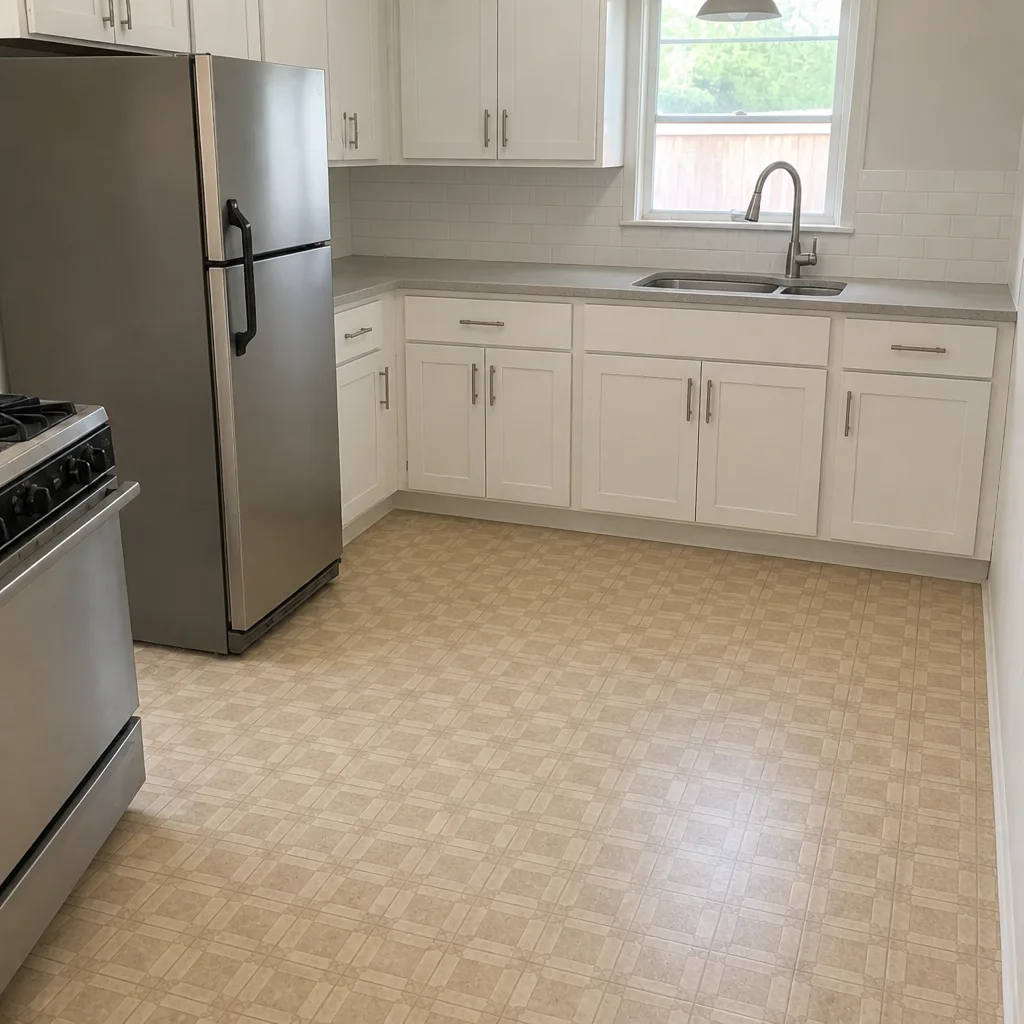 After
When to Call a Professional
Call a professional when the moisture source isn’t obvious within an hour, when you’ve found a crack wider than a quarter inch, when the addition has never been permitted, or when the HVAC has been adjusted twice and the room is still stuffy. Those four situations are where a wrong guess gets expensive. Roof work at height is another one: inspection and repair of the tie-in belong to a trained roofer. Structural concerns belong to an engineer. If you’ve run the walkthrough in this guide and you’re not sure what you’re looking at, that hesitation is the signal to schedule a professional diagnostic before you spend money on repairs.
Groundwork Construction Co. of Miami offers free estimates in Miami – call (833) 968-1198. Calls are answered by a live person, 24/7, so you’re never stuck in voicemail while a small damp spot becomes something worse. Our technicians have up to 12 years of experience and arrive background-checked and in uniform for every consultation.
Frequently Asked Questions
The most common cause is moisture from vapor condensation inside the wall cavity, not a visible leak. In Miami, humid outdoor air can infiltrate a wall assembly that wasn’t properly vapor-managed, condense on an air-conditioned interior surface, and saturate the drywall and insulation. HVAC condensation inside the cavity can produce the same result. Call (833) 968-1198 for a free estimate and a professional diagnosis – estimates are free.
An addition that feels hot and stuffy usually has an HVAC sizing or airflow problem, not an insulation problem. The system was likely sized for the main house and tapped into a branch duct that can’t deliver enough air to the new space, or the room lacks a return path. A duct and load calculation on the addition alone tells you which. Call (833) 968-1198 to schedule a free estimate – the diagnostic is free.
Hairline cracks under 1/16 inch in the first year are normal settlement. Cracks wider than 1/4 inch, horizontal foundation cracks, or doors that suddenly bind usually point to a foundation or tie-beam issue that needs a structural engineer. Call us at (833) 968-1198 for a free estimate; we’ll tell you whether it’s cosmetic or worth an engineer’s report.
Pull the county permit history first, then get a licensed inspector to evaluate the standing structure before calling the county. If the work is sound and meets code, the county may allow a retroactive or as-built permit with inspections on the standing structure. If it doesn’t meet code, you may need to open walls and upgrade systems. Call (833) 968-1198 – we walk unpermitted additions through the county process and will give you a free estimate on what it takes to legalize yours.
The most common cause is the roof-to-wall tie-in where the new roof meets the existing wall, followed closely by the slab edge where the new foundation meets the old. Both fail when they were caulked instead of properly flashed, and Miami’s summer storms find those joints fast. Moisture can also come from HVAC condensation, which looks like a leak but isn’t. Call (833) 968-1198 for a free estimate and a proper diagnosis.
Florida’s construction defect statute of limitations generally runs several years from the date of completion or discovery, depending on the claim, and the earlier you document and act, the cleaner your position. Chapter 558 requires a written notice of claim and gives the contractor an inspection and response period before litigation. If you’re past 24 months, consult a construction attorney this month. For a second opinion on the defect itself, call (833) 968-1198 – estimates are free. Our technicians have up to 12 years of experience and arrive background-checked and in uniform.
The Bottom Line
Addition and ADU problems show up late, so the priority is catching them early. Moisture is the biggest risk in Miami, and it almost always comes from one of three sources: the roof-to-wall tie-in, the slab edge, or HVAC condensation. Hot rooms usually have an airflow problem, not an insulation one. Cracks need to be mapped and measured before you patch them. Unpermitted work needs to be handled before a sale or claim forces the issue, and Chapter 558 gives you a formal path if a defect goes unresolved. Run the 10-point walkthrough, document what you find, and call a professional when the picture isn’t clear. Groundwork Construction Co. of Miami stands behind every project with the 730-Day Done Right Promise, so if we built it and something isn’t right, we make it right. Call (833) 968-1198 for a free estimate; our upfront pricing means the number you see is the number you pay, and 0% financing for 18 months plus $1,000 off projects over $10,000 makes a repair or a new build easier to plan around.
Written by the team at Groundwork Construction Co. of Miami.