
Last updated November 16, 2026
 Bathroom remodeling
 Kitchen remodeling
 Home additions & ADU
 Roofing
 Windows & doors
 Driveway & pavers
 Fence
Free written scope consultation - allowances, timeline, and change-order rules on paper before a single trade is scheduled
Bathroom Remodeling Troubleshooting: Common Problems and How to Fix Them
Grout cracking in a remodeled shower within the first year isn’t a grout problem. It’s almost always a substrate movement problem – improper backer board installation or missing expansion joints – and re-grouting without fixing the cause is money wasted. In our experience across Miami remodels, most failures trace back to three decisions made during installation, not the materials themselves. This guide shows you how to diagnose what actually went wrong, tell a cosmetic fix from a tear-out, and know when to stop patching and call someone.
Quick Answer
Most bathroom remodel problems in Miami come from installation mistakes, not bad materials: movement behind tile, a failed shower pan liner, blocked or undersized ventilation, or plumbing rough-in that was never inspected. Diagnosing which one you have determines whether you’re looking at a $200 cosmetic repair or a $4,000 tear-out. Cosmetic fixes hold only when the underlying cause is corrected first.
Styles & brands we work with
- Kitchen remodeling
- Bathroom remodeling
- Home additions & ADU
- Roofing
- Windows & doors
- Driveway & pavers
- Fence
Table of Contents
- Why Grout Cracks After a Remodel (And What It Really Means)
- Diagnosing a Leaking Shower: Grout, Pan Liner, or Drain
- Persistent Bathroom Mold After a Remodel
- Tile Lippage: Substrate, Tile, or Technique?
- Checking Vanity Plumbing Rough-In When Records Are Unclear
- Florida Warranty Obligations and the Paperwork You Need
- Waterproofing Failures Specific to South Florida
- Common Mistakes to Avoid
Why Grout Cracks After a Remodel (And What It Really Means)
Cracking grout is a symptom. The question isn’t which grout to buy next – it’s what moved. Grout is rigid and brittle. When the surface beneath it flexes even a fraction of an inch, the grout loses that fight. In a properly built shower, it shouldn’t be flexing at all.
There are three common culprits. The first is backer board that was fastened with too few screws or installed over a subfloor that deflects. The second is a missing expansion joint where tile meets a wall or tub – tile needs room to move with temperature and humidity, and South Florida humidity swings are real. The third is thinset applied too thin over uneven framing, leaving voids under the tile that flex when weight lands on them.
Here’s how to narrow it down:
- Press on the tile around the crack. If it flexes or sounds hollow when tapped, the problem is underneath, and re-grouting will fail again within months.
- Check where the cracks cluster. Cracks along a single straight line usually mean a movement joint. Cracks radiating from a corner or a drain suggest substrate or settling.
- Note the timing. Cracks appearing within the first six months point to installation. Cracks appearing after several years may point to settling or water intrusion behind the wall.
If the tile is solid and the crack is isolated, a flexible sealant in that joint is a fair fix. If the tile moves, the repair is above the grout line, and anyone who says otherwise is selling you a repeat visit. This is the kind of diagnosis we walk through on every Groundwork Construction Co. of Miami home consultation before quoting a repair.
Diagnosing a Leaking Shower: Grout, Pan Liner, or Drain
A shower that leaks into the room below or the wall behind it is one of the most misdiagnosed problems in a bathroom remodel. The three possible sources look identical from the outside but demand completely different repairs. Guess wrong and you’ll spend thousands on the wrong fix.
Grout and caulk failure is the cheapest and most common. Water gets through a cracked or worn joint, travels a short distance, and shows up as a damp spot near the shower. The fix is re-caulking and re-sealing – a few hundred dollars, provided the waterproofing behind the tile is intact.
Pan liner failure is the expensive one. The liner is the rubber or PVC membrane under the shower floor tile that directs water to the drain. If it was installed with the wrong slope, punctured during tile work, or never properly sealed at the curb, water pools under the floor and finds its way down. Signs include a persistently damp floor near the drain, a soft or spongy feel underfoot, and water stains on the ceiling below that appear hours after a shower, not during it.
Drain connection failure shows up as water directly around the drain. The drain assembly has a clamping ring and a seal that fail if the installer didn’t set them correctly or the subfloor shifted. A simple test: plug the drain, fill the shower pan with an inch of water, mark the level, and check it after an hour. If the level drops, the pan or drain is leaking – not the grout.
For anything past the grout, we recommend a professional water test and inspection. Opening a small section of the ceiling below the shower is often the fastest way to see where water is actually landing. If you’re also planning a larger addition that shares a bathroom wall, our guide to Home Additions & ADU in Miami covers how plumbing tie-ins are typically handled.
Persistent Bathroom Mold After a Remodel
Mold that returns within weeks of cleaning isn’t a cleaning problem. It’s telling you there’s a moisture source that hasn’t been addressed, and in Miami’s humidity there are almost always two candidates: ventilation and waterproofing. Sometimes both.
Ventilation failures are the most overlooked. A bathroom exhaust fan that’s undersized, vented into the attic instead of outdoors, or wired to the light switch so it turns off the moment you leave the room won’t clear moisture. The fan should run at least 20 minutes after a shower. If you don’t know how yours is vented, check the attic or exterior wall for a duct outlet. If there isn’t one, that’s your problem.
Waterproofing failures are harder to spot because the mold appears on the surface while the moisture is behind the tile. If mold clusters in one area, especially near a shower wall, a grout line, or the base of the shower, that’s a strong signal. The drywall behind the tile may be wet and the paper facing is feeding the mold.
Here’s a test to distinguish them:
- Clean the area thoroughly, then leave the fan running continuously for three days and see if the mold returns. If it doesn’t, ventilation is at least part of the cause.
- If mold returns despite good ventilation, press on nearby tile and probe a grout joint. Movement or soft grout points to water behind the wall.
- Check under the vanity and around the toilet base for hidden moisture. A small leak there can keep bathroom humidity high enough to grow mold everywhere else.
Mold behind the tile means the finish has to come off. There’s no reliable way to treat it through a sealed wall. In South Florida, this shows up most often in bathrooms that were tiled directly over drywall instead of cement backer board – a detail worth confirming before the next remodel starts.
Tile Lippage: Substrate, Tile, or Technique?
Lippage is where one tile edge sits higher than the tile next to it, creating a visible and tactile step. A little is unavoidable on large-format tile. More than about 1/32 of an inch and you’ll feel it underfoot and catch a shadow along the edge. The question is why it developed after installation when it looked fine at the walkthrough.
Three things cause it:
- Substrate problems. An uneven subfloor or backer board with ridges and low spots forces the installer to build up thinset under some tiles and not others. Over time, the buildup settles.
- Tile problems. Large-format tile and long plank tile are rarely perfectly flat from the factory. Even within spec, the corners can bow enough to create lippage over an otherwise flat floor.
- Installer technique. Thinset that’s mixed too stiff, not back-buttered onto the tile, or applied in a way that leaves voids under the edges causes the tile to settle unevenly. Skipping a tile leveling system on large-format floors does the same thing.
To identify the cause, press on a high corner. If it moves, the thinset under it is loose or there’s a void – that’s an installation problem and the tile likely needs to come up. If it’s solid, it’s probably flatness or technique, and the fix ranges from a small floor-leveling grind to a full re-lay.
Lippage on a shower floor is more serious than on a dry bathroom floor, because water pools on the high edges and the low spots never fully drain. That accelerates mold and grout failure, so we treat shower floor lippage as a repair, not a cosmetic complaint.
Checking Vanity Plumbing Rough-In When Records Are Unclear
You had a bathroom remodeled, the vanity looks beautiful, the water runs, and everything works. But you don’t know if the plumbing rough-in was inspected, and the contractor’s paperwork is thin. Here’s how to find out whether the work behind the wall meets code.
Start with the paper trail:
- Pull the permit record from your local building department. In Miami-Dade County, most permitted bathroom plumbing and electrical work leaves a digital record you can look up by address.
- Match the final inspection date on the record to the completion date of your remodel. If they don’t line up, something may have been done outside the permitted scope.
- Check whether the inspection was a rough-in inspection, a final, or both. A rough-in inspection covers the pipes behind the wall before drywall. A final covers the finished install.
If the record is missing or unclear, an inspector or qualified plumber can verify the rough-in on sight. Signs of trouble include a vanity drain that connects into the wall without a P-trap, a P-trap with the wrong depth, and supply lines that run at odd angles. These are visible when the vanity is removed or through an access panel. Building code in Florida requires a properly vented trap under every fixture; an unvented drain will gurgle and siphon water from the trap.
This is also where newer homes with the wrong rough-in height create problems – a standard vanity is around 32 inches, and the drain stub-out should land inside the cabinet without bending the tailpiece. If the previous installer drilled through the cabinet back at a bad angle, the drain is likely in trouble even if it works. For projects that include exterior work around the bathroom wing, Driveway & Pavers in Miami touches on how underground utilities and grading interact with the structure.
Florida Warranty Obligations and the Paperwork You Need
Florida requires contractors to honor written warranties on their work, and the state provides statutory protections for structural and workmanship defects that extend well past a typical one-year handshake guarantee. But the obligation only helps you if you have the documentation to enforce it.
What every homeowner should have after a bathroom remodel:
- The signed contract. It should list the scope, the materials, the price, and any warranty terms in writing.
- A written workmanship warranty. “We guarantee our work” is not a warranty. A real one says what’s covered, for how long, and how a claim is filed.
- The permit record and inspection sign-offs. This is your proof the work was done to code.
- Product warranties. Fixtures, faucets, tile, and grout often carry their own manufacturer warranties. Keep the model numbers.
- Photos or records from the rough-in stage. If the contractor never provided them, ask now. A plumber can also verify what’s behind the wall.
If a bathroom problem shows up two or three years after completion, you’ll need to know which responsibility is whose. Fixture failures usually go to the manufacturer, workmanship failures go to the contractor, and water damage that traces back to installation goes to whichever party owns the error. This is why we put the 730-Day Done Right Promise in writing – so there’s no ambiguity about which period applies and who fixes it. Our Fence Installation in Miami page explains how the same written-commitment approach applies to exterior projects.
Waterproofing Failures Specific to South Florida
Miami’s climate stresses a bathroom remodel in ways a colder climate never does. Exterior walls here sit against year-round humidity of 70% and up, and the sun heats exterior walls to temperatures that push moisture vapor back into the interior. That means the waterproofing assembly inside a bathroom has to handle both wet-room water and ambient humidity migrating from outside.
The three failures we see most often in Miami:
- Missing vapor barrier between exterior wall and backer board. Tropical humidity works its way through exterior walls. Without a barrier, the backer board and tile adhesive stay damp, and mold moves in.
- Waterproofing not extended past the shower floor toe. Many installers stop the membrane at the shower curb. Water that escapes past the curb runs into the adjacent floor and rots the subfloor – often visible as a soft spot near the bathroom door.
- Wrong materials for a wet room. Standard drywall in a shower surround, mastic instead of thinset, or an unsealed cement board will fail faster in Miami humidity than in a dry climate. Cement backer board sealed with a liquid or sheet waterproofing membrane is the standard.
One practical check: find the highest and lowest points in the shower floor and confirm the slope. Water should run toward the drain without pooling. Standing water anywhere on a shower floor within an hour of use means the pan wasn’t built to slope, and that’s a tear-out.
Common Mistakes to Avoid
- Re-grouting without fixing the movement. If the substrate moves, new grout cracks in weeks. Diagnose the cause first.
- Treating mold as a cleaning job. Cleaning without fixing ventilation or waterproofing guarantees the mold returns.
- Choosing large-format tile without a leveling system. On a floor of any size, large tiles without a leveling system almost always end up with lippage.
- Skipping the rough-in inspection. The plumbing behind the wall is the hardest part to fix later. Insist the rough-in is inspected before drywall closes.
- Assuming a clean-looking install means a code-compliant one. A tidy finish tells you nothing about what’s behind the tile. Ask for the permit and inspection records.
- Letting a contractor walk without a written warranty. A verbal “lifetime guarantee” is worth nothing in a dispute. Get the coverage, duration, and claim process in writing.
- Ignoring Miami humidity when choosing materials. Standard drywall and mastic belong in dry rooms, not a Miami shower. Specify cement board and thinset.
See the difference
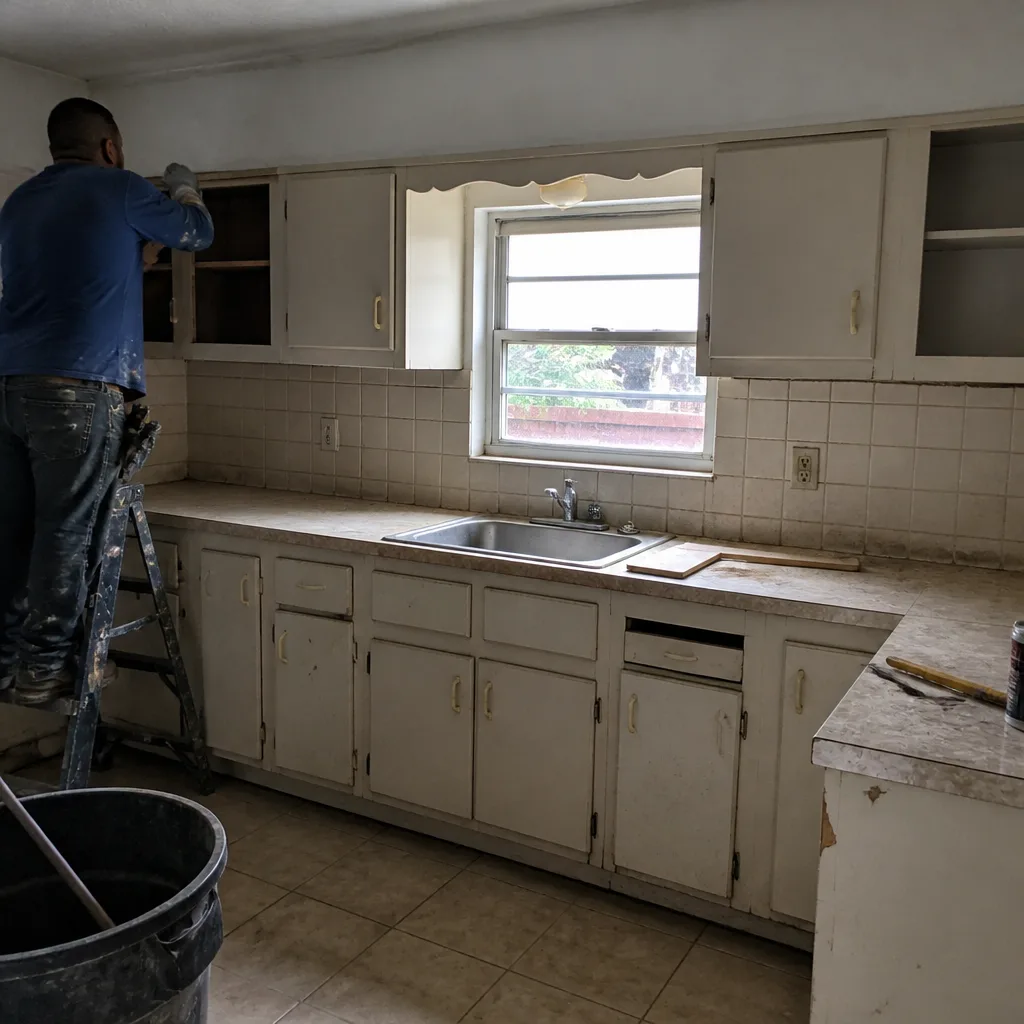 Before
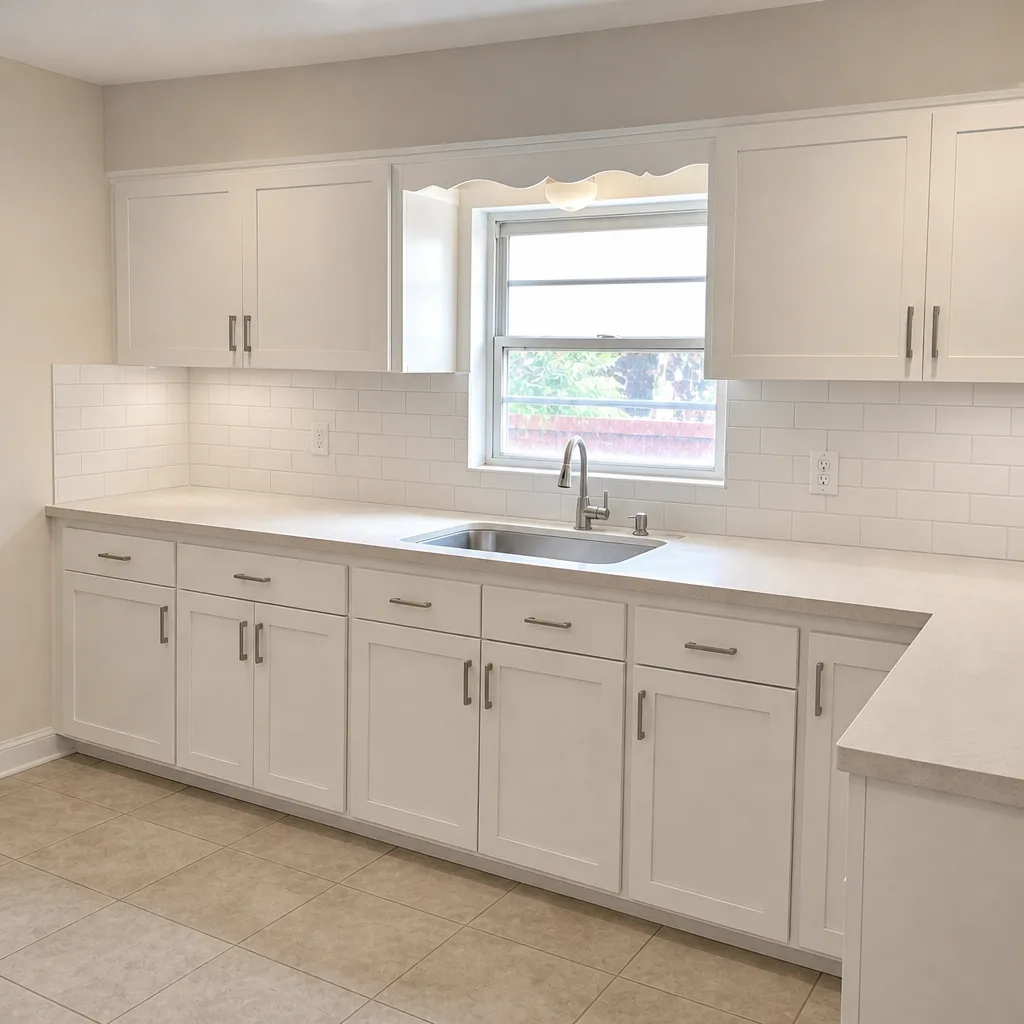 After
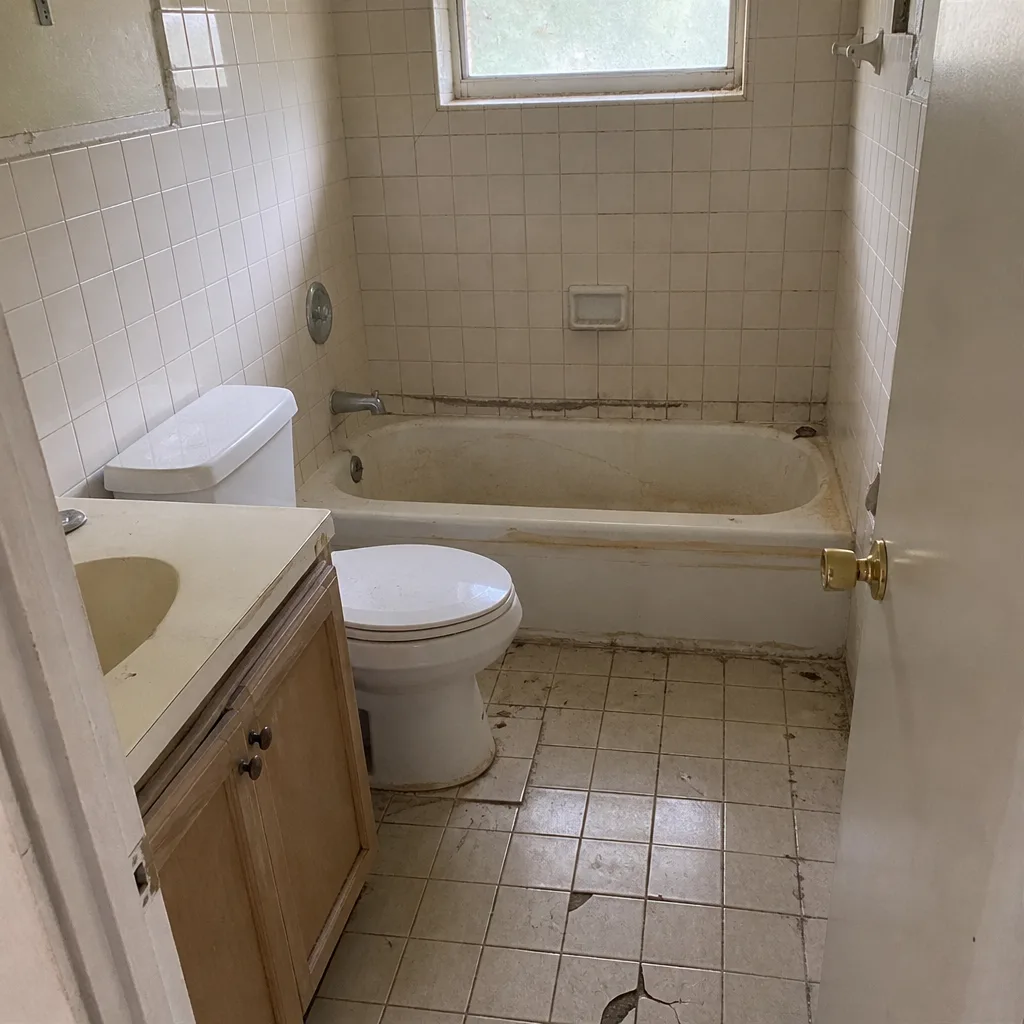 Before
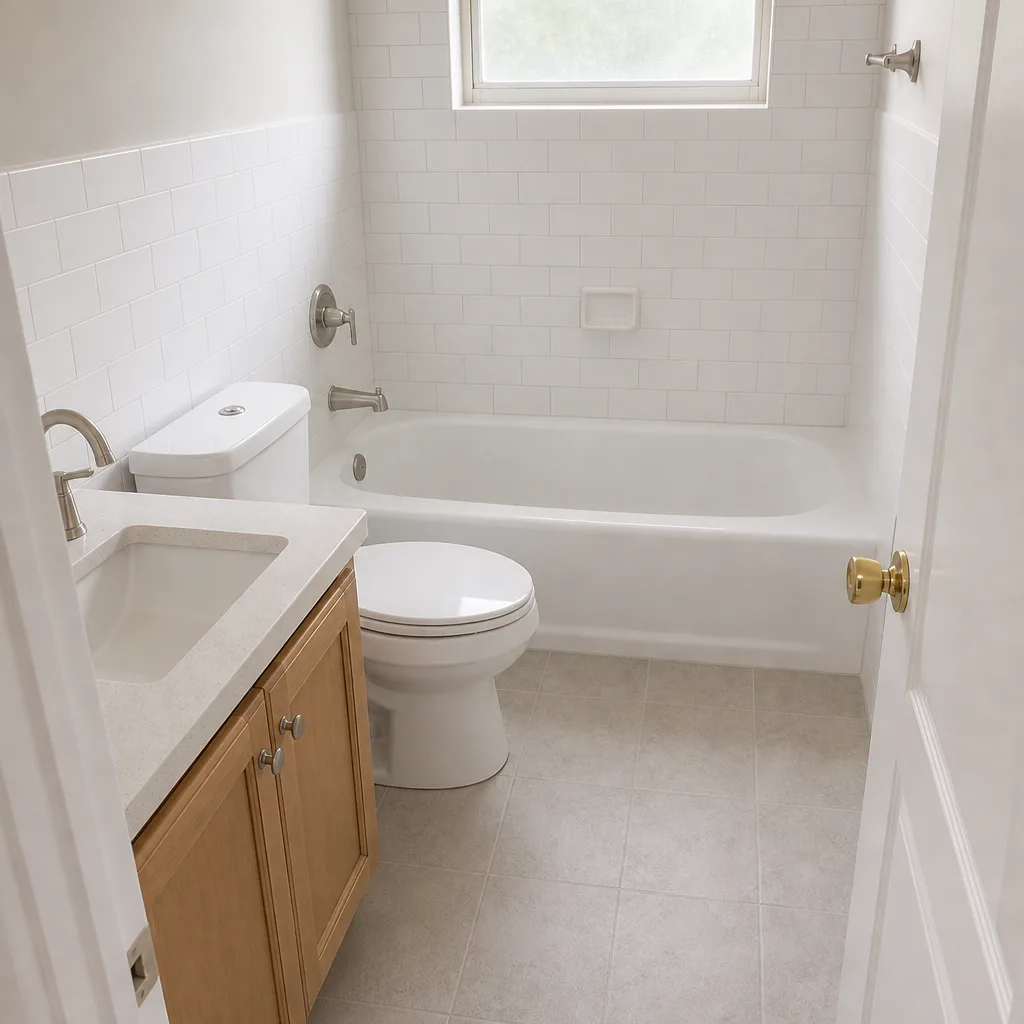 After
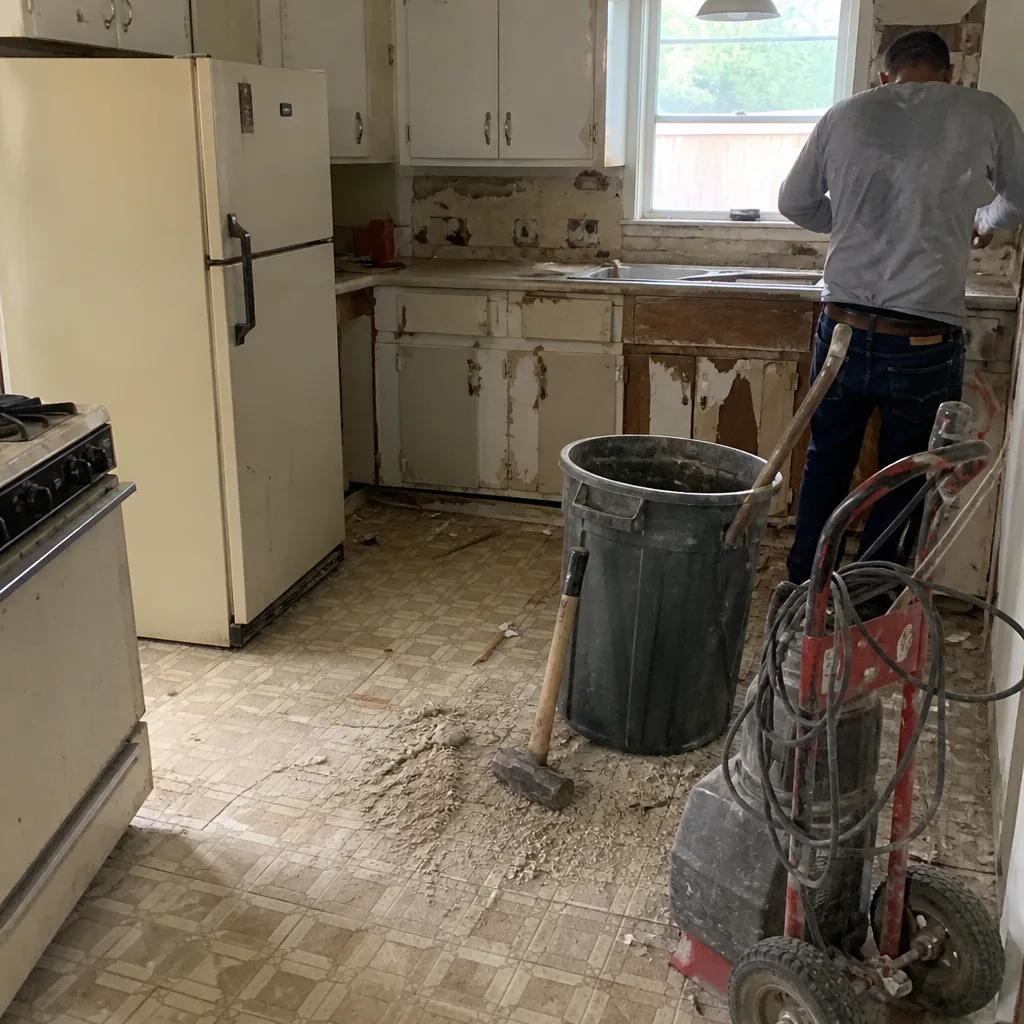 Before
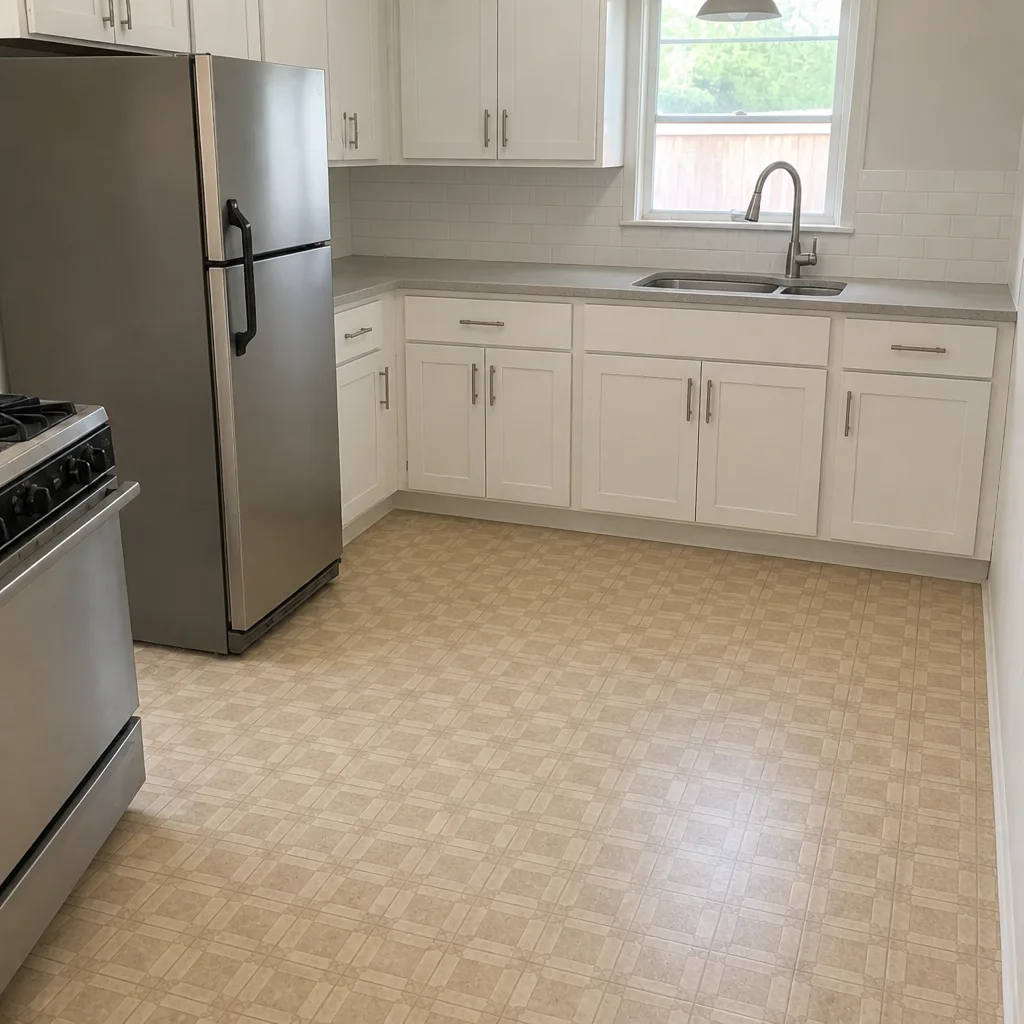 After
When to Call a Professional
Some bathroom problems are cosmetic. Most aren’t. Call in a professional when tile flexes or sounds hollow, when water shows up on the ceiling below a shower, when mold returns within weeks of cleaning, when a shower pan holds standing water more than an hour, or when you don’t have the permit and inspection records to prove the rough-in was checked. Those are the cases where a patch is clearly money wasted, and the diagnosis matters more than the repair. Smaller issues – a cracked grout joint, a worn caulk line, a slow-draining vanity – you can handle yourself. Anything that involves opening a wall or moving tile, get someone who can read the underlying cause and put a real warranty on the fix. Groundwork Construction Co. of Miami offers free estimates in Miami – call (833) 968-1198.
Frequently Asked Questions
A grout or caulk repair that actually stops the leak typically runs $250 to $600. A shower pan liner replacement, which is the fix when the leak is under the floor or into the ceiling below, usually lands between $3,500 and $7,500 depending on tile and access. Drain connection repairs fall in the middle at $800 to $1,800. Get the diagnosis right before the quote, because a grout repair on a liner leak is money down the drain. Call (833) 968-1198 for an exact quote – estimates are free.
Returning mold means a moisture source is still active – most often an exhaust fan vented into the attic instead of outdoors, or a waterproofing failure behind the tile. Run the fan continuously for three days after cleaning. If mold still returns, the wall is holding moisture and needs to be opened and inspected. Call (833) 968-1198 and we’ll help you figure out which source you’re dealing with.
Yes, if the cause is installation-related, and it almost always is within the first year. Grout that cracks because the substrate moves is a workmanship problem, not normal wear. The key is having a written workmanship warranty that specifies coverage. Call (833) 968-1198 to review your situation and get a free assessment.
Look up the address on the Miami-Dade or City of Miami building department’s online permit portal. A permitted remodel will show a permit number, a rough-in inspection date, and a final inspection sign-off. If the work is more than a cosmetic finish change and there’s no record, the plumbing and electrical behind the wall may never have been inspected. Call (833) 968-1198 if you need help reading what the record actually means for your home.
That’s lippage, and it’s usually caused by an uneven substrate, a tile that wasn’t perfectly flat from the factory, or thinset that was applied without back-buttering or a tile leveling system. Press on the high edge. If it moves, the tile is loose and needs to come up. If it’s solid, the fix ranges from grinding down the high edge to a full re-lay. Call (833) 968-1198 for a free look at whether yours is cosmetic or structural.
At minimum: a written workmanship warranty that names what’s covered, for how long, and how to file a claim, plus the permit and inspection records and all product warranties. Florida’s statutory protections cover structural and workmanship defects for years beyond a typical one-year handshake, but only with documentation. Groundwork Construction Co. of Miami backs every project with the 730-Day Done Right Promise in writing. Call (833) 968-1198 for a free estimate on a remodel or a repair.
The Bottom Line
Bathroom remodel problems in Miami almost always trace back to installation decisions, not the tile or the grout. Cracking grout, lippage, mold, and leaks are symptoms, and each one points to a specific cause: substrate movement, ventilation, waterproofing, or the pan liner. Diagnose before you repair. Cosmetic fixes last only when the underlying cause is corrected, and the difference between a $300 patch and a $6,000 tear-out almost always comes down to knowing which one you’re looking at. The 730-Day Done Right Promise backs every project we install, so the fix happens once, and the paperwork holds up when you need it.
Ready for a straight read on what your bathroom really needs? Call (833) 968-1198 to schedule your free estimate and design consult with Groundwork Construction Co. of Miami. We answer live, around the clock, and the number we quote is the number you pay. If your project spans more than the bathroom, pair this guide with our breakdown of Home Additions & ADU in Miami to see how shared walls and plumbing tie-ins affect the plan, and keep Driveway & Pavers in Miami or Fence Installation in Miami in mind if the work extends outside the house.
Written by the team at Groundwork Construction Co. of Miami.