
Last updated November 17, 2026
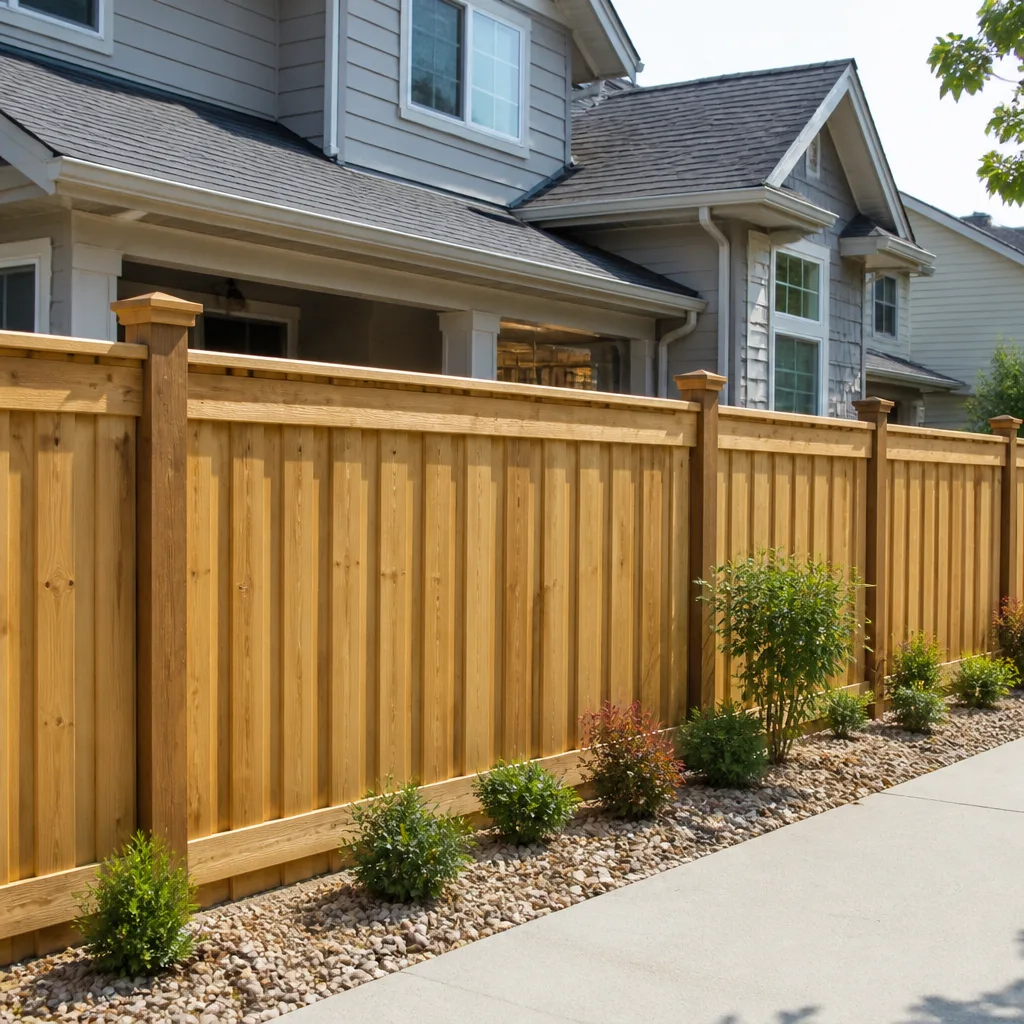 Fence
 Kitchen remodeling
 Bathroom remodeling
 Home additions & ADU
 Roofing
 Windows & doors
 Driveway & pavers
Free written scope consultation - allowances, timeline, and change-order rules on paper before a single trade is scheduled
Fence Installation Troubleshooting: Common Problems and How to Fix Them
A leaning fence post isn’t a wind problem – it’s almost always a footing problem. That’s the single most useful thing we can tell you about fence repair, and it’s the thing most homeowners learn the hard way. Replace the post, pound it back in, and you’ll be right back here after two rainy seasons. We’ve walked hundreds of fence lines across Miami, and the failures almost always trace back to the same three root causes: post depth that ignores South Florida soil, hardware that was never rated for wind, or water pooling at the base because nobody thought about drainage. This guide is about telling those apart, so you fix the cause instead of the symptom.
Quick Answer
A leaning fence post in Miami is usually caused by one of three things: a concrete footing that’s too shallow for our sandy, high-water-table soil, water pooling at the base and softening the ground, or hardware that failed under wind load. Diagnose which by the lean angle and the soil disturbance pattern. A post that leans in one direction with cracked ground around it is a footing failure – resetting the post in deeper, properly drained concrete fixes it. A post that wobbles but stands straight is usually a hardware or hinge problem. Get the diagnosis wrong and the repair won’t hold through one hurricane season.
Styles & brands we work with
- Kitchen remodeling
- Bathroom remodeling
- Home additions & ADU
- Roofing
- Windows & doors
- Driveway & pavers
- Fence
Table of Contents
- How to Diagnose a Leaning Fence Post
- Post Depth and Footing: Why Miami Soil Changes the Rules
- Why Fence Panels Gap and Warp in Miami
- Gate Sag: Hinge, Post, or Frame Racking?
- Hardware That Holds in a Wind-Rated Application
- Drainage at the Post Base: The Problem Nobody Plans For
- When One Failed Section Means Inspecting the Whole Run
- Repair or Full Reset: Making the Call
How to Diagnose a Leaning Fence Post
Walk up to the post and look at three things: the angle of the lean, the ground around it, and how the panel attaches. Each tells you something different.
Here’s the diagnostic sequence we use on site in Miami:
- Check the lean direction. A post leaning away from the fence line, toward open ground, is almost always being pushed by soil shifting or a footing that’s too shallow. A post leaning along the fence line – so the panel is out of plumb – usually points to a failed fastener or a panel that’s pulling the post.
- Look at the soil. A cracked ring of soil around the base with the post pivoting inside it means the concrete plug has separated from the surrounding dirt. That’s a footing failure. Wet, spongy soil with no cracking means drainage. Dry, clean soil with a wobbly post means the post itself rotted below grade.
- Push test. Grip the post at chest height and push gently in both directions. Movement at the base means footing. Movement at the top only means the post is sound but the connection to the panel or gate has failed.
- Dig a small probe. Remove a few inches of soil beside the post and see where the concrete starts. In Miami, we routinely find footings that start 12 inches down. That’s half of what our sandy soil needs under a wind-rated fence.
- Look for rot. On wood posts, push a screwdriver into the wood just above the soil line. If it sinks easily, the post is done regardless of the footing.
The reason this sequence matters: the wrong diagnosis leads to a repair that looks fixed and fails again. We’ve seen homeowners in Miami pay for a post reset three times on the same fence line because nobody ever checked the drainage. Each time it held for a season and then let go again. The lean angle and soil pattern tell you which of the three root causes you’re actually dealing with.
On a chain-link or aluminum post, you’ll also want to check the post cap. A missing cap lets water into the hollow tube, and the post rusts from the inside. That’s a Miami-specific failure because of the humidity and the sheer volume of summer rain.
Post Depth and Footing: Why Miami Soil Changes the Rules
Most fence installation guides written outside South Florida call for a post buried 24 inches in concrete. In Miami, that’s often not enough, and here’s why: our soil is a mix of sandy fill, limestone, and in many neighborhoods a high water table that sits just a few feet down. Sandy soil has less lateral bearing capacity than clay, and the water table can soften the soil around a footing for weeks at a time during the wet season.
What that means in practice:
- Deeper is safer. For a 6-foot privacy fence in Miami, we set posts a minimum of 30 to 36 inches into the ground, and often deeper on a corner or gate post.
- Concrete footings are non-negotiable. Packing dirt around the post, or using expanding foam, works in dry climates. In Miami it fails within a couple of seasons because the soil moves with the water table.
- Belling the footing helps. A footing that flares out at the bottom – wider at the base than at the surface – resists uplift better than a straight cylinder. That matters in a wind event where the fence acts like a sail.
- Corner and gate posts carry more load. They should get a wider footing and a thicker post than the line posts. If your gate is hanging off a 4×4 set 20 inches deep in sandy soil, it will move.
- Call 811 before you dig. Every fence install in Miami should start with a utility locate. Digging into a buried irrigation line or a gas service is a real hazard, and the utility line itself can be a reason to shift a post.
We pull permits on fence work where the code requires it and build the footing to the depth the inspection calls for. A fence that passed inspection with a properly deep footing is a fence that holds. A fence set at 18 inches to save an afternoon is a fence that goes into the “call us next year” pile.
If you’re thinking about a new fence rather than a repair, our Fence Installation in Miami page covers materials, height limits, HOA considerations, and how we spec a footing for South Florida soil. It’s worth reading before you hire anyone, because the depth of the footing is the thing you can’t see after the job is done.
Why Fence Panels Gap and Warp in Miami
A fence panel that develops gaps between the boards, or a vinyl panel that bows and pulls out of its channel, is showing you a moisture and temperature problem – not a defect in the material. Miami’s climate is about as hard on fence panels as anywhere in the country. The thermal swing on a wood or vinyl panel over a single year is significant. In the cooler months the material contracts. In summer it expands. Add in humidity that cycles between downpour and dry, and the wood or vinyl is constantly moving.
Here’s what each material tends to do and why:
- Wood (pine, cedar, cypress): Shrinks and splits as it dries, so boards that were tight at install develop 1/8- to 1/4-inch gaps by the next dry season. Wood also warps because one side absorbs more sun than the other. A board that cups and bows is a board that’s drying unevenly, usually because it wasn’t sealed on both sides.
- Vinyl: Expands in the heat and needs room to move inside its rails. A vinyl panel that’s screwed tight will bow and sometimes pop out of the rail. The fix is to leave the expansion gap the manufacturer specifies, and to check that the installer actually did.
- Aluminum: Doesn’t warp or gap, but it does telegraph a failure in the frame or the post because the panels are rigid. If an aluminum fence looks crooked, the problem is under it.
- Composite: Less prone to warping than wood, but it still moves and needs proper framing behind it.
There’s no way to stop the movement entirely. What you can do is build for it: pick a material appropriate to your exposure, seal wood on all six sides, use stainless fasteners that won’t stain the panel as they corrode, and let vinyl panels ride the way the manufacturer intended. In Miami, a fence panel facing west takes the worst of the afternoon sun and storms, and it will always need more attention than the same panel facing north.
If you’re weighing materials and the long-term behavior matters to you, the brand partners we work with on fencing are chosen for how they hold up here, not just for the price sheet. The same logic applies to the pavers and drainage on the ground alongside the fence; our Driveway & Pavers in Miami page covers how we manage runoff so it doesn’t undermine a footing or turn your side yard into a swamp.
Gate Sag: Hinge, Post, or Frame Racking?
A gate that drags on the ground has a specific cause, and there are three of them. Diagnose before you adjust anything.
Run this check in order:
- Open and close the gate slowly. If it swings and hangs true but the latch won’t line up, the problem is hinge wear. If it drags along the ground through the whole arc, the gate frame has racked. If the latch is off but the gate swings freely, the post has moved and tilted the gate.
- Check the hinges. Worn hinge pins, or screws that have backed out of the frame, cause the gate to drop on the hinge side. Remove the weight, tighten or replace the hardware, and check for rust – common in Miami because of the salt air near the coast.
- Check the post. Push the gate post at chest height. If it moves at all, the footing failed, and no amount of hinge work will fix that.
- Check the frame for racking. A sagging gate frame that has lost its corners – because the joinery loosened or the diagonal brace slipped – needs a brace reset or a frame rebuild.
- Look at clearance. A gate needs 1/2 to 3/4 inch of clearance on the latch side and a couple of inches above the ground. A gate set too tight binds in the summer heat and then sags.
In our experience in Miami, gate failures are overwhelmingly post or footing failures, not hinge failures. That’s because the gate concentrates load on one post, and if that post’s footing wasn’t deep enough, the whole gate assembly starts to tilt. A hinge adjustment on a moving post is the classic repair that “looks fixed” and then goes right back where it was. If the post moves, the gate will move with it no matter how well the hardware is set.
Hardware That Holds in a Wind-Rated Application
The reason a fence fails in a wind event is almost always the connections, not the pickets. The panel is the sail, the post is the mast, and the hardware is the rigging. If two of those are strong and one is weak, the weak one takes the whole fence down.
These are the specs we look for in a Miami installation:
- Stainless steel or hot-dipped galvanized fasteners. Plain steel screws rust out in our humidity within a couple of seasons. Stainless looks expensive on the invoice and is free over the life of the fence.
- Framing hardware sized for the wind load. Post brackets, ridge caps, and panel hangers should be rated for the exposure. On gates, the hinges should be rated for the gate’s weight, not just its width, and the latch should have a positive closure.
- Diagonal bracing on gates. A gate with no diagonal brace or a poorly located one is a gate that will rack. The brace needs to run from the bottom latch side to the top hinge side.
- Post caps and finials. Small item, big difference. A capped post stays dry inside. An open post collects rain and rusts from the inside out, then the whole post has to be replaced.
- Correct hanger spacing. Panel boards or pickets tied with too few fasteners will rattle in wind and work loose over time. Better one extra fastener than a panel that flaps in a tropical storm.
What we tell every homeowner considering a repair: the material of the fasteners matters more than the brand of the fence. A premium vinyl panel hung with cheap zinc-plated screws is going to fail faster than a mid-grade panel with good stainless hardware. That’s the same reasoning that guides the material choices we make across all our work, from a Groundwork Construction Co. of Miami home standpoint – the hardware and the substrate, not the brochure, are what make a job last.
Drainage at the Post Base: The Problem Nobody Plans For
Ask most homeowners why a fence post failed and they’ll say “wind” or “the wood rotted.” In Miami, we’d add a third: the water had nowhere to go. Flat lots, high water tables, and heavy summer rain combine to keep soil around a post base saturated for weeks. Saturated soil is softer, the footing moves, and the post tilts. Wood posts in saturated soil also rot from the ground line up, and the rot is invisible from the surface because the post looks solid until the day it doesn’t.
What good drainage around a fence looks like:
- A crowned or mounded base. The soil should slope away from the post, not toward it. A foot of concrete sticking up like a post mushroom catches water and is a common installer shortcut that causes failures.
- Post footings that sit above the wet line. If the water table in your Miami neighborhood sits at 30 inches and the footing is at 30 inches, you’re building in a puddle. Going deeper with proper materials and drainage handles this better than going shallow.
- Gravel or French drains along the fence line in low spots, particularly on a lot that collects runoff from a slope or a neighboring property. If your yard floods during a summer storm, the fence line will too.
- Wood posts treated for ground contact. Ground-contact-rated pressure-treated lumber and a rock or gravel collar around the base extend the life significantly.
- Don’t bury the post in landscape mulch. Mulch holds moisture against the post and hides the rot until it’s structural. Keep mulch at least a couple of inches back from the post.
The drainage problem is also the root of the “post repair that didn’t hold” complaint. If you reset a post in wet soil without addressing where the water came from, you fix the symptom. Two rainy seasons later you’re resetting the same post. That’s the cycle we want to break. Checking the grading and the runoff path alongside the fence is as much a part of the repair as the footing.
When One Failed Section Means Inspecting the Whole Run
If one post on a fence line has failed, the others are almost certainly under the same conditions, and they deserve a look before you commit to a repair. A fence line is built as a system. The post that failed is the one that hit the tipping point first, not the only one that’s at risk.
Here’s what we inspect when we’re called out for a single failed section in Miami:
- Push test every post on the line. Firm posts get a note; any movement gets flagged.
- Check each footing location. A probe at each post tells you whether the footings are all at the same depth or whether that one post was shortchanged.
- Look for the wet spots. Where does the water pool along the line after a storm? That’s where the next failure will be.
- Inspect the hardware across the run. A batch of fasteners that’s rusting at one post is rusting at all of them.
- Check the gate posts twice. They carry more load, and a gate post that moves is a failure waiting to happen.
This is where a cheap repair and a repair that holds part ways. Replacing the one failed post, taking the other eight on faith, and calling it a day is what leaves a homeowner back on the phone in a year. Replacing the failed post and flagging the next two that are on the same footing and the same drainage path – and dealing with those now – is a repair that’s built to last. If a run has more than two or three posts failing at once, it often makes more financial sense to reset the affected section than to patch it post by post, and we’ll show you the numbers on that comparison in writing.
Repair or Full Reset: Making the Call
The decision comes down to three questions: how many posts are affected, how old is the fence, and why did it fail.
A rough decision guide:
- One post, footings elsewhere are sound, hardware is clean: repair the post, fix the drainage, inspect the neighbors. Likely a same-visit job.
- Two or three posts on a section, fence material still in good shape: reset the section. Replacing the failed posts and the next two on the same failed footing costs less than doing it one at a time over a few years.
- Most of the line is moving, or the wood is punky along the whole run: a full fence replacement is usually the better spend. You’re not repairing a fence; you’re redoing the foundation one post at a time.
- Hardware failure across the board: replace the fasteners and brackets on the whole run if the posts are sound. It’s a fraction of a new fence and it fixes the root cause.
- Drainage failure at many posts: the drainage correction is the first line of the estimate. Without it, the new posts fail the same way.
We give written, line-item quotes here – the number you see is the number you pay. If the honest answer is that a reset costs less than repeated repairs over the next five years, we’ll say so. If the honest answer is that the fence has another decade in it and a repair is the right call, we’ll say that too.
Common Mistakes to Avoid
- Resetting a post without addressing drainage. The most common repair we undo. If the soil around the post is staying saturated, the new post fails on the same clock as the old one.
- Setting posts at 18 or 24 inches in Miami soil. That’s a northern spec, not a South Florida one. Sandy soil and a high water table mean a deeper footing, usually 30 to 36 inches minimum.
- Fixing a gate by adjusting hinges when the post is moving. Hinge adjustment on a failed post is wasted money. Push the post first, then touch the hardware.
- Using zinc-plated or drywall screws on an exterior fence. They rust out in Miami humidity in a couple of seasons and stain the panel as they go. Stainless or hot-dipped galvanized, every time.
- Piling mulch up against the post base. It holds moisture against the wood and hides rot until the post has to be replaced. Keep mulch back a few inches.
- Replacing one post and ignoring the rest of the line. If one footing failed, the others on the same run are under the same conditions. Inspect the whole run.
- Skipping the 811 utility locate before digging. Not a mistake you want to make. Buried irrigation, gas, and electric lines are common in Miami yards, and a post in the wrong spot can become an expensive repair.
See the difference
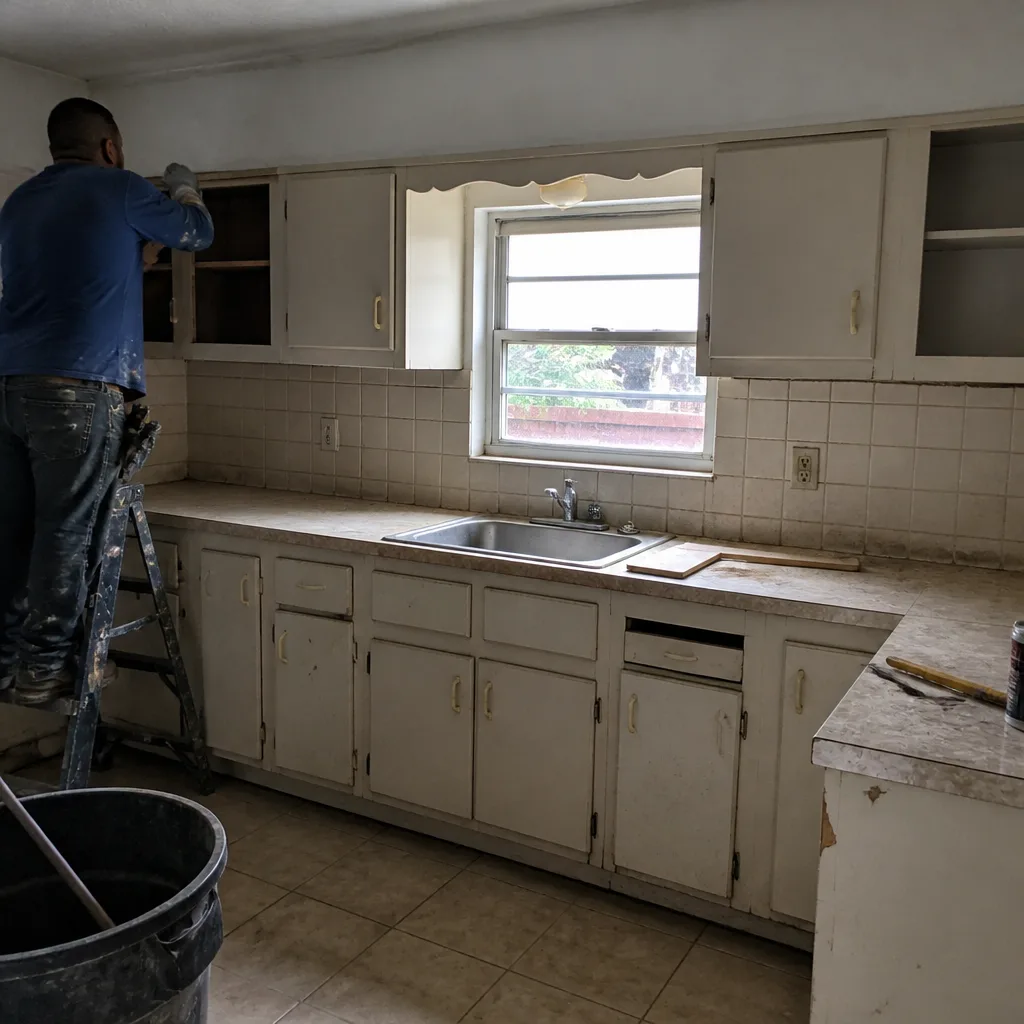 Before
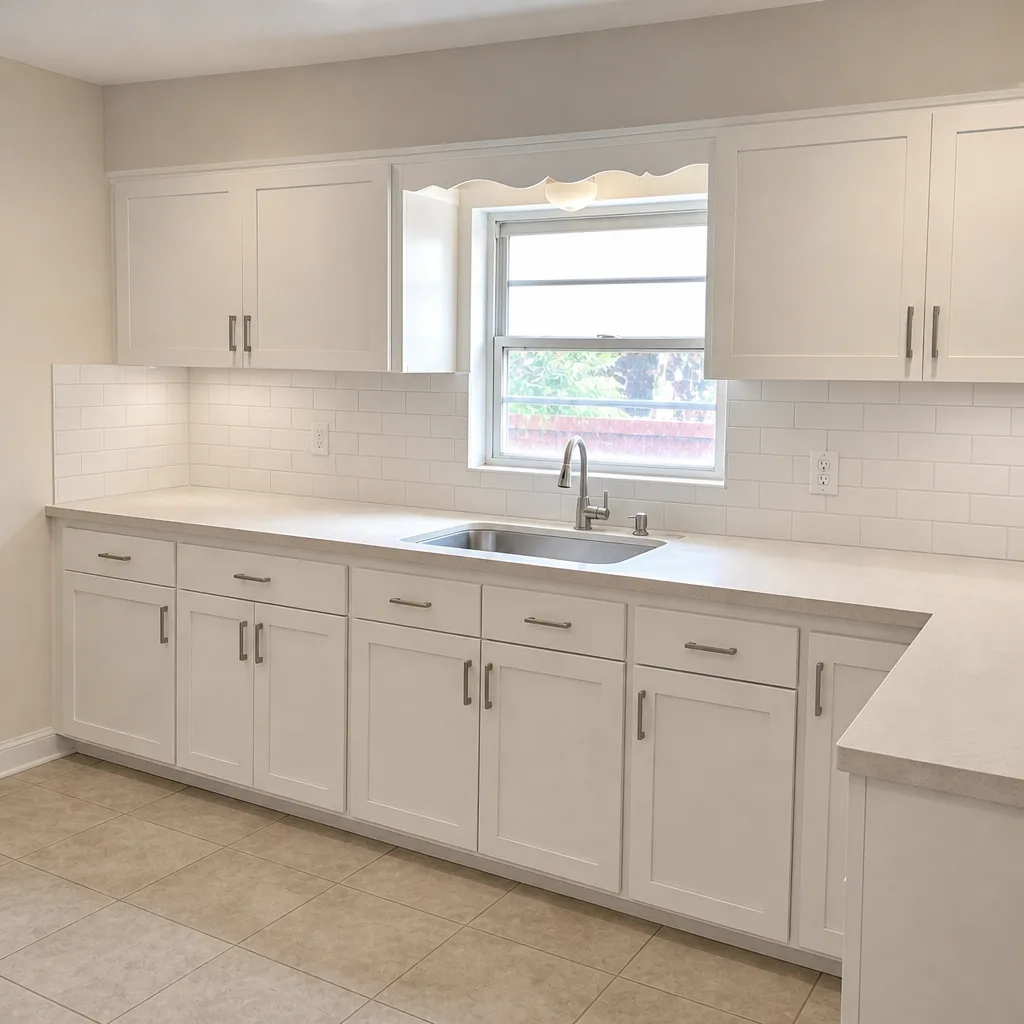 After
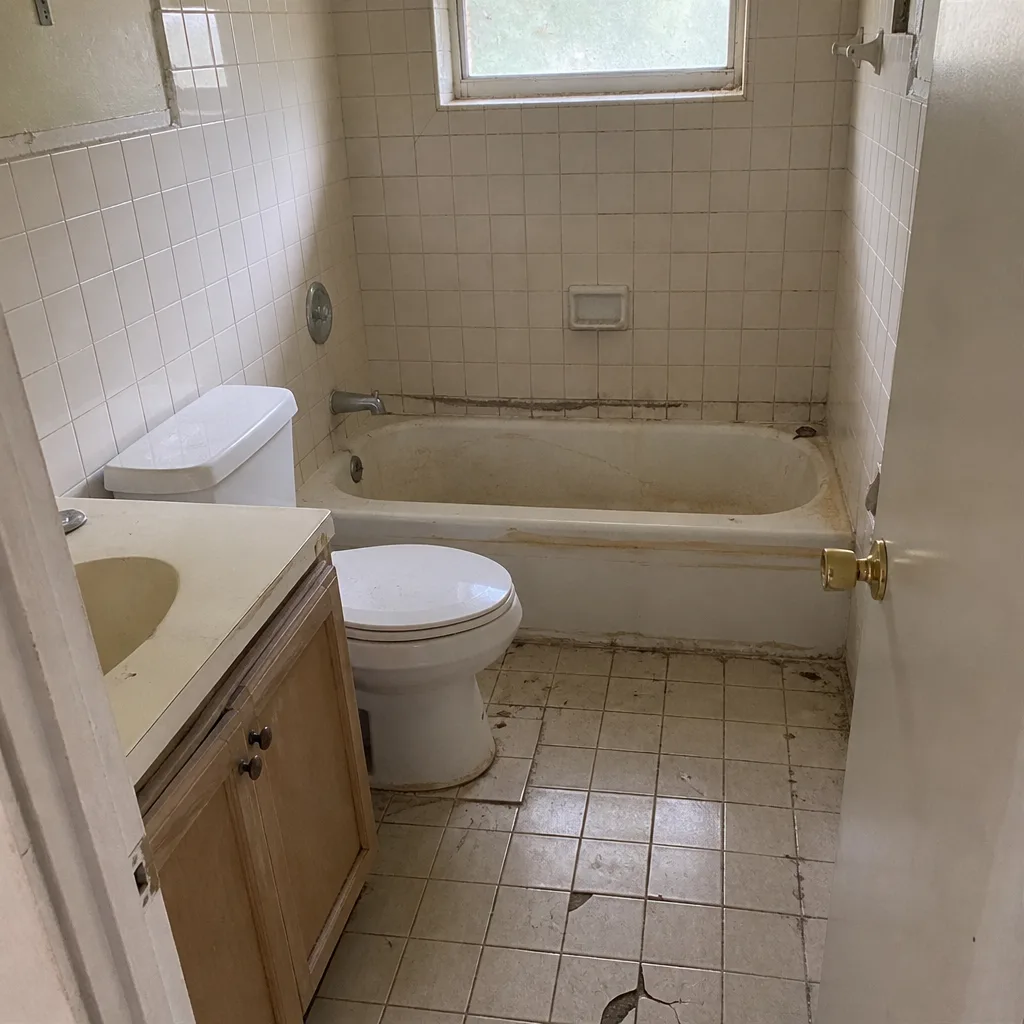 Before
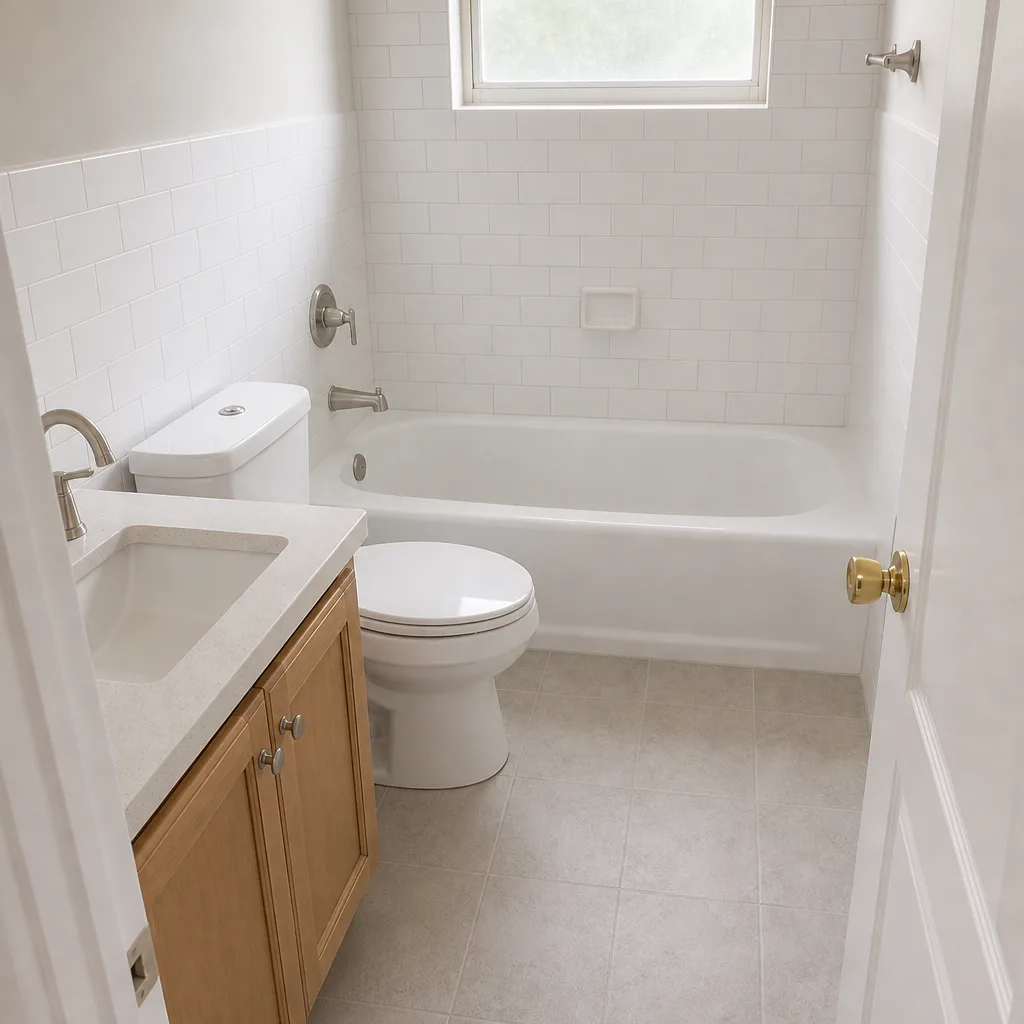 After
 Before
 After
When to Call a Professional
Short answer: any time the post is moving, any time the footing has failed, and any time a repair needs to be dug out and reset in concrete. That’s the work that has to hold through a Miami storm season, and it’s the work that gets done wrong most often. If you have a gate post that’s moving under a heavy gate, a fence line that’s leaning more than a couple of inches across several posts, or a repair that has already failed once, call a professional before you reset it again. Digging around a buried utility line, setting a footing to inspection depth, and diagnosing a drainage path are not weekend tasks.
Groundwork Construction Co. of Miami offers free estimates in Miami, and our technicians have up to 12 years of experience with South Florida fence work. We give upfront pricing in writing, a live person answers our line around the clock, and every job is backed by our 730-Day Done Right Promise – if it’s not done right, we make it right. If you’re also thinking about a bigger backyard project while we’re out there, our Home Additions & ADU in Miami page covers what that takes.
Frequently Asked Questions
A single post repair in Miami typically runs a few hundred dollars, and a full section reset runs more depending on the number of posts and the material. The exact cost depends on whether the footing needs to be dug and reset, what the hardware needs, and whether drainage correction is part of the job. Call (833) 968-1198 for an exact quote – estimates are free, and we give you the price in writing before any work starts.
A leaning fence post is usually a footing failure, not a wind problem. In Miami the most common causes are a concrete footing that’s too shallow for our sandy soil, water pooling at the base and softening the ground, and hardware that has corroded or pulled loose. The lean angle and soil disturbance tell you which one you’re dealing with, and the correct fix depends on the diagnosis.
Bracing a leaning post is a temporary measure at best. If the footing has failed, the post will lean again as soon as the ground cycles wet and dry, which in Miami happens every summer. A repair that holds requires resetting the post in proper concrete at the right depth and correcting the drainage at the base.
Permit requirements for fence repair and replacement in Miami depend on the scope and the property. A like-for-like repair on an existing fence usually doesn’t need a permit, while a new fence or a structural change often does, and height limits vary by zoning. We pull the permits that apply to your project and build to the depth the inspection calls for – call (833) 968-1198 and we’ll tell you what your job needs.
A repair with a proper footing and corrected drainage should hold for many years. A repair that resets the post but ignores why the footing failed will typically fail again within two rainy seasons. That’s the difference between a repair that holds and one that just looks fixed, and it’s the reason we diagnose the footing and drainage before we touch a post.
No. We give upfront pricing in writing, and the number you see is the number you pay. If we open up a footing and find something worse than expected – a collapsed section, a hidden utility conflict – we show you the change and get your approval before doing any additional work. Call (833) 968-1198 for a free estimate.
The Bottom Line
A leaning fence in Miami is almost never a wind problem. It’s a footing problem, a drainage problem, or a hardware problem, and the lean angle and soil pattern tell you which one. Diagnose the cause before you spend on the repair. Set posts deeper than you’d expect in our sandy soil, use stainless or hot-dipped galvanized hardware rated for the load, and manage the water at the base. Inspect the whole line when one section fails, and choose repair or reset based on the number of posts and the condition of the material. Get the cause right and the repair holds. Get it wrong and you’re back to a leaning post after two rainy seasons.
If you’d rather have it diagnosed properly the first time, call Groundwork Construction Co. of Miami at (833) 968-1198 for a free estimate. A live person answers, 24/7, and every project is backed by our 730-Day Done Right Promise.
Written by the team at Groundwork Construction Co. of Miami.