
Last updated November 17, 2026
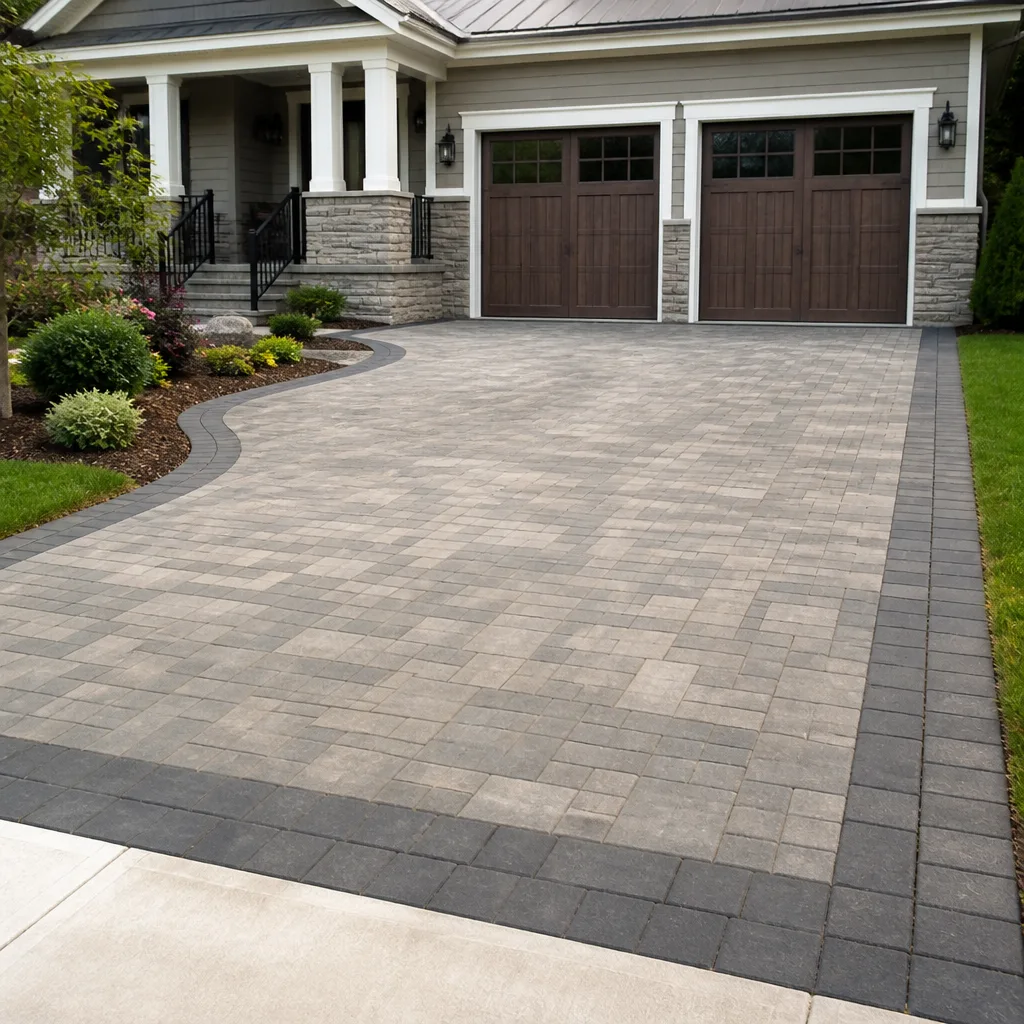 Driveway & pavers
 Kitchen remodeling
 Bathroom remodeling
 Home additions & ADU
 Roofing
 Windows & doors
 Fence
Free written scope consultation - allowances, timeline, and change-order rules on paper before a single trade is scheduled
Driveway & Pavers Warning Signs Every Homeowner Should Know
A single rocking paver isn’t a warning sign. A cluster of rocking pavers within 4 feet of each other near a low point in your driveway is your base telling you it’s saturated, and you have a short window to act before it spreads. Here’s what we’ve learned walking driveways across Miami: pavers broadcast what’s wrong with them long before they fail. You just have to read the right signal. Surface stains, edge creep, clustering, and direction of movement each point to a different problem with a different price tag. This guide shows you which is which, how to test for it in 60 seconds, and when a small repair is about to become a full replacement.
Quick Answer
Driveway paver problems fall into three categories: surface issues (staining, color fade, efflorescence), base issues (rocking, settling, clustering, sunken areas), and drainage issues (standing water, edge creep, erosion at the borders). The location, clustering, and direction of the symptom tell you which category you’re in. Surface problems are usually a few hundred dollars to correct. Base and drainage problems that go unaddressed can run five figures. Most base failures from installation defects show up between 18 and 36 months, which is why a 730-day workmanship promise catches them; a standard one-year guarantee does not.
Styles & brands we work with
- Kitchen remodeling
- Bathroom remodeling
- Home additions & ADU
- Roofing
- Windows & doors
- Driveway & pavers
- Fence
Table of Contents
- Normal settling vs. active base failure: how to tell the difference
- Why efflorescence on Miami pavers points to drainage, not age
- Edge creep and lateral shift: when cosmetic turns structural
- The 60-second water test that catches slope problems early
- The warranty timeline every homeowner should understand
- Cracks, chips, and stains: separating harmless from urgent
- How South Florida heat, rain, and soil shape paver failure
- Repair or replace: the decision framework
Normal Settling vs. Active Base Failure: How to Tell the Difference
All driveways settle. Ground moves, bedding compacts, and a paver here or there develops a slightly different pitch than its neighbors. That’s normal. The problem is that “settling” and “base failure” look similar to an untrained eye, and they carry wildly different price tags. Here’s the pattern to look for: location, clustering, and directionality.
Location. A paver that rocks in the middle of a flat section is usually a bedding issue under that one unit. A paver that rocks near a low point, a downspout, a driveway-to-garage transition, or the edge of the slab is usually a base or drainage problem. Water goes to low points and edges. That’s where the base gets saturated first.
Clustering. One rocking paver: normal. Three or more within a 4-foot radius: your base is telling you something. When pavers settle together, it means the bedding layer beneath them has shifted as a group. That’s a base problem, not a cosmetic one.
Directionality. A paver that rocks and moves sideways when you step on it is a sign that the sand joint is gone and the units are sliding. That’s lateral movement, and it doesn’t stop on its own.
In our experience across Miami neighborhoods like Kendall, Coral Gables, and Westchester, we see the clustering pattern most often in driveways that were installed over a thin base without proper compaction. The pavers look fine for a couple of seasons, then one section starts to sink as a unit. If you catch that clustering in the first year or two, you’re typically looking at lifting and re-bedding a small section. If you wait three or four seasons, you may be looking at a full base reconstruction.
- One rocking paver, isolated: normal settling, usually a low-priority repair
- Two to three pavers clustered near a low point or edge: early base saturation, act within 60 days
- A whole section dipping together: active base failure, schedule an inspection
- Pavers shifting sideways underfoot: lost sand joint plus lateral movement, act immediately
Why Efflorescence on Miami Pavers Points to Drainage, Not Age
Efflorescence is the white, chalky mineral deposit that appears on paver surfaces. Homeowners often assume it’s a sign of aging or that the pavers are “going bad.” In a dry climate, that’s sometimes true. In Miami, it almost always points to drainage or sealer failure, and those are fixable.
Here’s the mechanism. Water gets into the paver system (through the surface pores, the sand joints, or from below when the base is saturated) and dissolves mineral salts. When the water evaporates, it leaves those salts on the surface as a white haze. So efflorescence is a visible marker of water moving through the pavers in a way it shouldn’t. If the staining appears on the surface only, the sealer has probably worn through and water is getting in from the top. If it reappears within weeks after a cleaning, water is coming from underneath, which means the base is holding moisture.
That distinction matters because it changes the fix entirely. A surface efflorescence problem needs a proper cleaning and re-sealing once the pavers dry out. An efflorescence problem driven by the base needs you to address drainage or the base itself; cleaning without fixing the source will just bring it back after the next rainy season. Miami’s wet season (roughly May through October) puts 40-plus inches of rain on a typical driveway. If your pavers are fighting water from below, no sealer will hold up for long.
What to do:
- Clean the pavers with a proper efflorescence cleaner (never muriatic acid, which etches the surface).
- Watch for regrowth over the following 30 to 45 days, especially after rain.
- If it doesn’t come back, the issue was surface-level; re-seal once the pavers are fully dry.
- If it returns, or comes back worse after a storm, have the base and drainage checked before you spend money on sealing again.
Brand of paver matters less than the joint sand and sealer used with it, but a good system (Belgard, for example, is a brand we work with on driveways across South Florida) will hold up better when the installation underneath is done right.
Edge Creep and Lateral Shift: When Cosmetic Turns Structural
Edge creep is the slow outward migration of the pavers along the perimeter of a driveway, and it’s one of the earliest visible signs of a deeper problem. In our experience, it gets ignored longer than almost any other warning sign because it progresses so slowly at first. A quarter-inch of shift per season doesn’t look like an emergency. Three years in, the edge has moved an inch and a half, the sand joints are wide open, and the pavers are starting to rock near the perimeter.
What causes it? Two things, usually together. First, a missing or failed edge restraint. The hidden collar or paver edge lock that holds the perimeter in place has broken, settled, or was never installed properly. Second, water running along the edge (from the driveway, from adjacent landscaping, or from a downspout) erodes the bedding under the edge pavers, so they have nowhere to hold. Once the restraint is gone, the pavers move with traffic, temperature, and water pressure.
South Florida’s heat accelerates the process. Pavers expand and contract significantly with daily temperature swings, and every cycle pushes outward against the edge. In a poorly restrained driveway in Miami, we’ve seen an inch of edge creep develop in a single wet season. In a well-restrained driveway, you’d expect a fraction of that over years.
The progression looks like this:
- Stage 1 (cosmetic): slight gap at the edge, sand joints widening by a few millimeters. Fixable with a proper restored edge restraint and new sand.
- Stage 2 (early structural): pavers at the edge are loose, joints are wide, and a finger-width gap has opened between the pavers and the edge restraint or the adjacent curb.
- Stage 3 (structural): pavers are migrating, the base is exposed, water is getting in freely, and the affected area extends several feet in from the edge.
Stage 1 is a small repair. Stage 3 usually means pulling up the perimeter and rebuilding the edge and base. That’s the difference a few seasons makes.
The 60-Second Water Test That Catches Slope Problems Early
Drainage problems are the single biggest driver of paver failure in Miami, and they’re almost always visible long before the pavers fail. You can check your driveway’s drainage in about 60 seconds after a rain, or with a garden hose, and catch slope problems before they erode the bedding layer.
Here’s the test:
- Wait 30 to 60 minutes after heavy rain (or run a hose at normal pressure for 10 minutes on a section of driveway).
- Walk the perimeter and the full surface slowly, looking for standing water. Any puddle that’s more than about a quarter-inch deep 30 minutes after the rain has stopped is a slope problem, not just a slow-drying surface.
- Look at the joints. If water is pooling in the sand joints, the joints aren’t draining and the bedding underneath is being saturated.
- Check the low point. Every driveway has one. The question is whether the low point drains toward the street, toward a landscape area, or just sits. If it sits, the paver base under it will eventually fail.
- Watch the edges. Water running off the edge of the driveway and pooling against the landscaping is eroding the edge restraint. That leads directly to edge creep.
- Look at where the driveway meets the garage or the house. If water pools there during a storm, you’re running a risk of water intrusion into the structure, not just into the pavers.
If you see standing water in multiple spots, or any puddle that takes more than 24 hours to disappear, you have a drainage issue that needs to be fixed before it takes the base with it. Most drainage fixes on a paver driveway (re-grading a section, adding a channel drain, correcting the slope at the edge) are in the low four figures. A full base reconstruction after years of saturation runs much higher.
We’ve written a more detailed breakdown of slope, base, and drainage work on our Driveway & Pavers in Miami page if you want to understand the full system.
The Warranty Timeline Every Homeowner Should Understand
Here’s the part most homeowners don’t learn until it’s too late. Base failures caused by installation defects (insufficient base depth, poor compaction, wrong slope, missing edge restraint) typically become visible between 18 and 36 months after installation. Not in the first three months. Not in the first year. Between 18 and 36 months, after the driveway has been through a full wet season cycle and the bedding has had time to compact, shift, and reveal whatever was done wrong underneath.
That timing is exactly why a standard one-year workmanship guarantee doesn’t protect you on a driveway. It expires before the failure appears. A 730-day guarantee (two full years) covers the entire window where installation-defect failures show up. It’s not a marketing figure; it’s the mathematical window where the problems present. That’s why we use the 730-Day Done Right Promise on every Groundwork Construction Co. of Miami paver project, and it’s why we ask homeowners to look for at least a two-year workmanship commitment before signing with any paver installer.
The timeline in practice:
- Months 0-6: normal settling of bedding. A few pavers may rock slightly. Not concerning yet.
- Months 6-18: if the base was under-built or compacted poorly, early clustering starts to show. This is the window a good installer wants to hear from you.
- Months 18-36: the peak window for installation-defect failures. Clustering, edge creep, and efflorescence from beneath become clear.
- Months 36+: if the driveway was built right, you’re into normal aging. If it was built wrong, you’re now paying for it.
Warranty implications aren’t the only reason timing matters, but they’re the reason it matters most. If you’re hiring Groundwork Construction Co. of Miami for a paver project, ask any competitor you’re considering to put their workmanship window in writing. If it’s one year, you’re carrying the risk of the failure window yourself.
Cracks, Chips, and Stains: Separating Harmless from Urgent
Not every paver flaw is a warning sign. Some are cosmetic and stay that way for years. Others look minor but signal something bigger. Here’s how to sort them.
Chipped corners on pavers. Usually cosmetic. They happen from dropped tools, vehicle weight on a poorly supported paver, or freeze-thaw if you’re in a cold climate (rare in Miami). A single chipped paver can be swapped in a few minutes. Chips appearing in a cluster across a section suggests pavers are moving under load, which points back to the base.
A single surface crack across one paver. Usually harmless. If you live in an area with heavy vehicle traffic across the driveway, it’s more likely. Replace the paver and move on.
Multiple pavers cracking within a small area. This usually means the pavers are being flexed under load, which happens when the base is compromised. The pavers are telling you they’re supporting weight they shouldn’t be.
Oil stains, rust stains, or mold/mildew. Cosmetic. Oil and rust clean up with the right product. Mildew is common in Miami’s humidity and not a structural concern.
Dark patches that stay dark after rain. Often a sign of water retention in the base under that area. The paver stays damp longer than its neighbors because moisture is being held below it. Pair a dark patch with a nearby rocking paver and you have a clear base issue.
White, chalky staining that returns. That’s efflorescence, and as noted above, if it returns quickly after cleaning, water is moving through the base. Not cosmetic.
When you’re not sure, mark the area with chalk and photograph it. Then check it again in 60 days. If the problem has grown, moved, or brought neighbors with it, it’s active. If it looks identical 60 days later, it’s probably stable.
How South Florida Heat, Rain, and Soil Shape Paver Failure
Miami is one of the harder climates in the country on a paver driveway, and understanding why explains most of the failure patterns you’ll see locally.
Heat. Paver surfaces regularly hit 140°F or higher in direct Miami summer sun. Pavers expand under that heat and contract when the afternoon thunderstorms roll in with cooler rain. That daily thermal cycle is a stress test on every sand joint and every edge restraint. In South Florida, joints fail faster and edge restraint failures happen sooner than in cooler climates. We’ve walked Miami driveways where the edge restraint shattered within three years because the installer used a product not rated for the temperature swing.
Rain. Miami’s wet season drops 40 to 60 inches of rain over five to six months. That’s more water than most paver systems are tested against in a full year elsewhere. Every drainage problem gets amplified. Every base flaw that would take years to reveal itself in a dry climate shows up in one or two wet seasons here.
Soil. Much of Miami sits on limestone bedrock close to the surface, with sandy soils above it. That’s good for drainage in principle, but the sand is highly erodible when water channels through it. A driveway that slopes slightly wrong will lose bedding under the pavers quickly because the sand migrates with the water. In neighborhoods like Coral Gables or Pinecrest, where older homes sometimes have clay-heavy fill brought in for landscaping, we see the opposite problem: poor drainage and perched water in the base. Both patterns lead to the same outcome, a failing base, but they require different repairs.
Hurricane season. Even a glancing blow from a tropical system pushes water sideways at a pressure most driveways rarely see. If your pavers already had a small edge problem, hurricane season will turn it into a serious one. That’s why we recommend inspecting (or having someone inspect) your driveway in April or May, before the season starts. A $300 edge-restraint fix in May is often a $3,000 base repair by October.
If you’re also thinking about your property’s perimeter in general, our Fence Installation in Miami page covers how the same climate factors hit fencing, and why the two projects are often worth planning together. Homeowners doing larger site work sometimes pair paver and hardscape projects with Home Additions & ADU in Miami planning so the driveway tie-in gets designed once.
Repair or Replace: The Decision Framework
The question every homeowner faces once they’ve identified a problem: fix it or replace the whole driveway. The answer depends on how many areas are affected, how deep the problem goes, and how old the pavers are. Here’s the framework we use.
Spot repair (usually under $800): one or two isolated pavers, no clustering, no edge creep, no drainage issue. Lift and re-bed the affected pavers, replace the sand joint, move on. Typically a single visit.
Section repair (roughly $1,500 to $4,500): a distinct area of the driveway (say 50 to 200 square feet) has failed, but the rest is stable. Lift the pavers in the affected section, rework the base, re-compact, reinstall the pavers (reusing them if they’re in good condition), and re-sand. This is the sweet spot for value if you catch a problem early.
Full base reconstruction (typically $8,000 to $15,000+ depending on size and site conditions): widespread failures, drainage problems throughout, or an installation that was fundamentally under-built. This isn’t a repair; it’s a redo. It’s also the outcome that comes from years of missed warning signs, which is why we emphasize catching problems early.
Full replacement with new pavers: only when the existing pavers are beyond their service life or the color/style decision has changed. If the pavers are in good shape and the problem is underneath, you can usually rebuild the base and reinstall the same pavers. That’s a lot of savings versus new material.
The decision also depends on how long you intend to stay. If you’re planning to sell in two years, a section repair with a solid workmanship guarantee protects your sale. If you’re staying for the long haul, doing the base fix right the first time is cheaper than fixing it twice. On any large project, our standing $1,000 off for projects over $10,000 and 0% financing for 18 months make the difference between a temporary patch and a proper rebuild often smaller than you’d expect. The number we quote on the estimate is the number you pay; no change orders, no surprises mid-project.
Common Mistakes to Avoid
- Judging pavers by how they look on day one. Base failures take 18 to 36 months to show. A driveway can look flawless at the one-year mark and be a full reconstruction by year four. Look at the installation warranty first, cosmetically second.
- Treating efflorescence as purely cosmetic. In Miami, white staining often means water is moving through the base. Cleaning and re-sealing without diagnosing the source will just hide the problem until the base fails outright.
- Ignoring a single “bad” cluster because it’s small. Three or four pavers rocking together near a low point is a base warning. Waiting a season usually means the cluster grows and the fix scope grows with it.
- Skipping the post-rain water test. Standing water 30 minutes after rain is a slope problem, not a slow-drying surface. Most homeowners never check this, which is why drainage problems stay hidden until they’re structural.
- Sealing a driveway to “fix” a problem. Sealing over a failing base or a saturated paver traps water and accelerates the damage. Sealer protects a healthy system; it doesn’t repair a failing one.
- Accepting a one-year workmanship guarantee on an installation. That guarantee expires before the failure window opens. Two years is the minimum worth signing.
- Assuming a small edge gap is just cosmetic. Edge creep progresses from a quarter-inch to an inch to a failed restraint in a few South Florida seasons. Once it reaches stage 3, the repair price jumps significantly.
See the difference
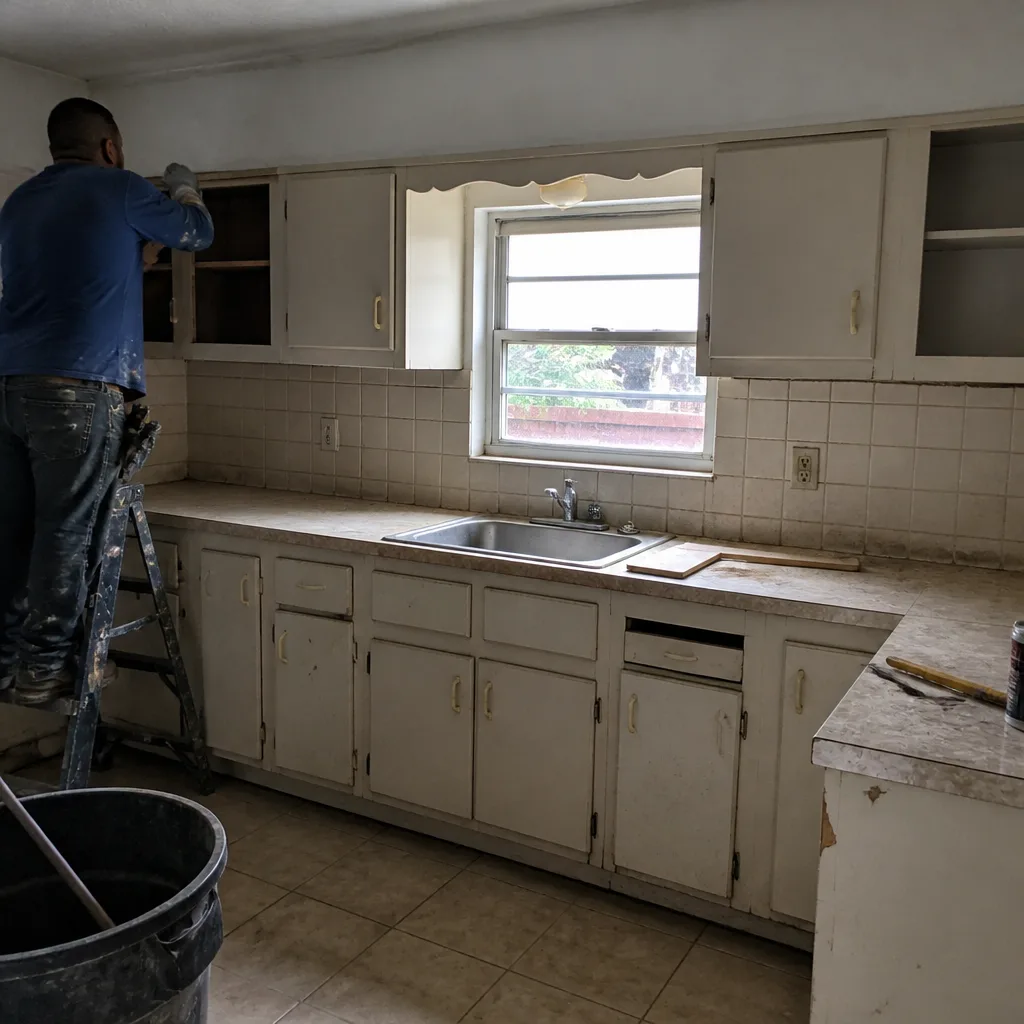 Before
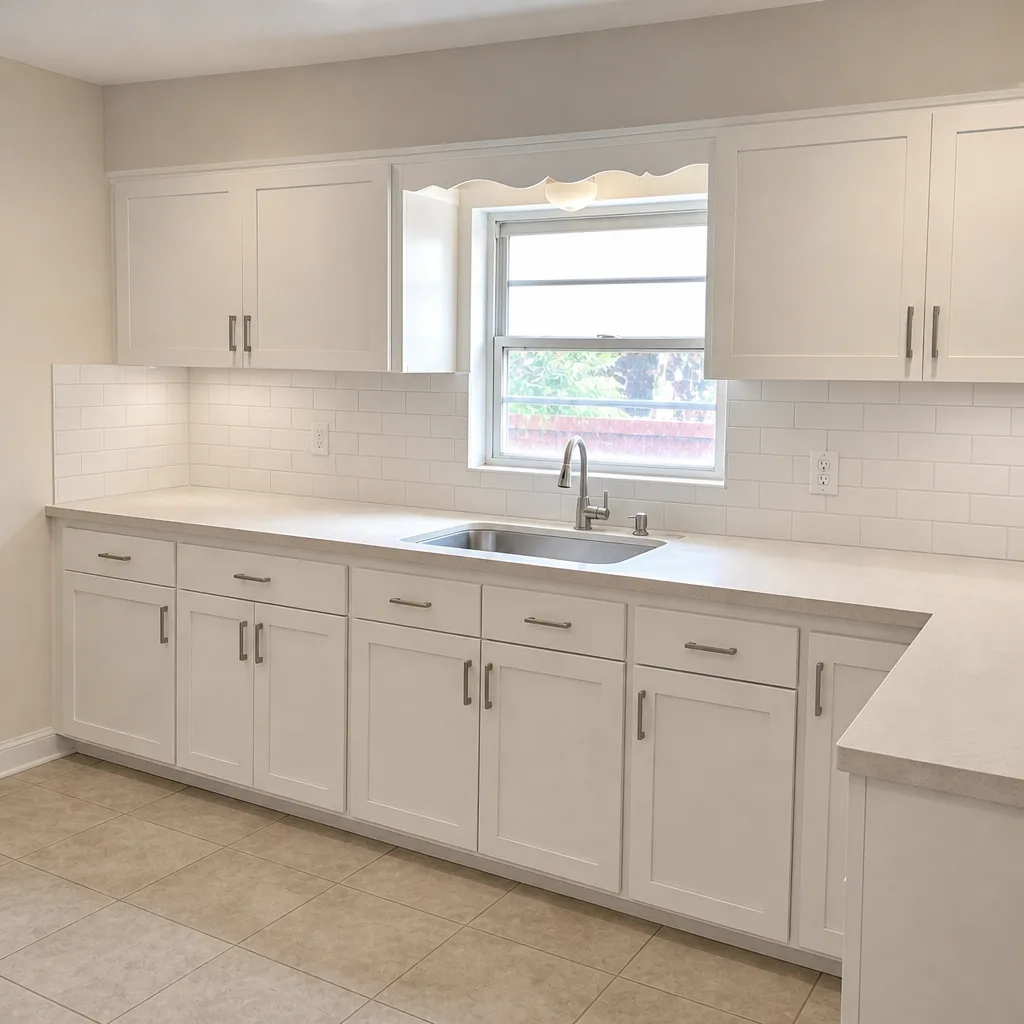 After
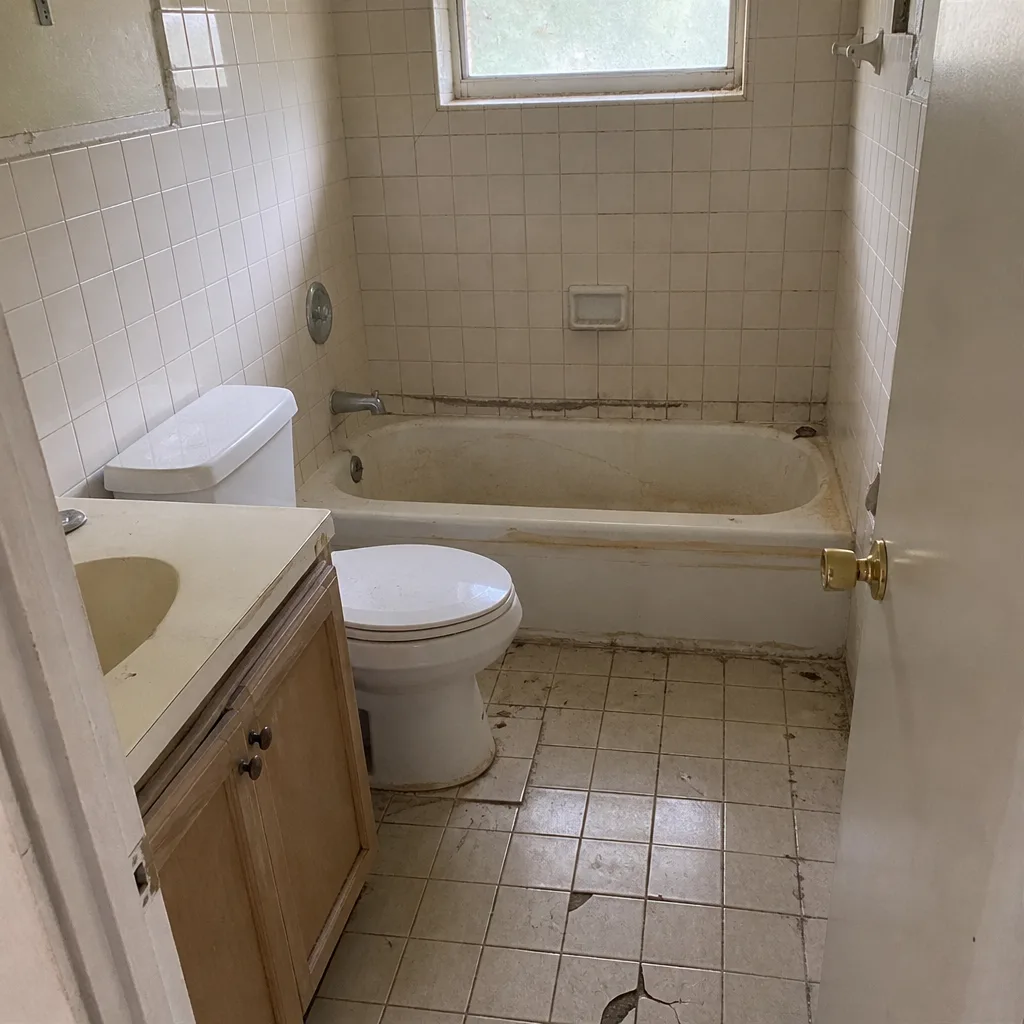 Before
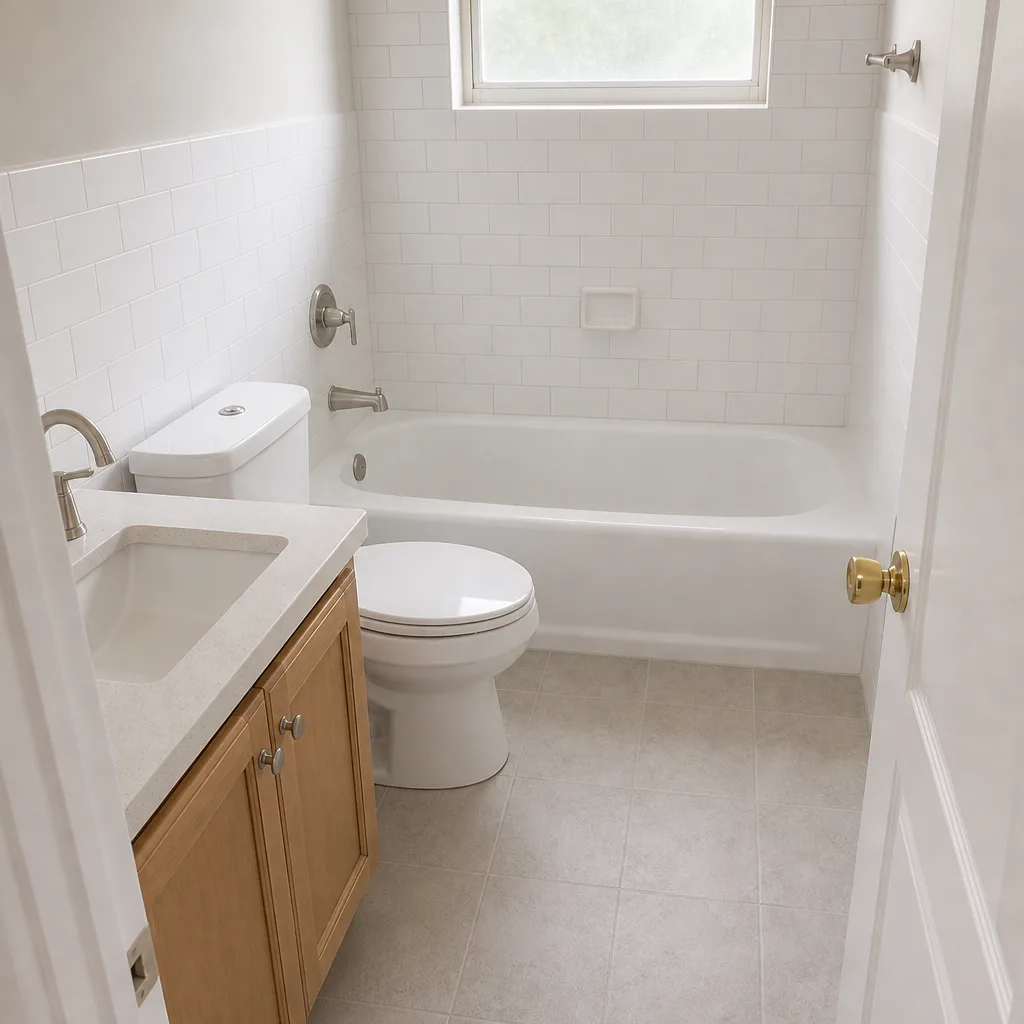 After
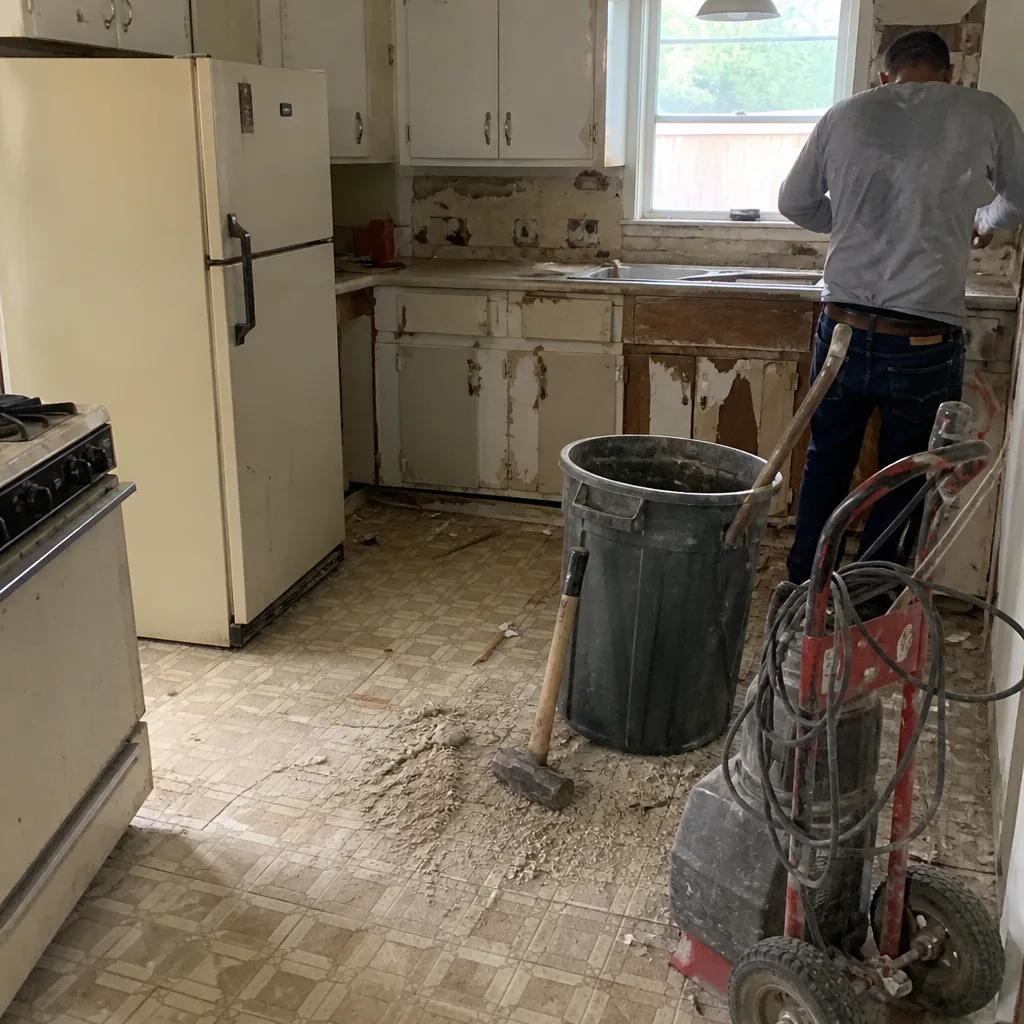 Before
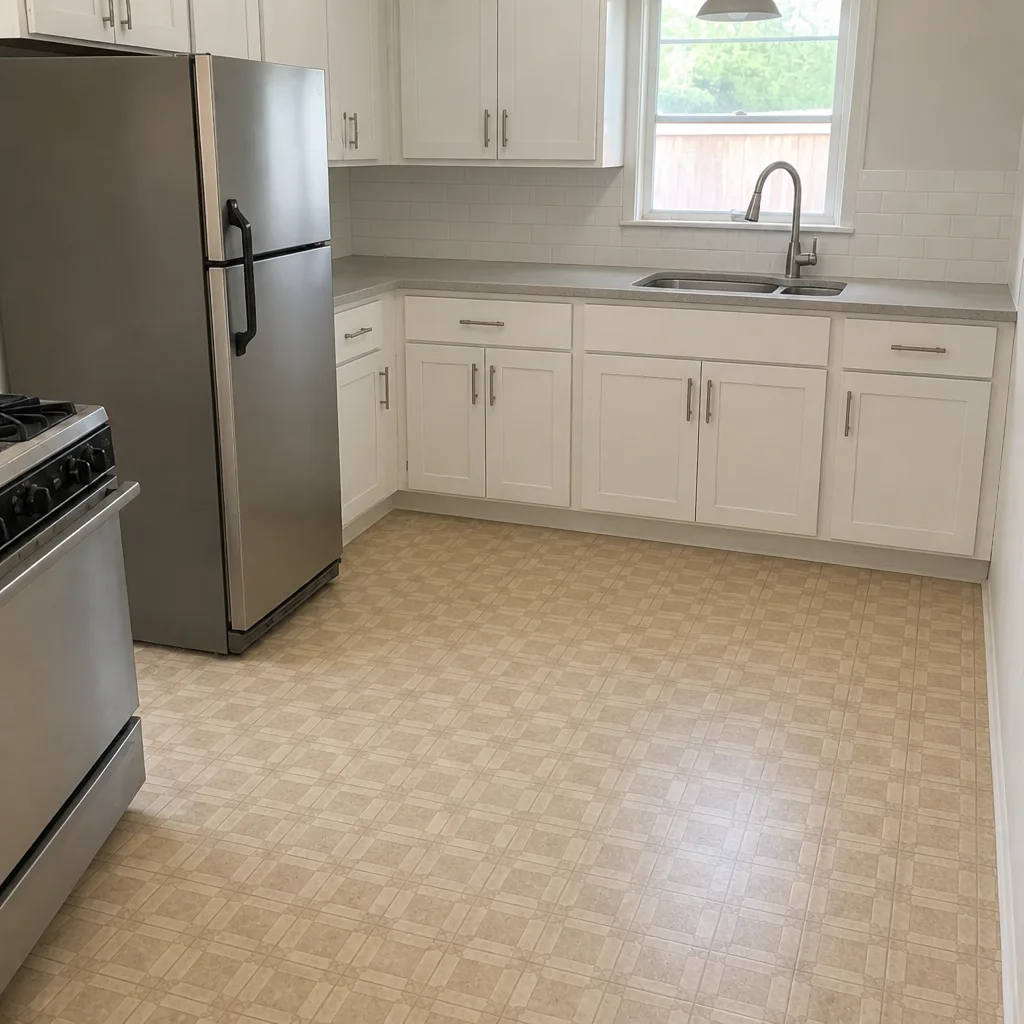 After
When to Call a Professional
Some of what’s in this guide you can check yourself: the water test, the 60-day photo comparison, the eyeball inspection for clustering and edge creep. But some situations are worth a professional look before you spend money going the wrong direction.
Call a professional if: you have three or more pavers rocking within 4 feet of each other; standing water persists more than 24 hours after rain; efflorescence returns within weeks of cleaning; edge pavers have visibly migrated more than half an inch; any pavers are shifting sideways underfoot; your driveway meets the garage floor and you see moisture coming in; or you’re inside the 36-month window after installation and seeing any of the above patterns.
Groundwork Construction Co. of Miami offers free estimates across Miami, with the same 730-Day Done Right Promise on any repair or installation we do. Call (833) 968-1198 to schedule yours. Calls are answered by a live person 24/7, so you won’t hit voicemail or wait until Monday morning to talk to someone about what you’re seeing.
Frequently Asked Questions
The earliest signs are clustered rocking pavers (three or more within 4 feet), efflorescence that returns after cleaning, and small gaps opening at the edge of the driveway. If you see any of these, especially within the first 36 months after installation, have the base and drainage checked.
Surface problems stay on top: stains, color fade, chipped corners. Base problems move: pavers rocking, sections dipping as a group, dark patches that stay dark after rain, and edge pavers shifting outward. The water test (being done 30 minutes after rain) is the quickest way to know which you’re dealing with. Call (833) 968-1198 for a free estimate if you want an in-person diagnosis.
That’s efflorescence, and in Miami it’s usually a drainage or sealer issue rather than simple aging. Water dissolves mineral salts and leaves them on the surface when it evaporates. If the stains return within weeks of a proper cleaning, water is coming from below and the base needs to be checked, not just re-sealed. A free estimate will tell you which cabinet you’re in.
In South Florida heat, edge creep can progress from a quarter-inch of shift to a full structural failure in two to three seasons. Catching it in the first year means a small restraint fix; catching it in year three usually means perimeter reconstruction. Free estimates on edge restraint and perimeter work are available across Miami.
Spot repairs on one or two pavers typically run under $800. Section repairs (50 to 200 square feet of base rework) usually fall between $1,500 and $4,500. Full base reconstruction runs $8,000 to $15,000+ depending on size and site conditions. The number on our estimate is the number you pay, and we offer $1,000 off projects over $10,000 with 0% financing for 18 months. Call (833) 968-1198 for an exact quote, estimates are free.
Yes. It covers workmanship on every Groundwork Construction Co. of Miami project, including driveways and pavers. That matters specifically because the 18-to-36-month window is when installation-defect failures surface. If it’s not done right, we make it right, for the full two years. Call (833) 968-1198 to talk through the coverage on your project, with a live person available 24/7.
The Bottom Line
Your pavers are already telling you what’s wrong. Clustered rocking near a low point means the base is saturated. Efflorescence that comes back after cleaning means water is moving from below, not just aging on top. Edge gaps that grow over seasons mean the restraint has failed. The 60-second post-rain water test catches slope problems before they erode the bedding. And the 18-to-36-month window is the period where both installation defects and your workmanship warranty either protect you or don’t. Read the signals early, get them checked by someone who knows what they’re looking at, and the difference between a $300 fix and a $12,000 replacement comes down to timing. From foundation to finish line, built to last and backed in writing.
Written by the team at Groundwork Construction Co. of Miami.