
Last updated November 17, 2026
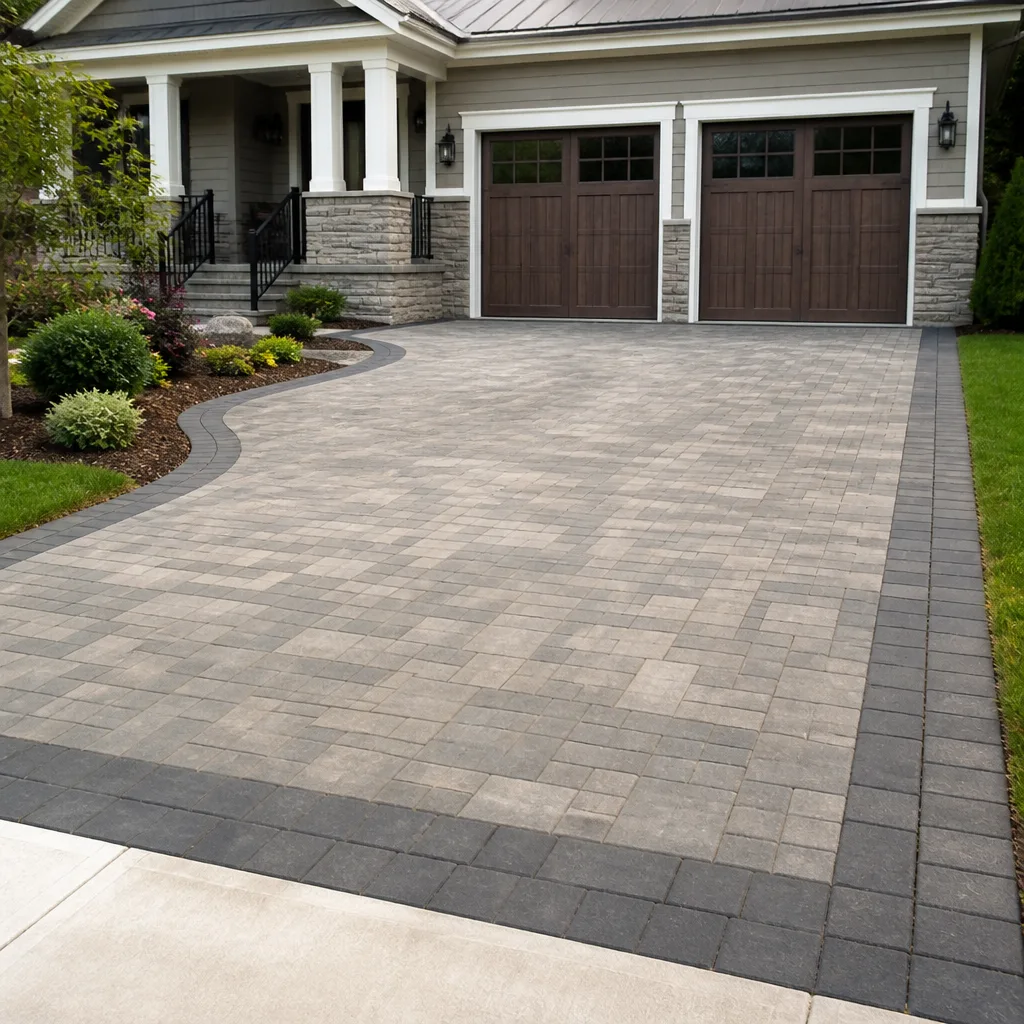 Driveway & pavers
 Kitchen remodeling
 Bathroom remodeling
 Home additions & ADU
 Roofing
 Windows & doors
 Fence
Free written scope consultation - allowances, timeline, and change-order rules on paper before a single trade is scheduled
DIY vs Professional Driveway & Pavers: What’s Safe to Do Yourself
Laying pavers on top looks simple. The part that makes them last 20 years, or fail in 3, is 6 inches underground and entirely invisible once the job is done. That’s where the real decision lives. Most homeowners focus on the surface pattern, the color, the border detail, because that’s what they can see. What they can’t see is the compacted base, the drainage pitch, the edge restraint, and the crushed stone moisture content that determine whether your driveway stays flat through Miami’s rainy season or turns into a shifting mess after the second summer. In this guide, we’ll break down exactly which tasks you can safely handle yourself, which ones will cost you more in the long run if you try, and how to tell the difference before you rent a plate compactor or sign a contractor’s quote.
Quick Answer
Homeowners can safely handle paver cleaning, joint sand refill, sealing, and re-leveling a few loose units. Everything structural, including excavation, base compaction, edge restraint, and drainage grading, should go to a licensed professional. In Miami, where the water table sits high and rain comes in intense bursts, a base that’s under-compacted or pitched wrong will fail within a few seasons, and the repair means tearing out everything on top. The surface is DIY-friendly. The foundation is not.
Styles & brands we work with
- Kitchen remodeling
- Bathroom remodeling
- Home additions & ADU
- Roofing
- Windows & doors
- Driveway & pavers
- Fence
Table of Contents
- What’s Actually Safe to Do Yourself
- Why the Base Is the Part You Shouldn’t Touch
- Miami-Dade Permits, Inspections, and What Happens at Resale
- The Real Cost of DIY vs. Hiring a Pro
- Questions That Reveal Whether a Contractor Understands South Florida
- How Miami’s Wet Season Tests Every Driveway
- The Maintenance Calendar You Can Own
- Warranty Exposure: The Hidden Cost of DIY
What’s Actually Safe to Do Yourself
There’s a real list of paver work a homeowner can take on without structural risk, and it’s longer than most contractors will tell you. These are tasks where a mistake costs you a weekend, not a foundation.
- Paver cleaning. A stiff push broom, a garden hose, and a mild detergent handle most dirt. For efflorescence, a diluted white vinegar solution works and won’t damage the surface. Avoid high-pressure washing on older pavers, since it strips the joint sand and can pit the surface. We’ve seen homeowners in Kendall ruin a 10-year-old driveway that way in one afternoon.
- Joint sand refill. Over time, rain and foot traffic wash out the joint sand. You can refill it yourself with a polymeric sand that matches your paver color. Sweep it into the joints on a dry day, then mist lightly to activate it. This is a yearly task in South Florida because of the rain volume, and it protects the interlock that keeps the surface stable.
- Sealing. A penetrating sealer applied with a roller every 3 to 5 years slows fading and reduces staining. This is cosmetic and reversible. If you get it wrong, you live with an uneven sheen for a few months, not a cracked slab.
- Re-leveling a few loose units. If one or two pavers rock or sit proud, you can lift them, add a thin layer of bedding sand, and reset them by hand. This works when the underlying base is still sound. If a whole section is loose, that’s a base problem, not a surface problem, and it’s out of DIY territory.
- Weeding and edge cleanup. Pulling weeds along the joints and trimming vegetation back from the edge restraint is routine upkeep. It also helps you spot drainage problems early, since water pooling near the edge is a warning sign.
That’s a solid yearly maintenance list. Everything below the sand layer is a different conversation.
Why the Base Is the Part You Shouldn’t Touch
The base is what carries the load. A paver driveway in Miami is built over a compacted layer of crushed stone, typically 4 to 6 inches for a residential driveway, sometimes more depending on the subgrade. That stone needs to be laid in lifts and compacted with a plate compactor or a vibratory roller, and the moisture content matters. Dry stone won’t compact. Oversaturated stone turns to mud and compacts unevenly. The sweet spot is a damp, not wet, consistency, and experienced crews test it by hand and by feel before they run the compactor.
Here’s what happens when that step gets skipped or rushed:
- Deformation under load. An under-compacted base settles unevenly under car weight. Within a year, you’ll see low spots where water collects and pavers that rock when you walk on them.
- Rutting and shifting. Once a low spot forms, water sits, the base loses more compaction, and the rut deepens. This is a self-accelerating failure.
- Edge failure. Pavers need edge restraint, either a concrete curb or an aluminum edge, properly spiked into the base. Without it, the pavers spread outward at the edges under load, and the whole field moves.
- Drainage reversal. A base that isn’t pitched correctly sends water toward the house or the garage slab instead of away. In Miami, that shows up as ponding during June thunderstorms and water intrusion at the foundation.
Skipping the base compaction doesn’t fail on day one. It fails in year two or three, after the homeowner has already moved on and the surface looks fine. By the time the surface shows the problem, the only fix is removing every paver and starting the base over. We’ve seen this pattern repeatedly in older Miami neighborhoods where a previous homeowner laid pavers over bare soil and called it done.
Miami-Dade Permits, Inspections, and What Happens at Resale
Miami-Dade County treats driveway work more carefully than most homeowners expect. New driveway construction, major replacement, and any work that changes the impervious surface of a lot typically requires a permit. Pavers add to your lot’s impervious coverage, and many Miami-Dade lots already sit near the coverage limit. Adding a paver driveway or expanding one without checking the limit can create a problem that surfaces years later.
Permitted work gets inspected. Inspectors look at the base depth, the compaction, the edge restraint, and the drainage pitch. That inspection protects you, because it forces the work to meet a standard. When you skip the permit:
- Title complications at sale. A buyer’s inspector will flag an unpermitted hardscape. Title companies in Miami-Dade routinely require unpermitted work to be disclosed, and some lenders won’t close until it’s resolved.
- Insurance exposure. An unpermitted addition to the property’s impervious surface can complicate a claim if drainage contributes to water intrusion at the home. Insurers ask whether permitted work was done, and “I don’t know” is an expensive answer.
- Association problems. If you’re in a community with a homeowner association, an unpermitted paver driveway may also violate the association’s design rules, which means removal or a penalty.
A contractor who understands Miami-Dade pulls the permit before digging and walks you through the inspection. If a quote doesn’t include the permit, ask why. Sometimes the answer is legitimate (the scope may be a surface reset that doesn’t change impervious coverage), and sometimes it’s not. Get it in writing either way.
The Real Cost of DIY vs. Hiring a Pro
Most homeowners underestimate DIY costs by about 40%. The surface math looks encouraging: materials are cheap relative to the finished job. What gets left out of that math is the equipment, the waste, and the time.
Here’s a realistic line-item comparison for a typical 2-car driveway in a Miami neighborhood like Palmetto Bay or West Kendall:
- Plate compactor rental: $100 to $150 per day, and you’ll need it for multiple days. A base built in lifts means compacting each lift, then compacting the pavers again after setting.
- Bedding sand and joint sand: $20 to $40 per cubic yard or per bag, depending on source. Joint sand refills are ongoing.
- Crushed stone base: $40 to $60 per cubic yard, and the quantity is larger than most people expect once the depth is correct.
- Edge restraint: aluminum edging runs $3 to $6 per linear foot; concrete curb is higher.
- Pavers: $4 to $8 per square foot for a quality hardscape line, with installers typically charging $10 to $20 per square foot installed depending on pattern and complexity.
- Material waste: expect 10 to 15% extra for cuts, breakage, and pattern matching. This is money you never see in the finished driveway.
- Time: a DIY install of this scope typically takes 2 to 4 weekends, and that’s only if weather cooperates.
When you add the DIY numbers up honestly, saving is often in the 15 to 25% range, not the 50 to 60% most homeowners assume. And that figure doesn’t put a dollar value on the base compaction you probably won’t get right with rented equipment and a weekend.
On the contractor side, a written quote should show the base depth, the compaction method, the edge restraint type, the paver brand and model, and the permit. When you compare, compare those line items, not just the bottom line. The quote that’s 30% cheaper is almost always cheaper because something in the base was skipped. If you’re weighing whether to upgrade the paver brand, a real conversation about Driveway & Pavers in Miami can clarify what’s actually worth the spend.
Questions That Reveal Whether a Contractor Understands South Florida
You don’t need to be a paver expert to figure out whether a contractor knows Miami soil and weather. You need to ask the right questions and listen for specific, confident answers. Vague answers are your signal.
- “How deep is the base, and how do you test the stone before compacting?” A contractor who has built driveways in Miami will tell you a depth (typically 4 to 6 inches for residential), mention lifts, and describe testing moisture by hand. If they say “4 inches is standard” and move on, they’re reciting a script.
- “What’s the drainage pitch on this lot, and where does the water go?” Miami lots are flat. Water needs to move somewhere deliberate. A real answer mentions the garage slab, the street curb, or a swale, and references how the lot currently drains.
- “What edge restraint, and how is it anchored?” Aluminum edge spiked into the base is standard. Concrete curb is a common upgrade. The answer should be specific, not “standard edge.”
- “Will this require a Miami-Dade permit, and who pulls it?” For a full driveway replacement, yes, and the contractor pulls it. If they dodge the question, that’s a problem.
- “What’s your warranty, and what does it cover?” A warranty that covers labor and materials for structural failure of the base is the one to look for. Warranties that only cover the surface for 12 months are close to worthless on a project meant to last 20 years.
- “Have you installed this paver line before?” Brand-specific experience matters. Techo-Bloc, Cambridge Pavers, and Oldcastle lines each have their own installation requirements, especially for large-format units.
We’ve watched homeowners sort through five quotes in twenty minutes just by asking these questions. The two contractors who can answer them without hedging are almost always the ones who’ve actually built in South Florida.
How Miami’s Wet Season Tests Every Driveway
Miami’s wet season runs from roughly May through October, and it brings rain in concentrated bursts, sometimes 2 to 3 inches in an hour. That pattern stresses a driveway in ways that a slower, gentler climate doesn’t. A properly built paver driveway handles it because the base was compacted to a firm, mechanically stable condition, the surface was pitched away from the house, and the joint sand was kept topped up. When any of those three fail, the result shows up fast.
The water table in much of Miami sits high, sometimes within a few feet of the surface in low-lying neighborhoods. That matters because the base can’t drain downward. Water has to move laterally, toward the curb or a designated swale. This is why the drainage pitch is not optional in Miami the way it is in a drier market. A base designed for drainage in a dry climate will pond in Miami.
We’ve also seen more spring failures in inland neighborhoods like Hialeah and Miami Gardens where the soil is sandier and the summer rain is heavier. The sand drains fast until it doesn’t, and that’s when a poorly compacted base reveals itself. The pavers heave, the joints open, and the surface looks 10 years older than it is.
The takeaway isn’t that DIY is doomed. It’s that Miami’s climate makes the base work more consequential than it is in most of the country. A base that would survive a Chicago winter will still fail in a Miami summer if it wasn’t built right.
The Maintenance Calendar You Can Own
A paver driveway that was built right will last decades if you keep it up, and the maintenance list is genuinely DIY-friendly. Here’s a schedule that works for Miami conditions.
- Every spring, before the wet season. Inspect the surface. Walk the whole driveway and check for rocking pavers, open joints, and pooling spots after a rain. Top up joint sand with polymeric sand if any joints are more than a quarter-inch open.
- Every fall, after the wet season. Deep-clean with a broom and mild detergent. Address any efflorescence with a diluted white vinegar solution. Check the edge restraint for cracks and confirm no pavers have moved outward.
- Every 3 to 5 years. Apply a penetrating sealer. This is a roller job, not a spray job, and it’s the cheapest way to keep the surface looking new.
- Ongoing. Pull weeds at the joints and along the edge restraint before they establish. Keep mulch and vegetation trimmed back from the driveway edge, because organic buildup traps moisture.
That calendar is doable in a couple of weekends a year. It’s also the fastest way to spot a base problem early, before it turns into a full tear-out. If you see the surface starting to settle in a pattern rather than at a single point, that’s a base signal, not a surface signal, and it’s time to call a professional.
Warranty Exposure: The Hidden Cost of DIY
When you install a driveway yourself, you own the warranty. There isn’t one. If the base fails in year three, you eat the entire cost of the tear-out and rebuild. That cost is typically more than the original project, because the demolition, disposal, and re-grading are all on top of the new materials.
When you hire a contractor, the warranty is your protection, and the terms matter enormously. A workmanship warranty that covers structural base failure for a meaningful period is the one to look for. On the material side, paver manufacturers offer their own product warranties, and those usually require installation by a qualified installer. Install it yourself and any product warranty claim is likely denied. Install it through a contractor with the right brand partnerships and the manufacturer warranty follows the work.
This is the piece homeowners miss when they compare DIY costs to contractor quotes. DIY saves 15 to 25% up front, and carries 100% of the failure risk for 20 years. That’s not a fair comparison unless you’re confident in the base work, which brings us back to the part 6 inches underground.
At Groundwork Construction Co. of Miami, every driveway and paver project is covered by our 730-Day Done Right Promise. If the work isn’t right, we make it right, and that’s one of the longest workmanship guarantees in the residential construction space. We pair it with Groundwork Construction Co. of Miami home full-scope capabilities, which means the same team who builds your driveway can handle the fence, the drainage at the property line, and the addition at the back of the house, from foundation to finish line.
Common Mistakes to Avoid
- Laying pavers on bare soil or a thin sand layer. This is the single most common DIY mistake. The pavers look fine for one season, then rut and shift. A proper base is 4 to 6 inches of compacted crushed stone, not sand spread over the dirt.
- Compacting the base with a hand tamper. A hand tamper can’t reach the compaction a plate compactor produces, and the difference shows up under car weight within a year. Rent the compactor or hire it out.
- Skipping the edge restraint. Pavers without edge restraint spread outward at the edges over time, and the whole field loosens. In Miami, where heavy rain adds lateral water pressure, the failure is faster.
- Not checking the impervious coverage limit before starting. Miami-Dade lots often sit close to the coverage limit, and adding a paver driveway without checking can create a permit problem at resale. Have the coverage verified before you break ground.
- Sealing too soon. Polymeric joint sand needs to cure, and sealing over uncured sand traps moisture and causes cloudy patches. Wait at least 30 days after install, longer in Miami’s humid summer.
- Ignoring drainage toward the house. A pitch that sends water toward the garage slab or the front door is a water intrusion problem disguised as a driveway. Watch the first heavy rain and correct it before the next one.
- Buying pavers without a 10 to 15% waste allowance. Cuts, breakage, and pattern matching always consume more than the plan. Running short mid-project means a second delivery, a color mismatch, and a delay.
See the difference
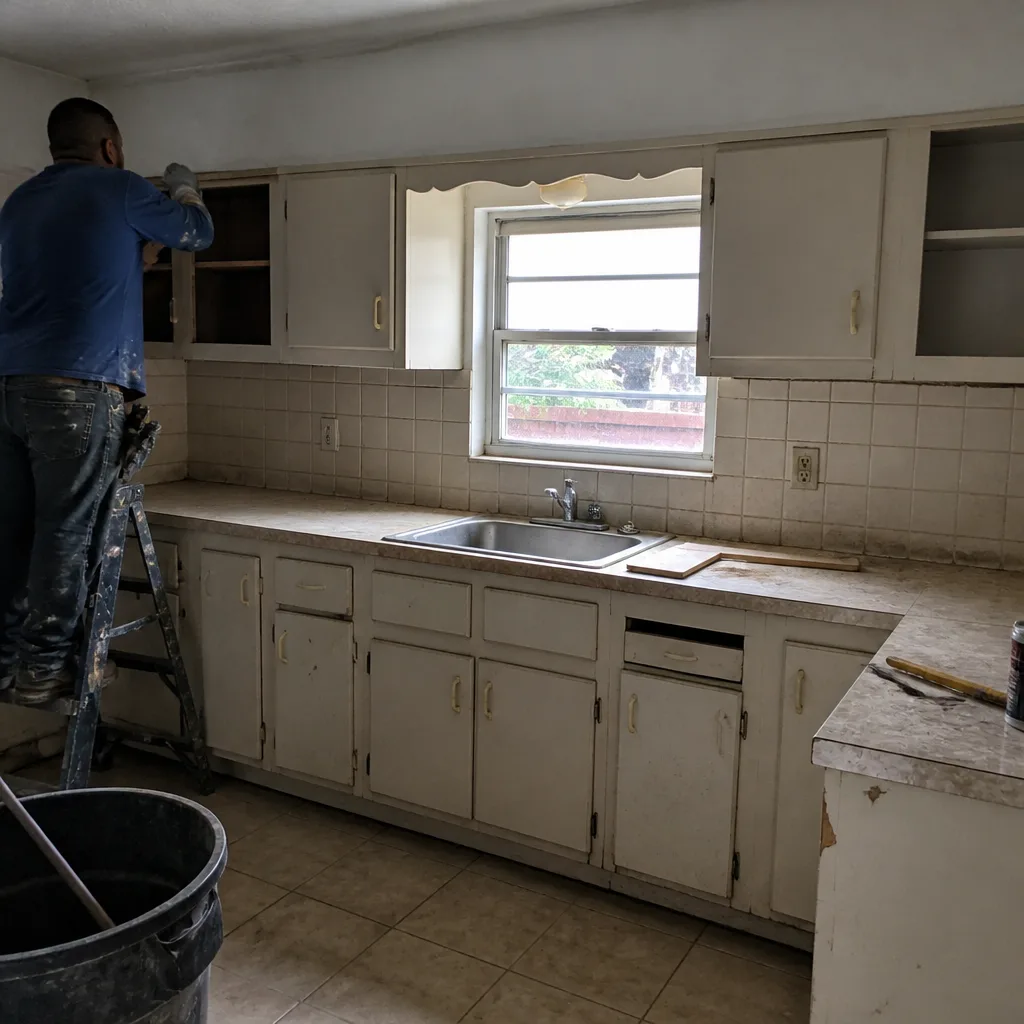 Before
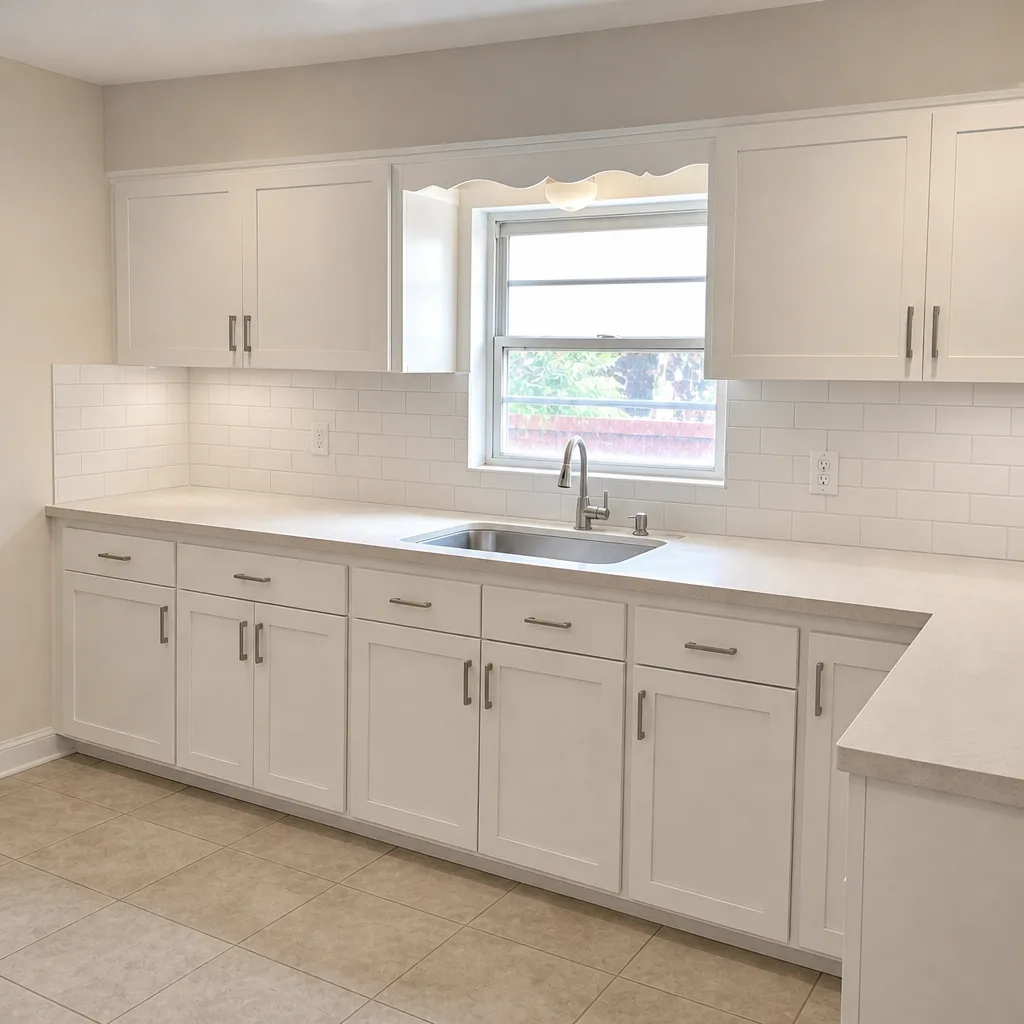 After
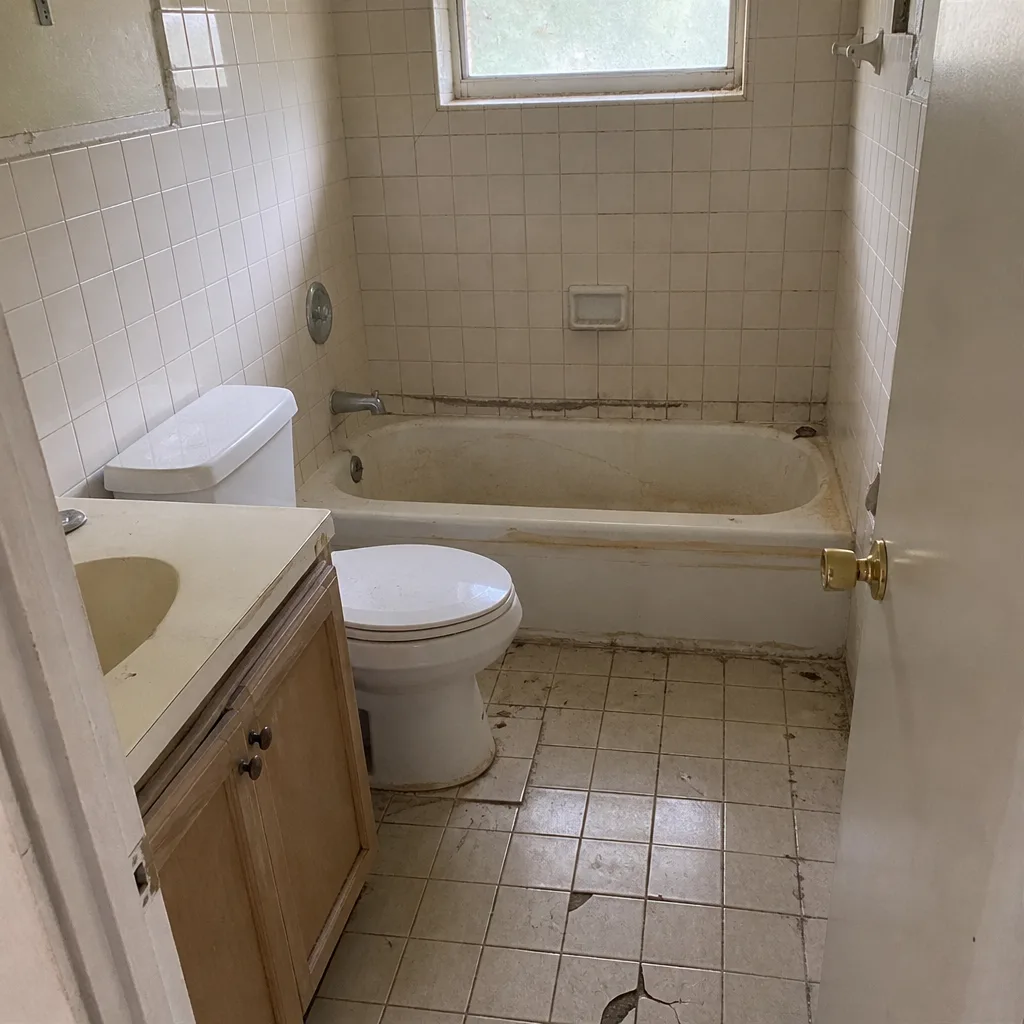 Before
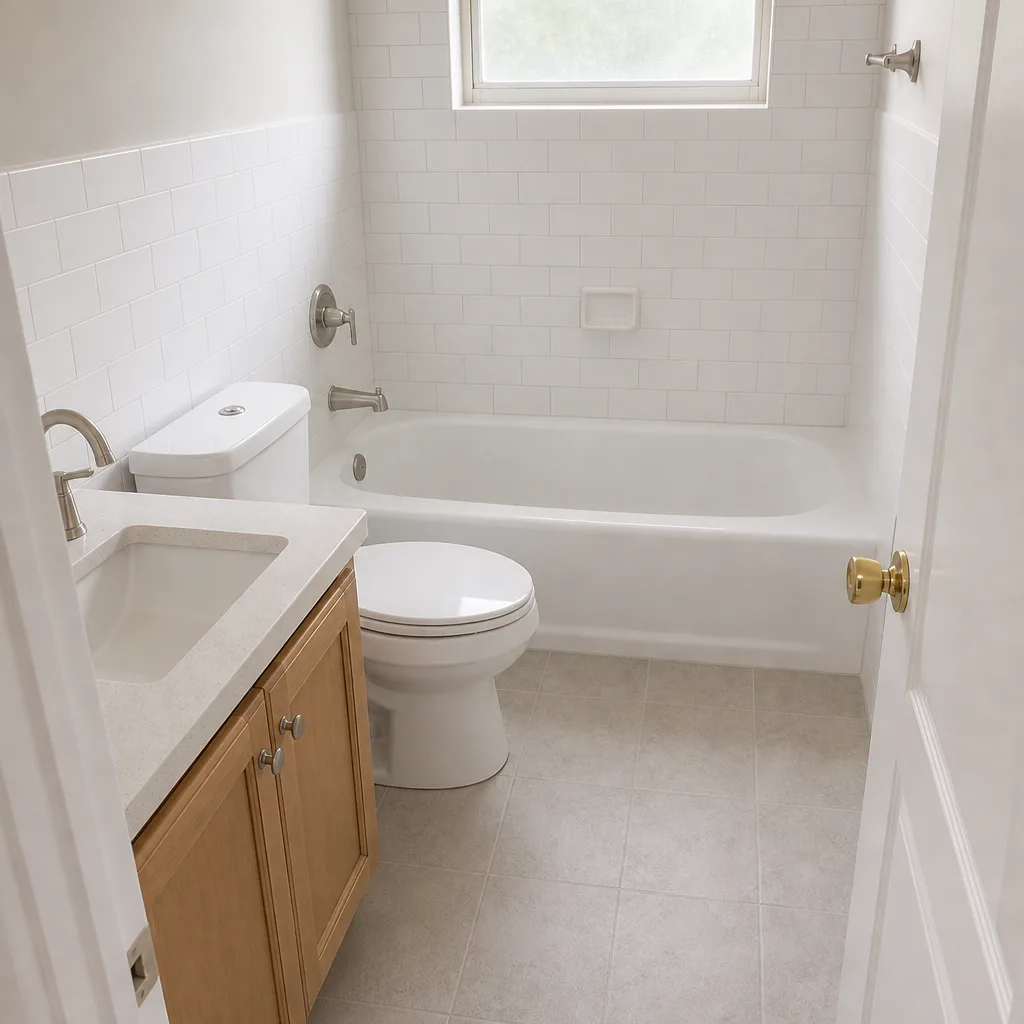 After
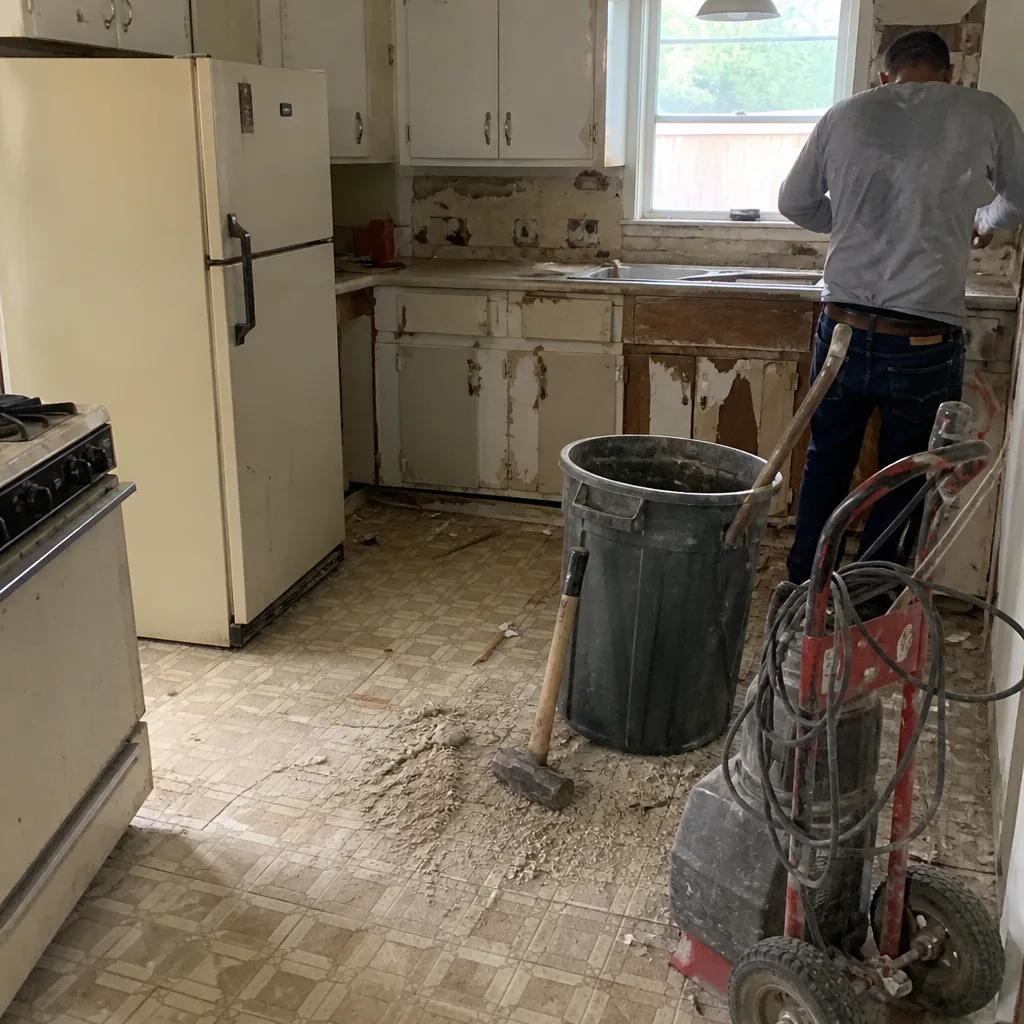 Before
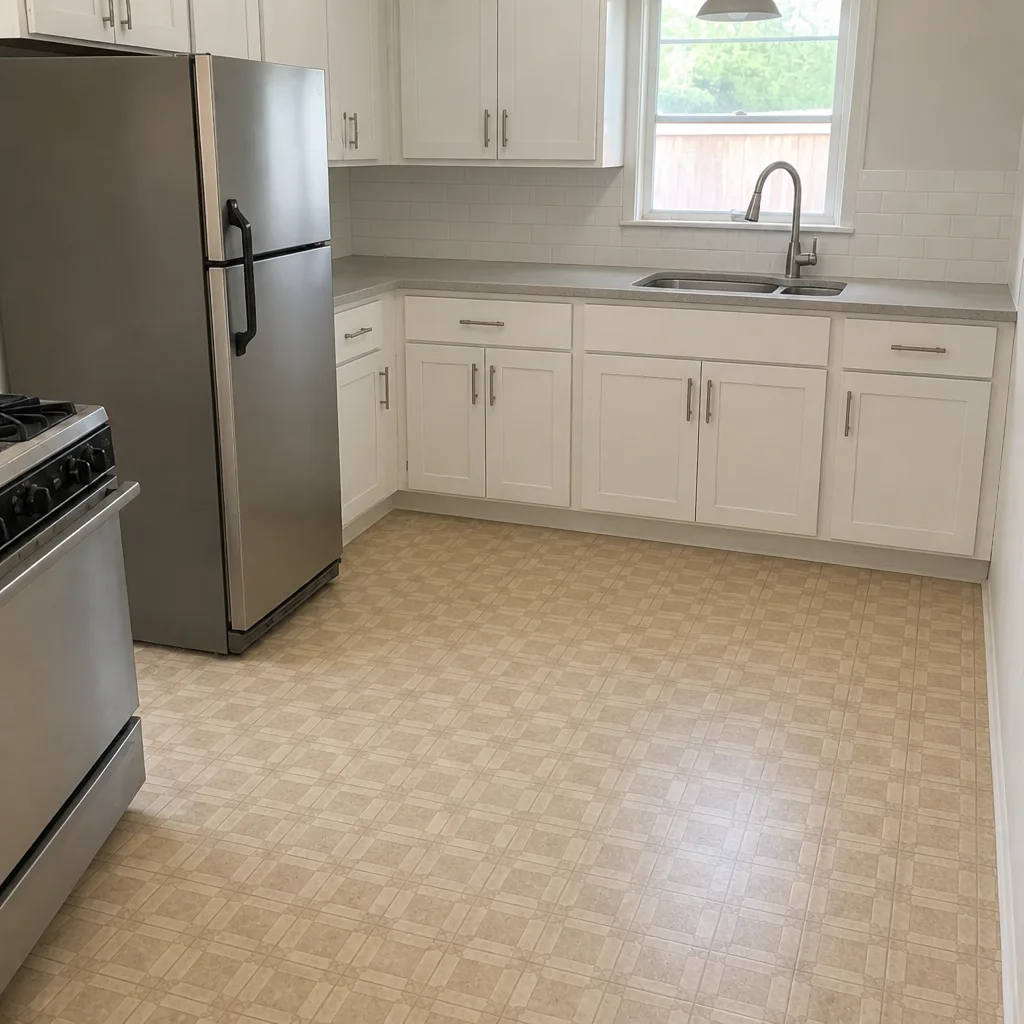 After
When to Call a Professional
Call a professional for any new driveway installation or full replacement, any repair where more than a couple of pavers have moved, any drainage correction, and any work that requires a Miami-Dade permit. Also call a professional if you see the surface settling in a pattern, if water is pooling anywhere on the driveway, or if the edge restraint is cracked or has separated from the pavers. Those are all base-layer signals, and the DIY fix is a full rebuild.
Groundwork Construction Co. of Miami offers free estimates in Miami, with written line-item quotes, upfront pricing, and no surprises once the work starts. Our technicians have up to 12 years of experience and are background-checked and uniformed, and calls are answered by a live person 24/7. We work with top-tier paver brands including Techo-Bloc, Cambridge Pavers, and Oldcastle, so you’re choosing quality, not just availability. Call (833) 968-1198 to schedule your free estimate.
If your project also includes fencing or a home addition, the same team can scope it all at once. Learn more about Fence Installation in Miami and Home Additions & ADU in Miami to see how a single contractor can handle the full property scope from foundation to finish line. Our current promotions include $1,000 off projects over $10,000, a free project estimate and design consult, and 0% financing for 18 months, all of which make larger hardscape projects easier to budget without hidden surprises.
Frequently Asked Questions
You can install pavers yourself, but you almost certainly shouldn’t build the base yourself. The base is the part that requires a plate compactor, moisture-tested crushed stone, correct lift depths, and proper drainage pitch. In Miami’s wet climate and flat lots, base errors show up within a season or two. Most homeowners who try the full install end up paying a professional to tear it out and redo it.
A professionally installed paver driveway in Miami typically runs $10 to $20 per square foot depending on pattern, paver brand, and site conditions. DIY materials and equipment land at roughly 60 to 75% of that figure once you include tool rental, waste allowance, and the cost of your own time. The savings are real but smaller than most homeowners expect, and they don’t carry any warranty. Call (833) 968-1198 for an exact quote on your driveway, with estimates that are free.
Usually yes for new construction or full replacement, because the work changes the impervious surface of the lot and must meet Miami-Dade drainage and coverage rules. A qualified contractor pulls the permit before digging and manages the inspection. Unpermitted work can complicate a future home sale, since title companies and lenders routinely require the work to be disclosed and resolved.
Settling in a pattern rather than at a single point is the clearest sign. One rocking paver is a surface issue; a whole section sinking or heaving is a base issue. Watch for water pooling after a storm, joints opening more than a quarter-inch, and pavers spreading at the edges. Any of those usually means the base was under-compacted or the edge restraint failed.
A properly built paver driveway in Miami typically lasts 20 to 30 years with routine maintenance. The variables that shorten that lifespan are base compaction, drainage pitch, edge restraint, and joint sand upkeep. A driveway built with an under-compacted base can fail in 3 to 5 years, and the surface will look fine right up until it doesn’t.
You can seal pavers yourself, and it’s one of the safest DIY tasks in this category. Use a penetrating sealer, apply with a roller on a dry day, and wait at least 30 days after install if the driveway is new. If the driveway was installed by a contractor, check whether their warranty requires professional sealing, since that’s the one case where DIY could void coverage.
The Bottom Line
DIY driveway pavers are genuinely safe when you stick to cleaning, joint sand refill, sealing, and resetting a couple of loose units. They’re not safe when the base is involved. The base is where a paver driveway lives or dies, and Miami’s wet season, flat lots, and high water table make it more consequential here than almost anywhere else. DIY saves 15 to 25% up front and carries 100% of the failure risk. A professional install costs more up front but carries the permit, the inspection, the material warranty, and a workmanship guarantee that covers the part you can’t see. Call (833) 968-1198 for a free estimate and a written, line-item quote on your Miami driveway, backed by our 730-Day Done Right Promise. Built to last, backed in writing.
Written by the team at Groundwork Construction Co. of Miami.