
Last updated November 17, 2026
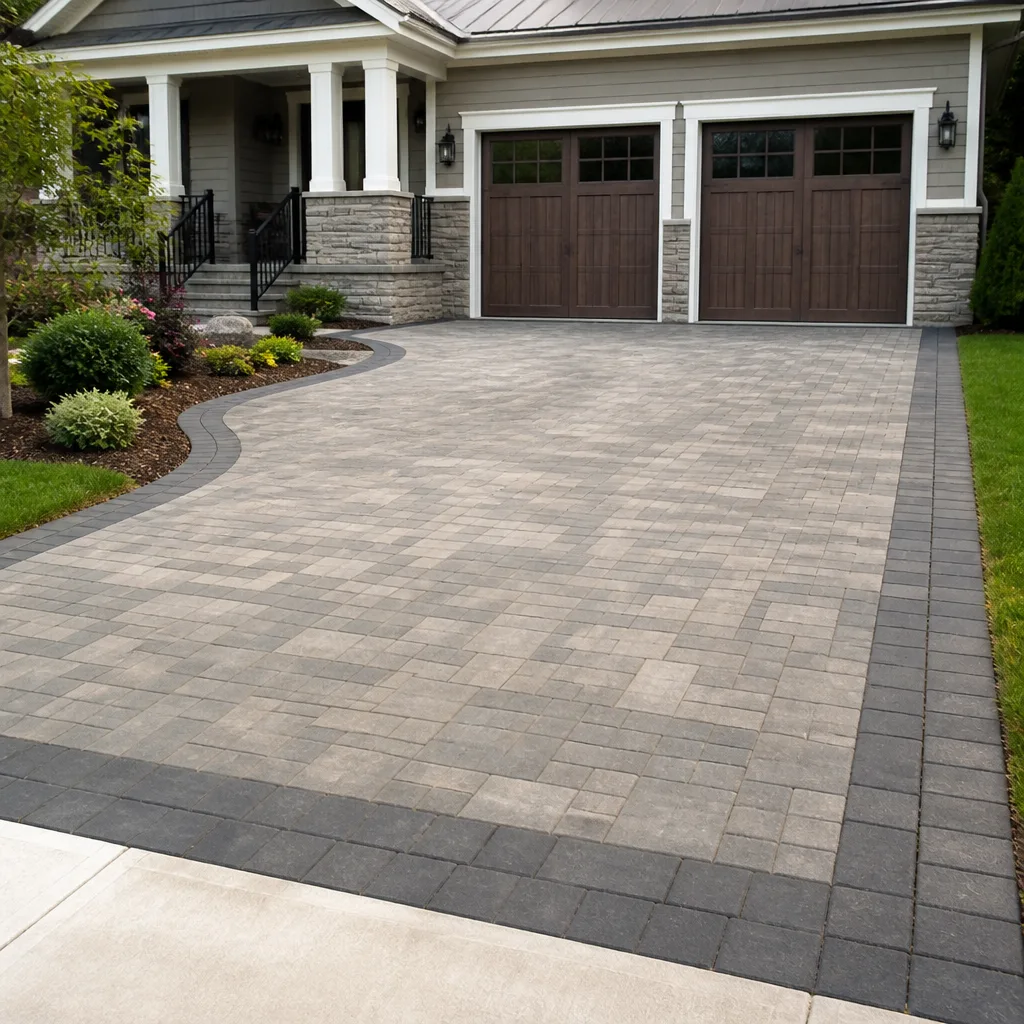 Driveway & pavers
 Kitchen remodeling
 Bathroom remodeling
 Home additions & ADU
 Roofing
 Windows & doors
 Fence
Free written scope consultation - allowances, timeline, and change-order rules on paper before a single trade is scheduled
Driveway & Pavers Troubleshooting: Common Problems and How to Fix Them
If one paver sinks, it’s bad luck. If three sink in a line pointing toward your garage, that’s your drainage telling you something specific – and patching the surface without reading that pattern wastes every dollar you spend. We’ve pulled up enough failed Miami driveways to know the difference. Most sunken pavers, washed-out joints, and wandering edges aren’t random. They’re symptoms of one identifiable installation mistake or a maintenance gap you can trace. This guide teaches you to read the problem before you fix it: what each failure pattern means, which repairs are genuinely safe to take on, and which ones will cost you more if you touch them.
Quick Answer
Sunken or uneven pavers are almost always caused by a base failure, root intrusion, or erosion underneath the surface – not by the pavers themselves. Diagnosing which of the three you have determines the fix: base failures need excavation and re-compaction, roots need cutting and a root barrier, and erosion needs drainage correction before any sand goes back in. Patching the surface without fixing the cause is why the same spots keep sinking every rainy season.
Styles & brands we work with
- Kitchen remodeling
- Bathroom remodeling
- Home additions & ADU
- Roofing
- Windows & doors
- Driveway & pavers
- Fence
Table of Contents
- How to Diagnose a Sunken Paver: Base Failure, Roots, or Erosion
- Why Polymeric Sand Washes Out in Miami (It’s Not the Product)
- Edge Restraint Failure vs. Bedding Sand Migration
- Which Paver Repairs Are Safe to DIY and Which Ones Aren’t
- How to Document Paver Problems for Accurate Quotes
- Drainage, Slope, and Miami’s Rainy Season
- A Step-by-Step Look at How a Correct Repair Is Done
- Preventing Repeat Problems
How to Diagnose a Sunken Paver: Base Failure, Roots, or Erosion
Three failure modes cause almost every sunken section we’ve opened up in Miami, and they look nearly identical from standing height. The pattern of the sinking is your first clue. One isolated low paver in the middle of a field usually points to a localized base issue or a void forming underneath. A line of sunken pavers running toward your garage, a drain, or the street corner is a drainage signature. A cluster near a tree or hedge is roots. Get on your knees with a level and read the pattern before you do anything else.
Here’s how to tell them apart on the ground:
- Base failure. Press down hard on the low paver. If it rocks or feels spongy, the compacted aggregate base has lost density – often because it was never compacted in lifts, or water has been getting under it. You’ll usually find loose, powdery material when you lift the paver.
- Root intrusion. Look for lifting at the edge nearest a tree, plus small cracks radiating outward. Ficus and palm roots in Miami are relentless and can travel well past the canopy line. Lifting a paver here reveals roots pressing up through the bedding sand.
- Erosion. The paver drops but the ones around it stay level, and there’s often a void you can feel with a screwdriver. Water has been channeling underneath and washing the fines out. This is the one that recurs fastest if you don’t fix the water source.
Each cause needs a different repair. Re-sanding a root problem does nothing. Re-leveling an erosion problem without redirecting the water means you’ll be back in the same spot after the next heavy rain. Reading the pattern first is what separates a fix from a patch.
Why Polymeric Sand Washes Out in Miami (It’s Not the Product)
Polymeric sand washout in Miami is almost always a slope or drainage issue, not a product failure. Homeowners often switch brands – from Quikrete to Sakrete and back – hoping the joints will hold. They won’t, because the sand isn’t the problem. When water pools on a section of driveway and drains through the joints instead of running off the surface, it carries sand with it every time. No polymeric joint can outlast standing water.
The three real culprits we find:
- Flat or reverse-sloped sections. Pavers installed with less than the minimum slope, or with a low spot that holds water, force drainage down through the joints. The fix is re-grading the surface, not re-sanding.
- Clogged or missing edge drainage. If the driveway sheds water toward a spot with no channel drain or French drain, that water has nowhere to go but down. Miami’s summer storms dump inches in an hour, and the sand pays for it.
- Improper installation of the sand itself. Polymeric sand needs to be swept in, watered correctly, and left to cure. If it was over-watered, under-watered, or installed in the wrong temperature, it never bonds. That’s an install error you can spot by how uniformly the joints failed.
A quick test: after a hard rain, walk the driveway and find where water stands for more than an hour. That’s your drainage problem, and it’s the reason your joints keep emptying. Fix the water and the sand holds.
Edge Restraint Failure vs. Bedding Sand Migration
Edge restraint failure and bedding sand migration look identical from the surface – pavers spreading, gaps opening along the border, the whole field creeping outward. They’re different problems with different fixes, and getting it wrong means the border keeps moving. Edge restraint is the concrete or plastic curb that locks the outer row of pavers in place. Bedding sand migration is the layer under the pavers shifting because water or traffic has pushed it out of position.
Here’s how to tell which you have:
- Edge restraint failure: the border pavers themselves have separated from the field, the restraint curb is cracked, tilted, or pulling away from the driveway, and the movement is concentrated along the outside edge. This is common on Miami driveways where the restraint was set on soft soil or where roots have pushed it out of line.
- Bedding sand migration: the field itself has spread, joints have widened across the whole area, and pavers feel loose in the middle rather than just at the border. Water and traffic have worked the bedding layer out of place, often because the base wasn’t properly contained.
The fix for edge restraint is resetting or replacing the restraint and re-locking the border. The fix for bedding migration is lifting the affected field, re-screening the bedding, and re-compacting. Patching one when you have the other is why border problems come back season after season. A level and a straightedge along the edge will usually tell you which is which in ten minutes.
Which Paver Repairs Are Safe to DIY and Which Ones Aren’t
Some paver repairs are genuinely safe for a careful homeowner. Others – done wrong – void a contractor’s warranty or make the base problem worse, and we’ve seen both. The dividing line is whether the repair touches the base or the drainage. Surface-level fixes are fair game. Anything that requires lifting a section to reach the compacted base is where mistakes get expensive.
Genuinely DIY-safe:
- Replacing a single cracked or chipped paver by lifting it, cleaning the bedding, and setting a matching unit.
- Sweeping fresh polymeric sand into joints that have emptied on a section with good drainage.
- Pulling weeds and cleaning debris from joints and along the edge.
- Spot-cleaning efflorescence (the white haze) with a paver-safe cleaner.
Not DIY-safe, or high-risk:
- Re-leveling a sunken section that involves lifting more than a couple of pavers to reach the base. If the base is compromised and you re-set pavers on it without re-compacting, the sink returns within a season.
- Cutting tree roots to fix lifting. Cutting the wrong root can destabilize the tree, and in Miami, some species are protected. Root barriers need to go in properly or the roots come back.
- Re-grading a slope or adding drainage. This is where warranties live. If you change the drainage, you may void the installer’s coverage on the whole driveway.
If you’re not sure which category your problem falls into, that uncertainty is your answer. Call a professional before you lift a paver. The diagnosis is the cheap part.
How to Document Paver Problems for Accurate Quotes
The difference between an accurate quote and an inflated guess is usually documentation. When a contractor can see exactly what’s failing and where, the estimate is tight. When all they have is “some pavers are sinking,” they have to price for the worst case. You can change that with a phone and fifteen minutes. This is also how you avoid paying for work you don’t need.
Here’s what to capture before you call anyone:
- Photograph the pattern, not just the worst spot. Stand back and shoot the whole affected area so the line of sinking pavers is visible against the garage or street. A close-up of one sunken paver tells a contractor nothing about the cause.
- Get a wide shot with a reference. Include a level, a straightedge, or a tape measure in the frame so scale and drop are obvious.
- Photograph the joints and edges. Show the washed-out sand and any separated border pavers. Note whether the movement is along the edge or across the field.
- Note where water stands after rain. Take a photo during or right after a storm. Standing water is the single most useful piece of evidence for a drainage-related repair.
- Write down the history. When did you first notice it? Did it appear after a storm, after a tree was trimmed, after a heavy vehicle parked there? That timeline narrows the cause fast.
With that in hand, a contractor can quote a specific repair instead of a range that covers everything. We ask for exactly this when a homeowner calls us in Miami, and it’s why our written quotes are line-item and fixed rather than open-ended. For a broader look at the whole surface, see our Driveway & Pavers in Miami service page.
Drainage, Slope, and Miami’s Rainy Season
Miami’s rainy season runs roughly May through October, and it’s the stress test every driveway eventually faces. A paver surface that looks fine in the dry months can fail fast once afternoon storms start dropping inches in an hour. The flat lots and high water table across much of Miami make drainage the single most important factor in whether a driveway holds up. Where water can’t run off the surface, it runs through the joints – and that’s where every sand and base problem starts.
What good drainage on a Miami paver driveway looks like:
- A consistent slope away from the house and garage of at least the minimum the installer should build in, so water sheds toward the street or a drain rather than pooling.
- A channel drain or French drain at the low point where the driveway meets the garage or a grade change, so the water has a defined exit.
- Proper edge restraint that keeps the field from spreading under water pressure and traffic.
- Clean joints that are topped off with polymeric sand after each rainy season, not left open to accept water.
Neighborhoods like Coral Gables and Pinecrest sit on lots where grading has to be handled carefully to keep water moving without sending it toward a neighbor or a foundation. We’ve seen driveways in Kendall fail in the same spot every year because the original install ignored a low corner. Fix the grading and drainage once, and the surface stops fighting you.
A Step-by-Step Look at How a Correct Repair Is Done
Knowing how a proper repair works helps you judge a quote and understand why a quick patch costs more over time. This isn’t a DIY instruction – it’s the process a trained crew follows so you can tell the difference between a real fix and a surface patch. The order matters as much as the work.
- Diagnose the cause. Identify whether it’s base failure, roots, or erosion by lifting the affected pavers and inspecting the base and bedding. No repair starts before this is settled.
- Remove the affected pavers and bedding. Lift the sunken section and the pavers around it until you reach sound, compacted base. Half-measures here are why repairs fail.
- Address the cause. Re-compact or rebuild the base in lifts, install a root barrier, or correct the slope and drainage – whichever the diagnosis calls for.
- Re-screen the bedding sand. Lay and screed a consistent bedding layer so the pavers sit at the right height and plane.
- Re-set and compact. Set the pavers, check the plane against the surrounding field with a straightedge, and compact to lock them in.
- Re-sand and cure the joints. Sweep in polymeric sand, water it correctly, and let it cure so the joints hold through the next storm.
- Re-set the edge restraint. Confirm the border is locked and the field can’t spread.
When a repair is done in that order, the same spot doesn’t sink again the next season. When it’s done as a patch, it does. That’s the whole difference – and it’s why we back our paver work with the 730-Day Done Right Promise: if it’s not done right, we make it right.
Preventing Repeat Problems
Most repeat paver problems come down to a couple of habits. Top off the joint sand after the rainy season every year – it’s the cheapest maintenance you can do and it keeps water out of the joints. Keep drainage clear: check that channel drains, French drains, and the low points along the edge aren’t clogged with leaves and debris before the first big summer storm.
Watch the edges. If the border pavers start separating or the restraint looks tilted, get it looked at early – edge failure is fast and cheap to fix when it’s small and expensive when the field has spread. Keep tree roots in mind. If you have ficus or palms near the driveway, a root barrier pays for itself. And if you see the same low spot return after two rainy seasons, stop re-sanding it. That pattern is telling you the base or the drainage needs real attention. Reading the problem is how you stop paying for it twice.
Common Mistakes to Avoid
- Re-sanding a sunken section without fixing the cause. Fresh sand over a base failure or an erosion void looks fixed for a season, then fails again. You’ve paid twice for the same problem.
- Cutting tree roots to stop lifting. The wrong cut can destabilize a tree, and some Miami species are protected. Install a proper root barrier instead of hacking at roots.
- Assuming washout means bad sand. Switching brands from Quikrete to Sakrete won’t stop washout if the slope is wrong. Fix the water, not the product.
- Changing the drainage yourself and voiding the warranty. Re-grading or adding a drain can void the installer’s coverage on the whole driveway. Get it documented before you touch it.
- Quoting from a phone description instead of photos. Vague descriptions force contractors to price for the worst case. The pattern, the standing water, and the edge condition are what make a quote accurate.
- Ignoring a spreading border. Edge restraint failure is cheap to fix early and expensive once the whole field has crept. Watch the border, not just the middle.
- Treating joints as cosmetic. Open joints let in the water that causes erosion and washout. Topping off the sand is maintenance, not a luxury.
See the difference
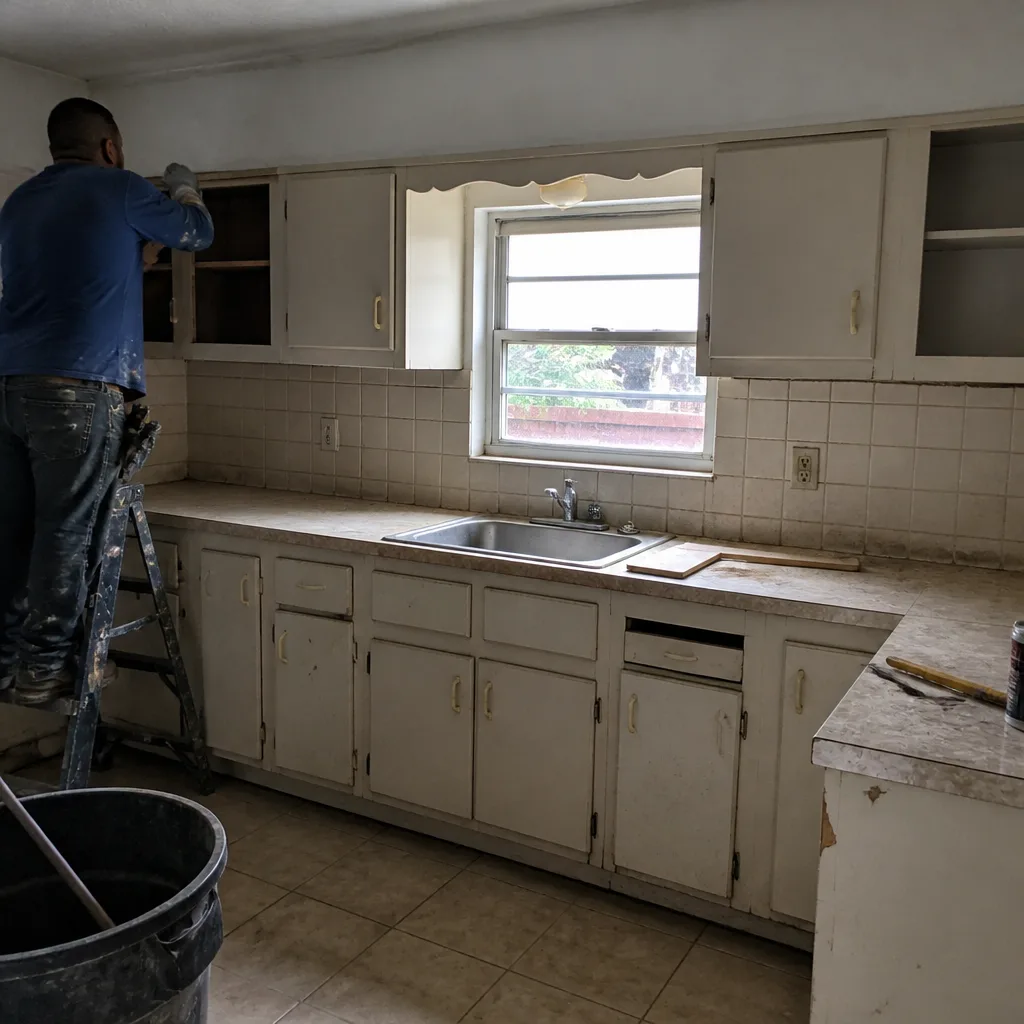 Before
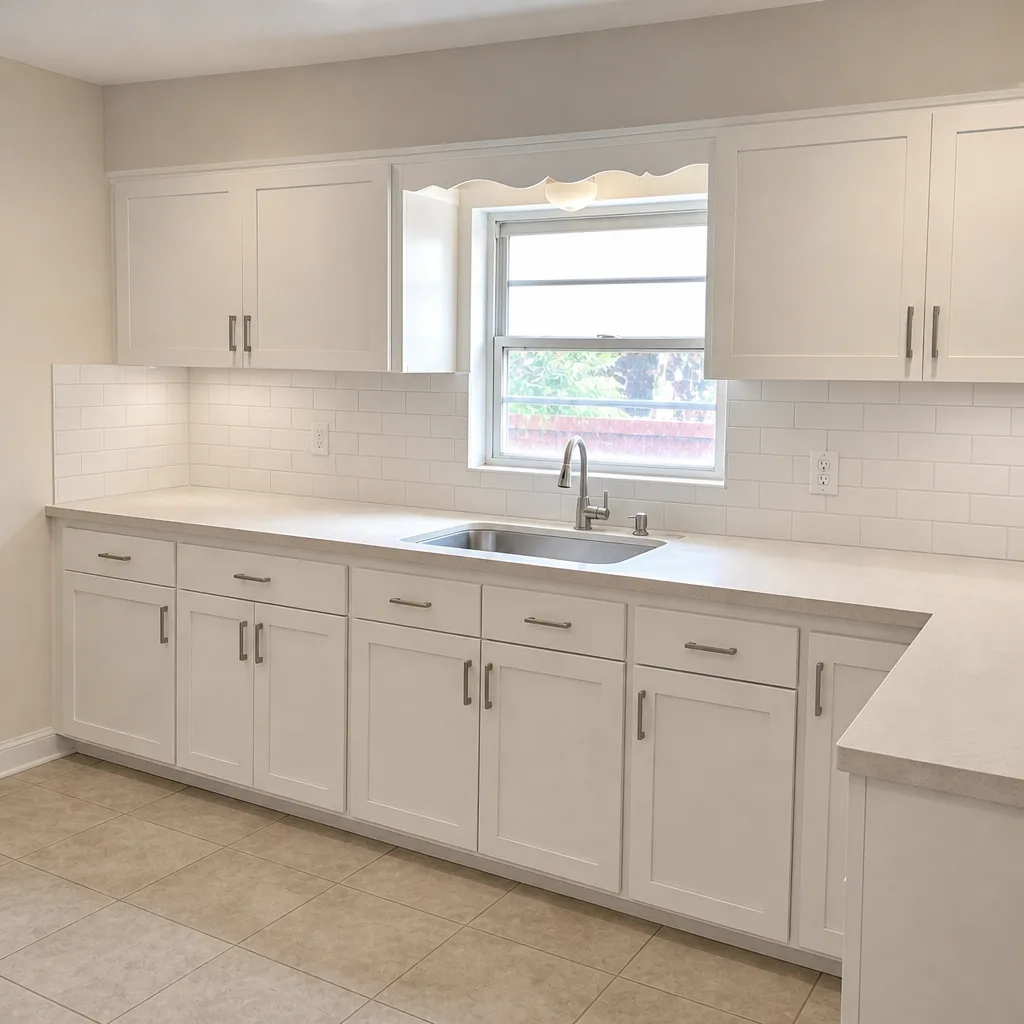 After
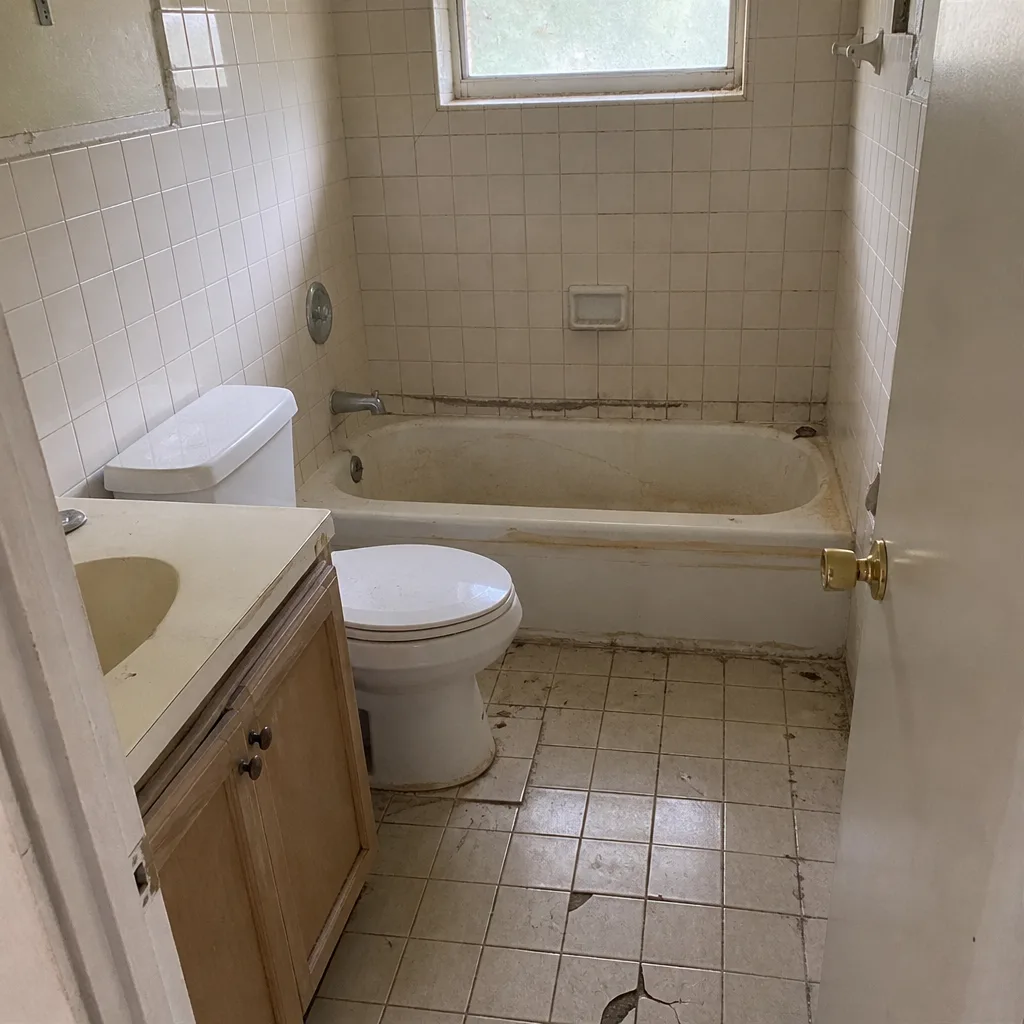 Before
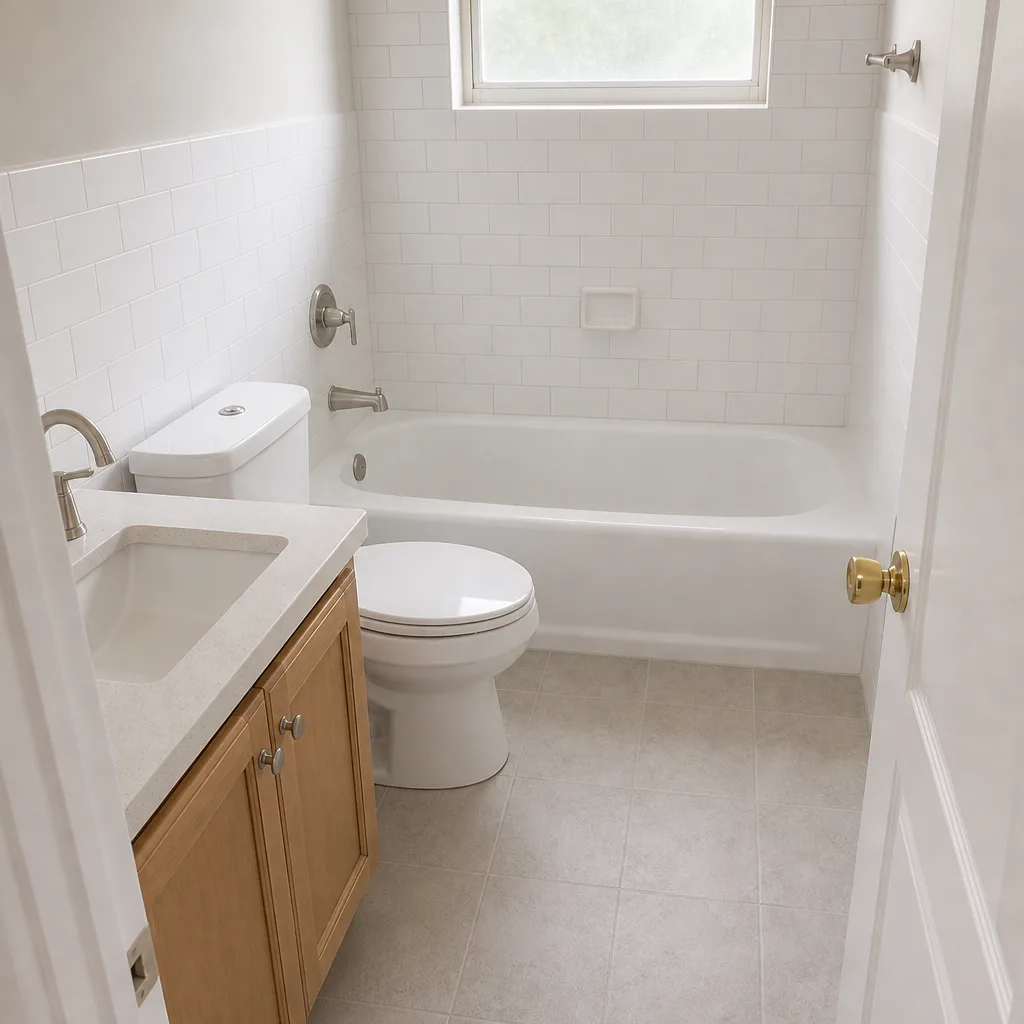 After
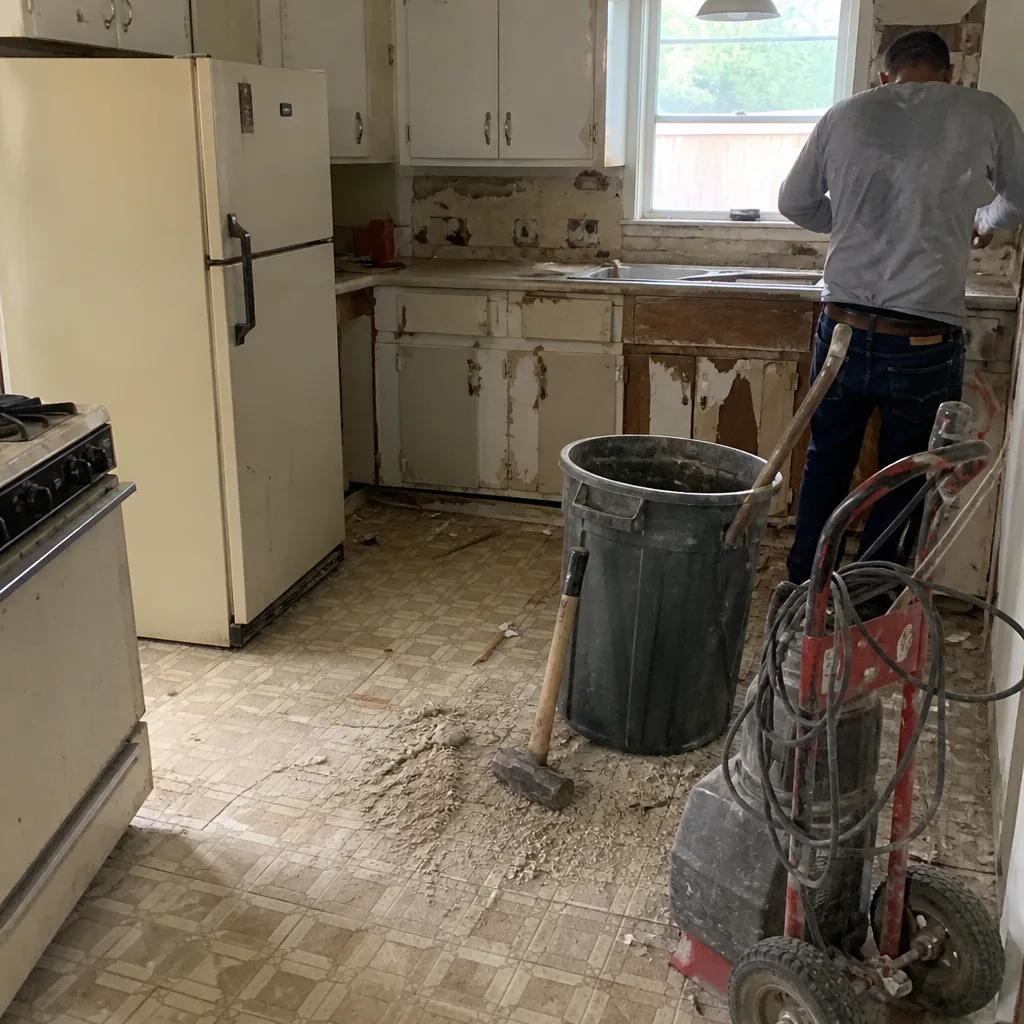 Before
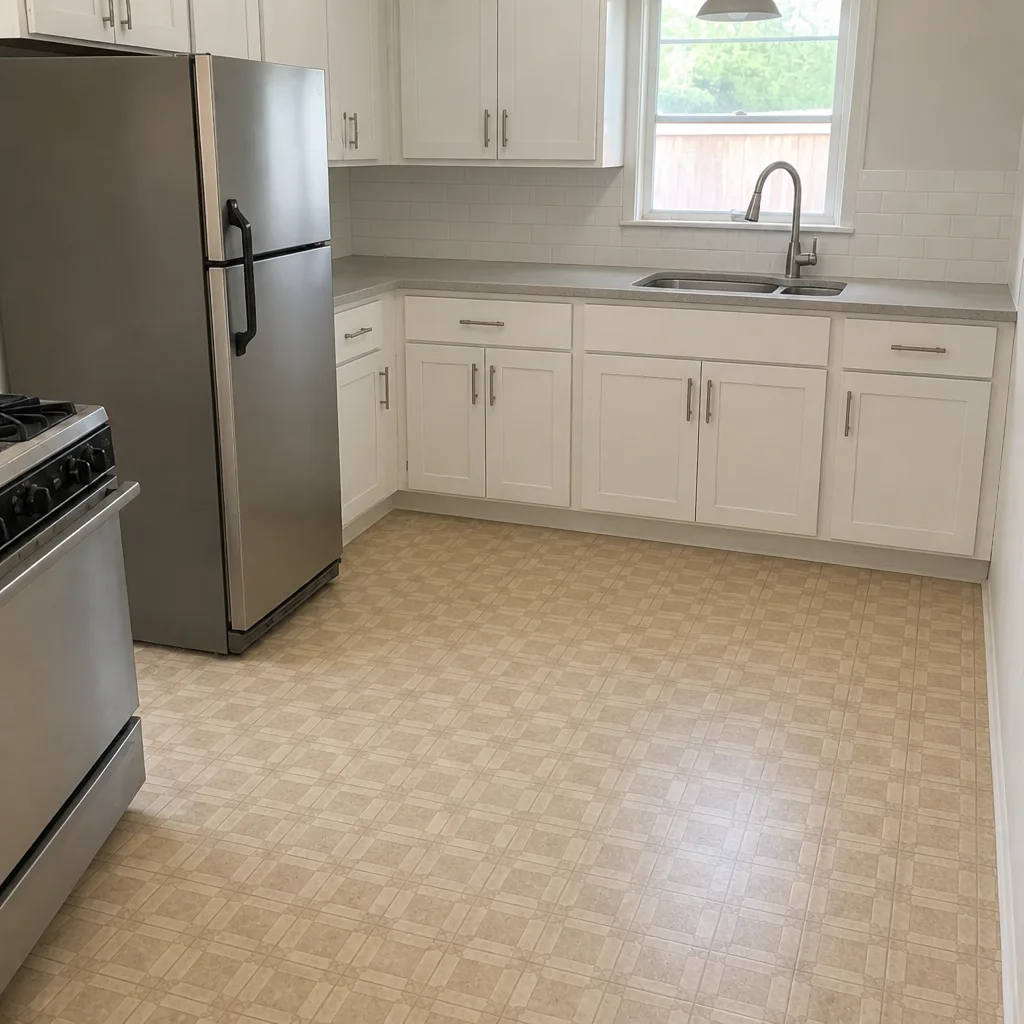 After
When to Call a Professional
Call a professional when the sinking traces a line, when a border is separating, or when you can feel a void under a paver – those are base and drainage problems that a surface patch can’t fix. Call when tree roots are lifting the surface and you don’t know which roots to cut. Call when you’re unsure what’s causing the failure, because the diagnosis is the cheap part of the job. And call before you re-grade, add drainage, or lift a section to reach the base, so you don’t void a warranty or make the base problem worse. At Groundwork Construction Co. of Miami, our technicians have up to 12 years of experience, we use verified material partners, and every project is backed by the 730-Day Done Right Promise. We offer free estimates in Miami – call (833) 968-1198.
Frequently Asked Questions
The most common causes are base failure, root intrusion, and erosion underneath the surface. A single low paver usually points to a localized base issue; a line of sunken pavers toward your garage or a drain is a drainage problem. Lifting the pavers and inspecting the base tells you which it is. Call (833) 968-1198 for a free evaluation – we diagnose the cause before quoting a fix.
No. Re-sanding covers the symptom but leaves the cause in place, so the same section fails again after the next rainy season. If the sinking is caused by a base failure or erosion, the base needs to be addressed first, then the sand goes back in. Call (833) 968-1198 and we’ll help you figure out whether you’re looking at a sand issue or something deeper.
Because the water is going the wrong way. Washout in Miami is almost always a slope or drainage problem, not a product failure, so switching brands won’t help. Find where water stands after a storm and fix that drainage, then re-sand. Call (833) 968-1198 for a drainage assessment.
You can safely replace a single cracked paver or top off joint sand on a section with good drainage. You shouldn’t re-level a section that requires lifting pavers to reach the base, cut tree roots, or change the slope yourself. Those repairs done wrong make the base problem worse or void a warranty. Call (833) 968-1198 if you’re unsure.
It depends on the cause and how much area is affected, which is why a documented diagnosis matters more than a phone estimate. A single-paver replacement and a base-and-drainage repair are very different jobs, and we quote them as line-item, fixed prices so there are no surprises. Call (833) 968-1198 for a free estimate.
Look at where the movement is concentrated. If the border pavers have separated and the restraint curb is cracked or tilted, it’s edge restraint failure; if the whole field has spread and the middle feels loose, it’s bedding sand migration. A level and straightedge along the edge will tell you in minutes. Call (833) 968-1198 if you want a second set of eyes.
The Bottom Line
Most driveway paver problems aren’t random – they’re telling you something specific about the base, the drainage, or the roots underneath. Read the pattern before you patch it. A line of sunken pavers points to drainage; a cluster near a tree points to roots; a spongy paver points to base failure. Washout means the water is going the wrong way, not that the sand is bad. Edge and field problems look the same and need different fixes. Document what you see, know which repairs are safe to DIY, and call a professional when the repair touches the base or the drainage. Do that, and the same spot stops failing every season. For a wider view of the trade, see our Groundwork Construction Co. of Miami home, our Fence Installation in Miami, and our Home Additions & ADU in Miami pages.
If your paver problems trace back to a base or drainage issue, the fix is worth doing right the first time. Groundwork Construction Co. of Miami offers free estimates, written line-item quotes, upfront pricing with no surprises, and the 730-Day Done Right Promise on every project. Our technicians have up to 12 years of experience and arrive background-checked and in uniform. Calls are answered by a live person, 24/7. Call (833) 968-1198 to schedule your free estimate.
Written by the team at Groundwork Construction Co. of Miami.